Creating a poll

Polls is a custom post type and can be treated like any other post type, such as page or post. The key difference with this post type, is that a custom block exists to allow the insertion of any poll within either of the other post types.
1. To create a poll, select polls from the sidebar, and add a new poll.

2. The first thing to do is to add a name for your poll.
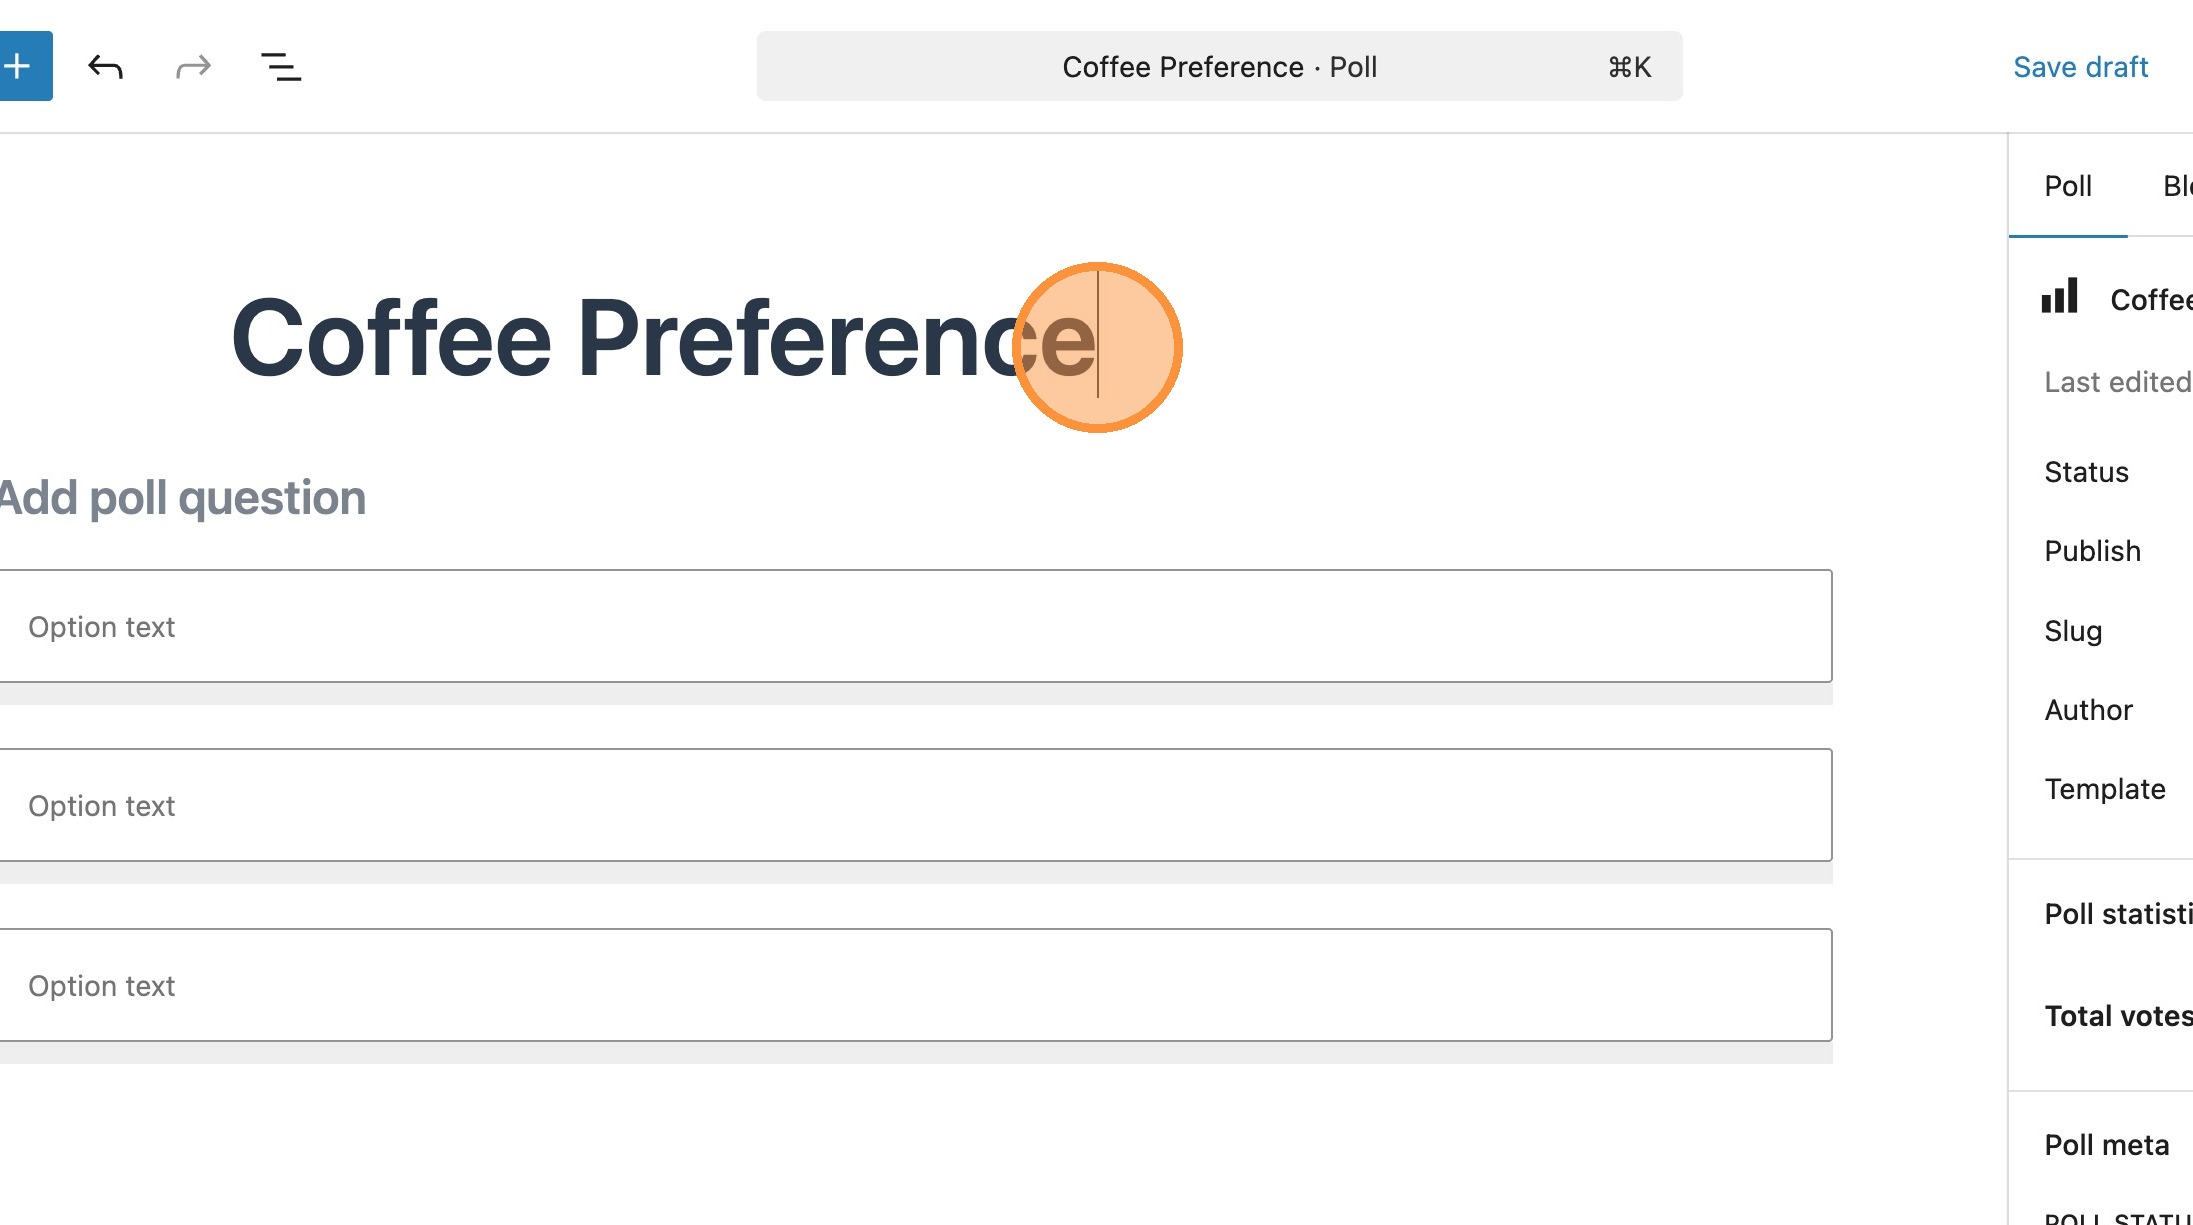
Its important to note here that the poll name is a stored as a meta field. The Poll question is what will display on the frontend. This can be the same as the name or slightly different.
3. Add your poll question.


4. You can now add your poll options. By default a poll will include 3 poll options.

5. To add additional poll options, simply select to add after on an already existing poll option. You can add as many options as you wish.

6. Just like any other block, its position can be altered using the arrows in the block toolbar. As you can see here we have moved the last option up in the list.



Within the sidebar, there is some key data for the block. As shown in the below demo, here you can set the status of the poll, and see how many votes the poll currently has. We’ll go into these options in more detail later in the guide.

7. Select publish to publish your new poll.
Adding a Poll to a page or post
You’re now ready to add your poll to a page or post.

8. Add the new page or post that will include your newly created poll.


9. Search for and add a Poll block. You will see the option to create a poll, but will also see the option to choose from a list of Polls. Here you will see the poll you have just created.

Please note: The list of existing polls is limited to the last 3 created. If you can’t see the poll you’re looking for, simply use the search function to locate it.
10. Once added, you will see your poll, with the meta you set previously. This data can also be updated within the page or post, using the controls in the sidebar.
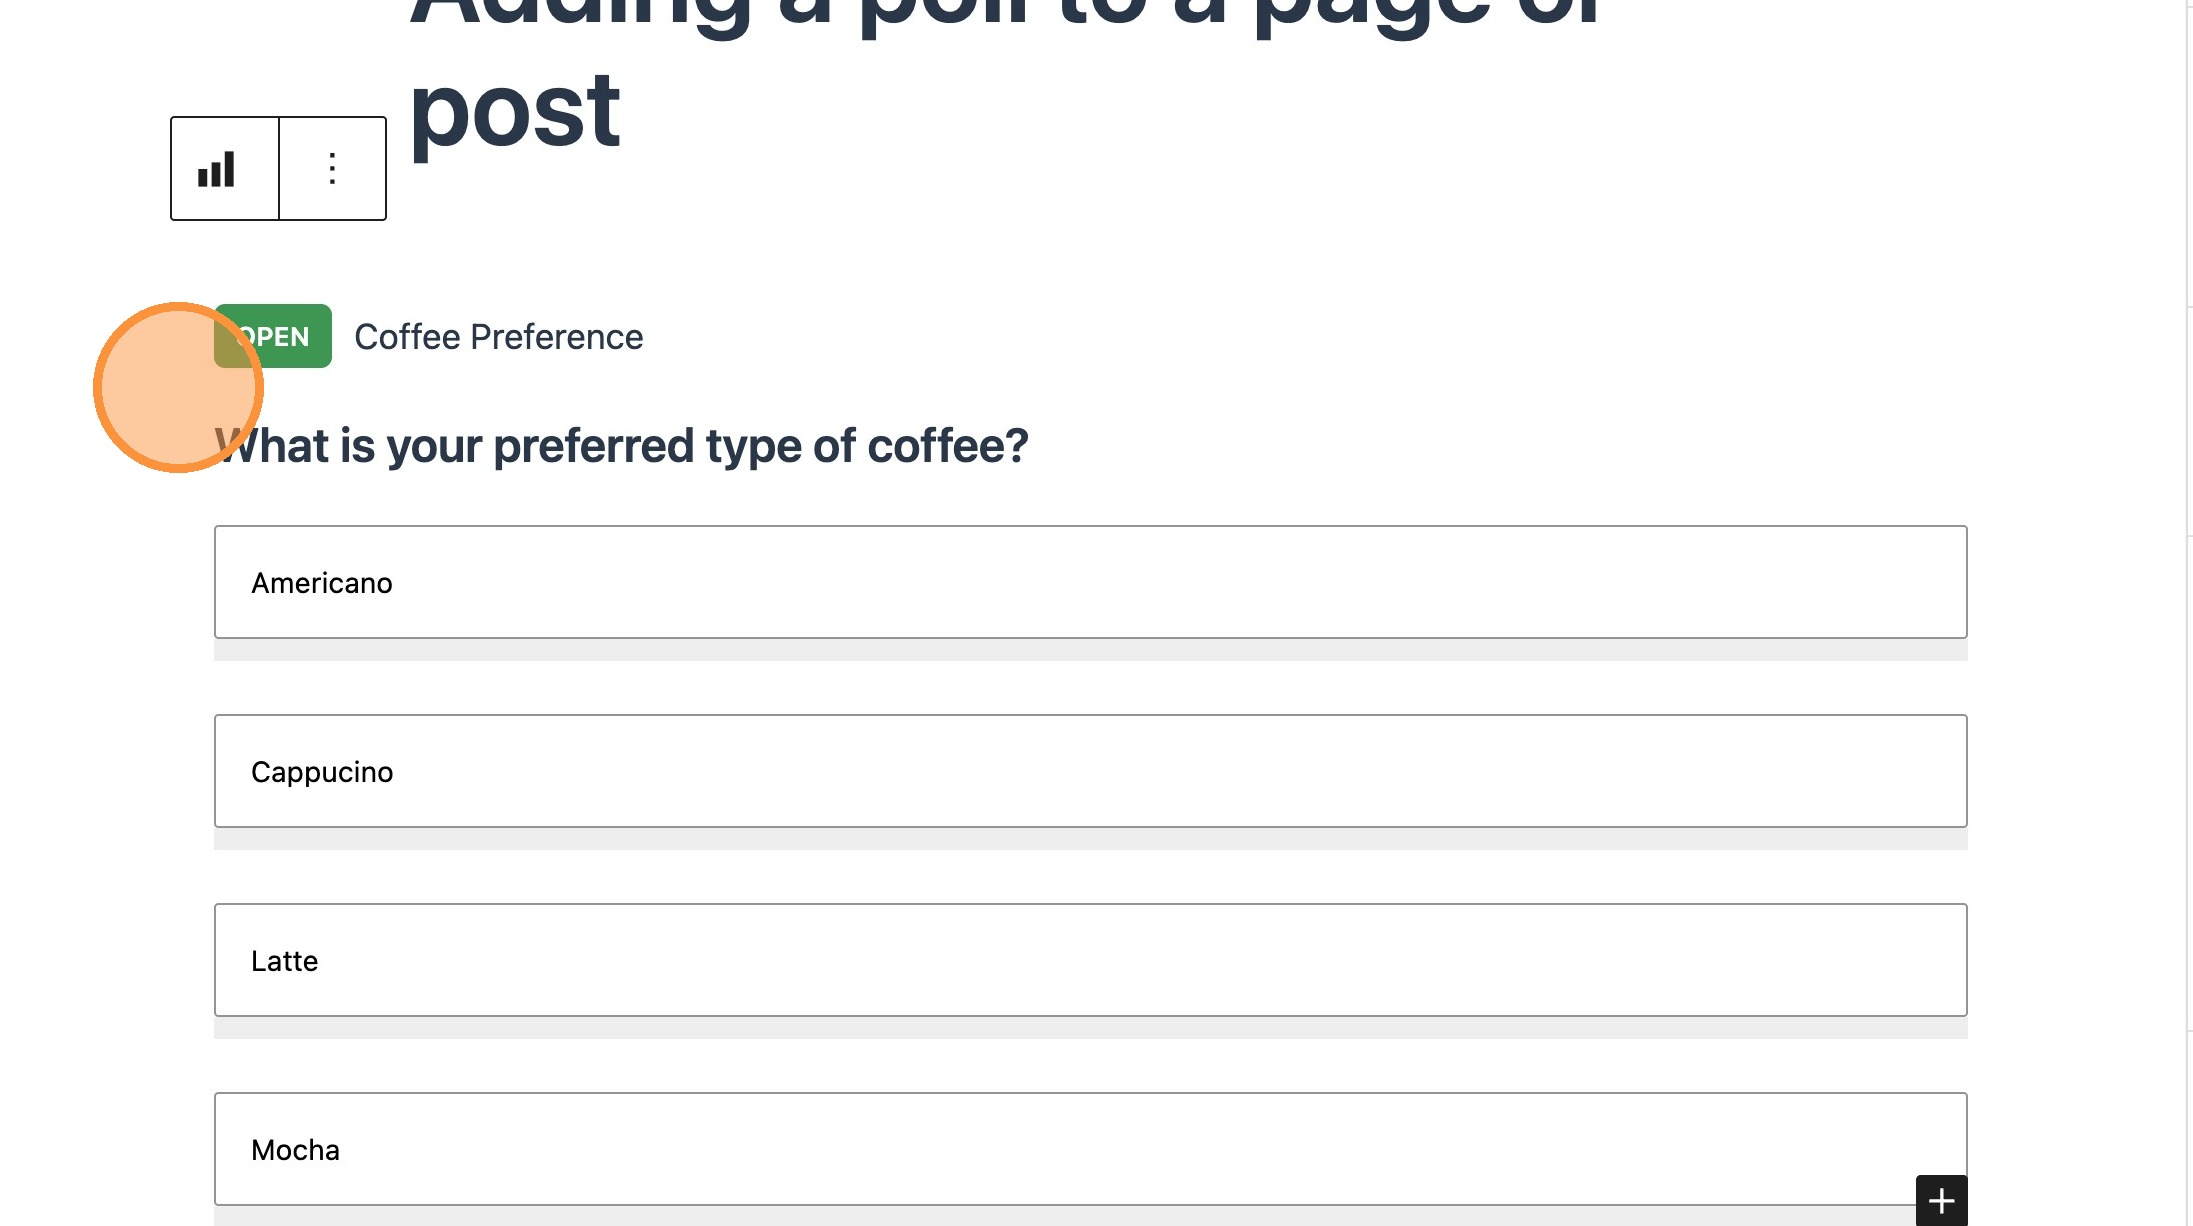
11. You will see that altering the name will update the name immediately in the editor.

12. When in the editor, you will see that the poll has a status tag. Updating this in the sidebar, will also update immediately in the editor.
Your poll on the frontend

13. Save and view your post.
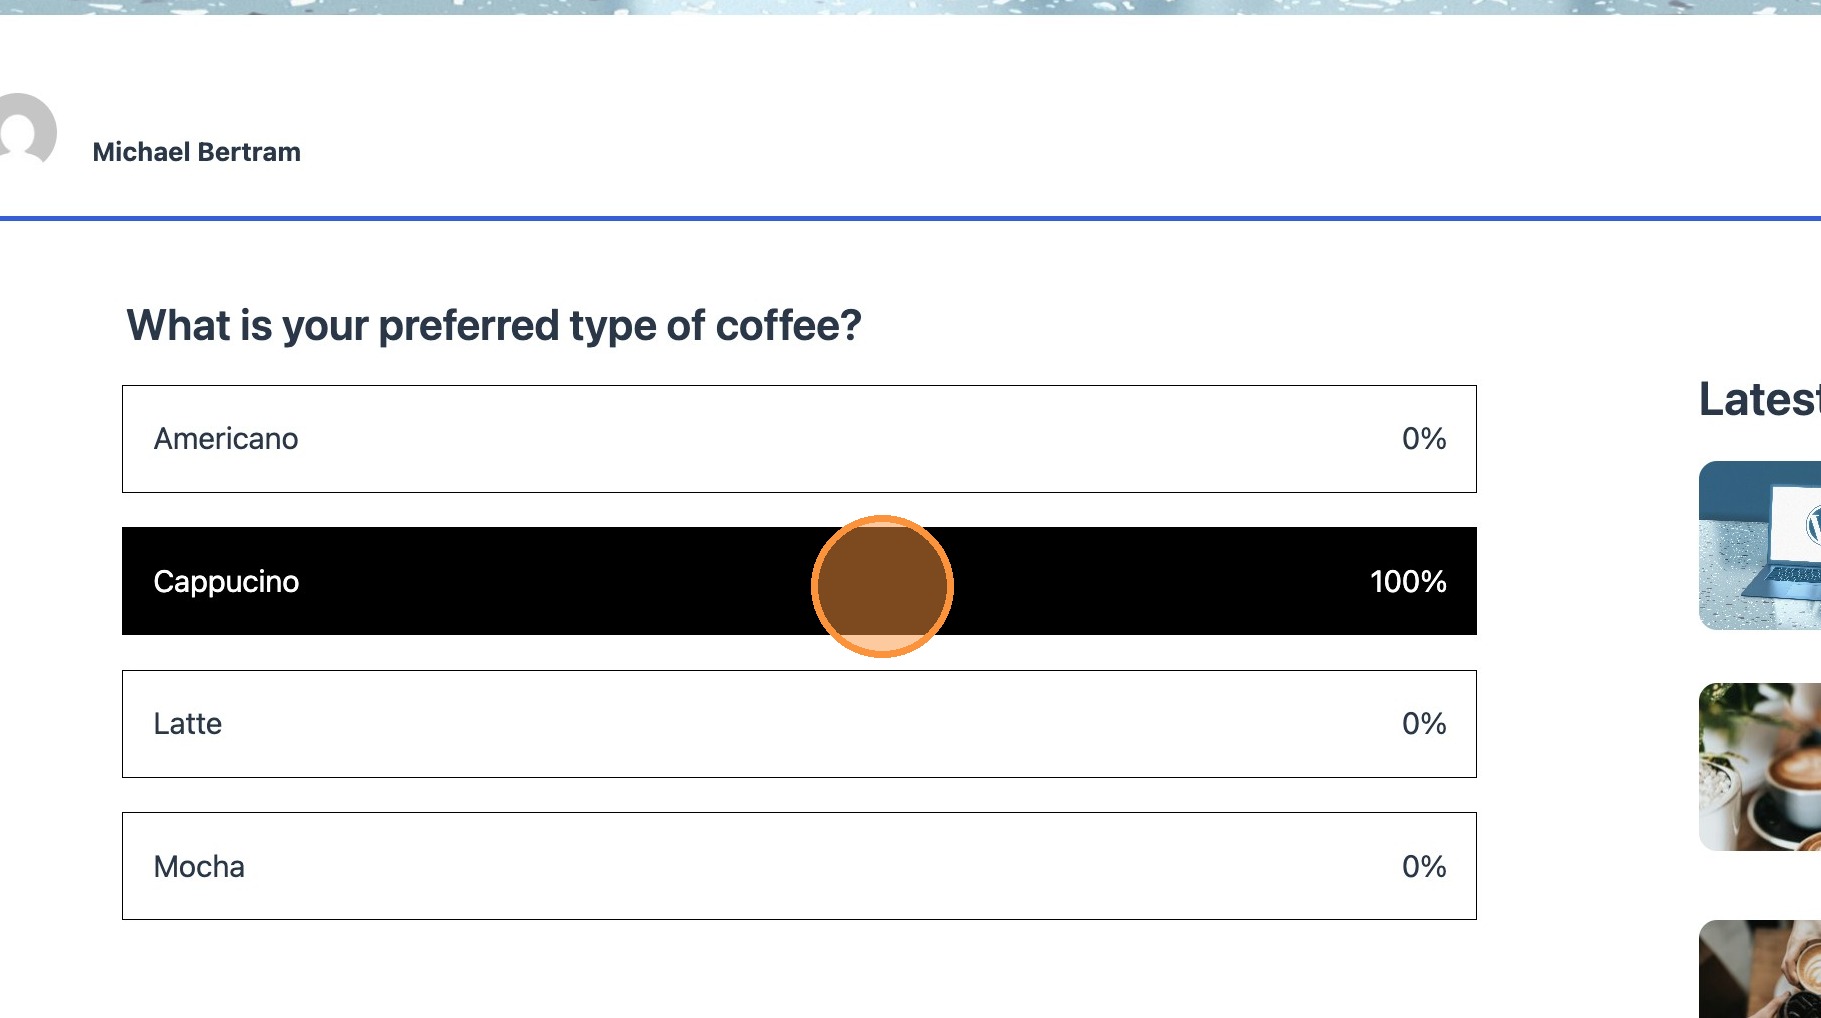
14. On the frontend, your poll will appear as an interactive component that allows users to select an option. Once an option is selected, the votes will update automatically, displaying the percentage based on the total number of votes.
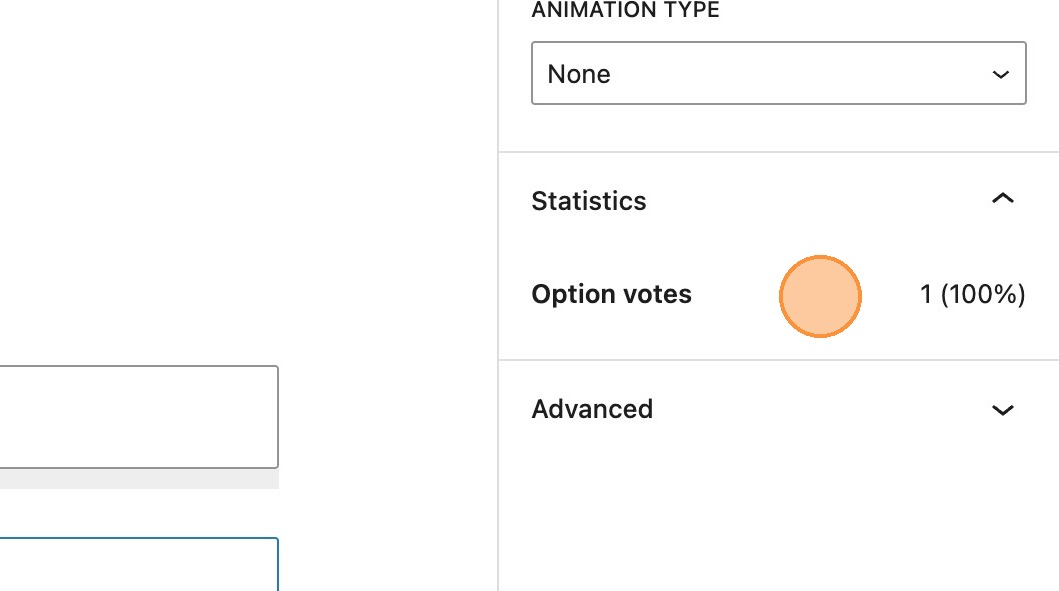
15. When you return to the editor, any poll option that has received votes will appear in a different colour to indicate activity. Additionally, the total number of votes will be reflected in the poll statistics section within the sidebar, updating to match the latest results.
16. It’s also possible to view independent statistics per poll option.
Updating the poll status

17. By default, the status will be set to open and a tag will be shown in the editor just above the poll title.

18. Polls that have ended will display the final results but will no longer allow users to make selections.

19. Polls that have been closed, will have a closed tag in the editor, but will not be visible at all on the frontend.
Creating a poll within a page or post
20. If you wish to include a poll in your post content but haven’t created one in advance, you can create a new poll without needing to leave the post you are working on. To begin, search for and add a poll block.
21. You will notice that initially the create new poll button is disabled.

22. Populating the poll question field will enable this button. Select create new poll.
23. This will show the poll options. You can now go ahead and enter your options just as before.
24. On saving the page or post and returning to the WordPress dashboard, you will see your newest poll in the list of existing polls.