Getting Started
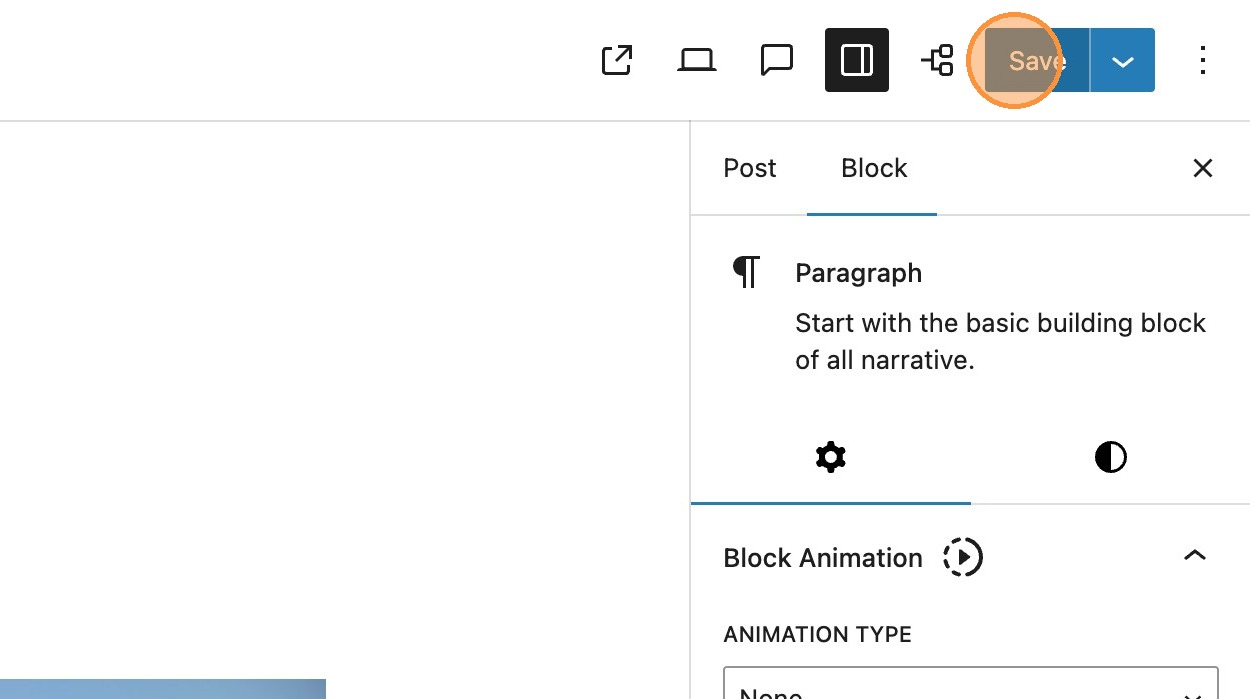
1. When editing a post saving any changes you make, will override any previous publications. It may be necessary to reinstate a previous version of the post.
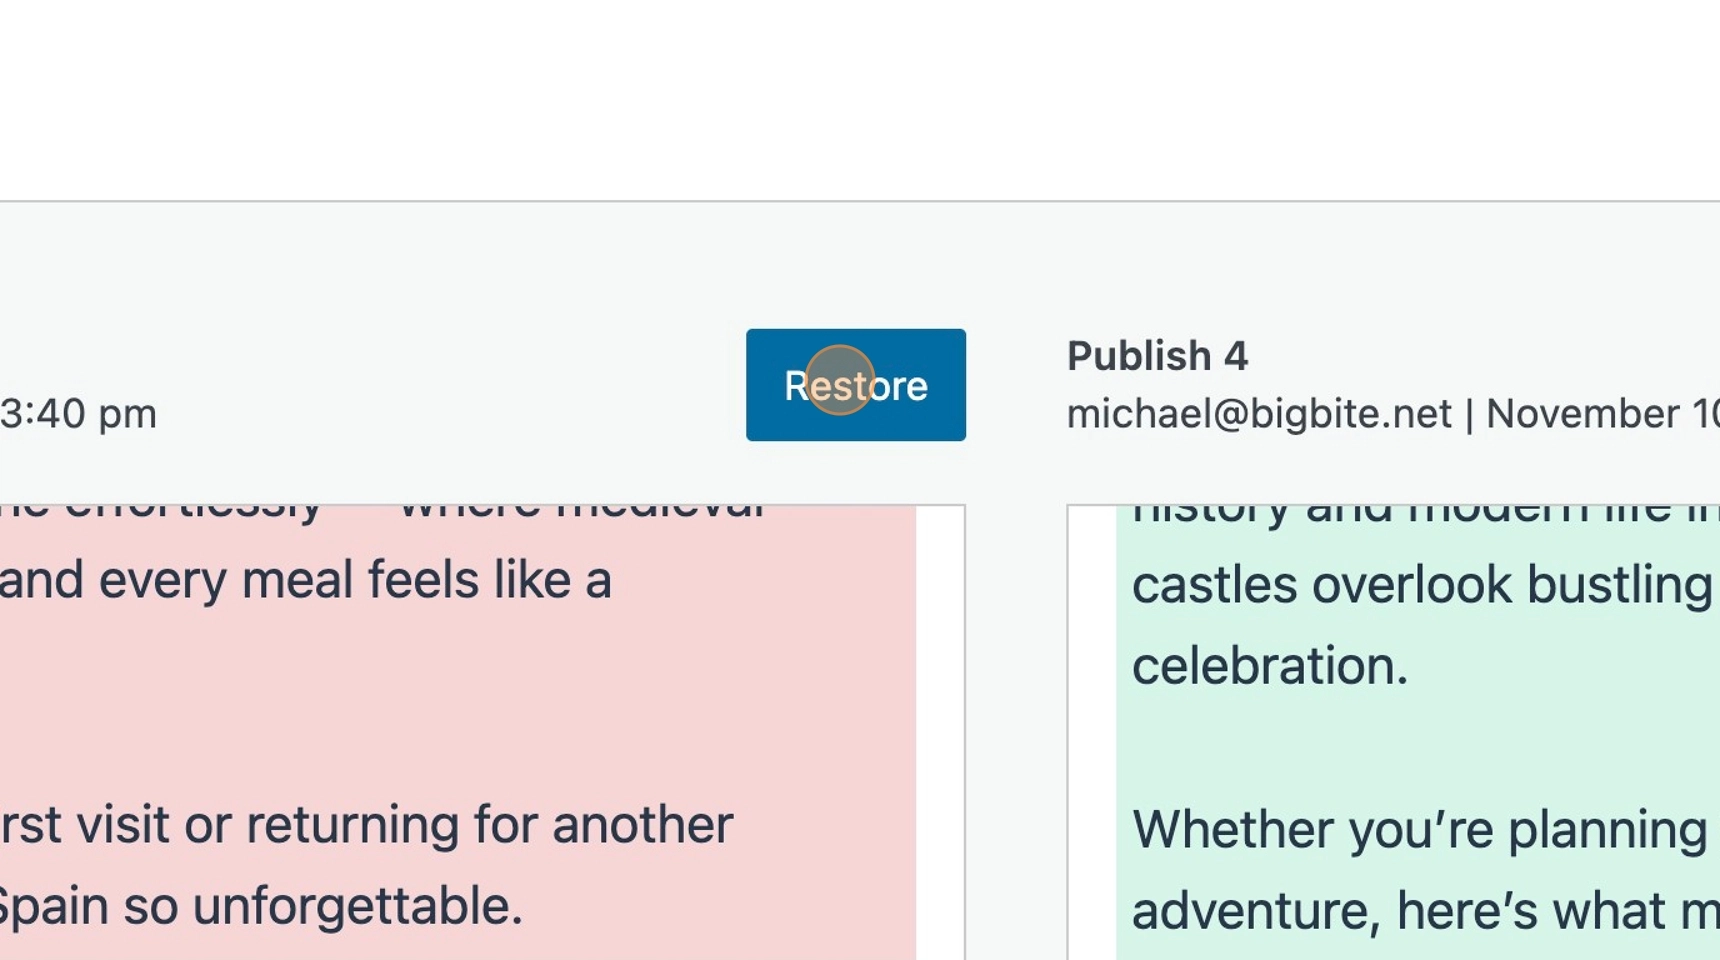
2. In the post sidebar you will see the revisions option, selecting this will take you to the revisions window. Here you will see a comparison view of the previously published content on the left and the newest version including your changes, on the right. Any content that has been removed, is highlighted in red, with any additional content highlighted in green.
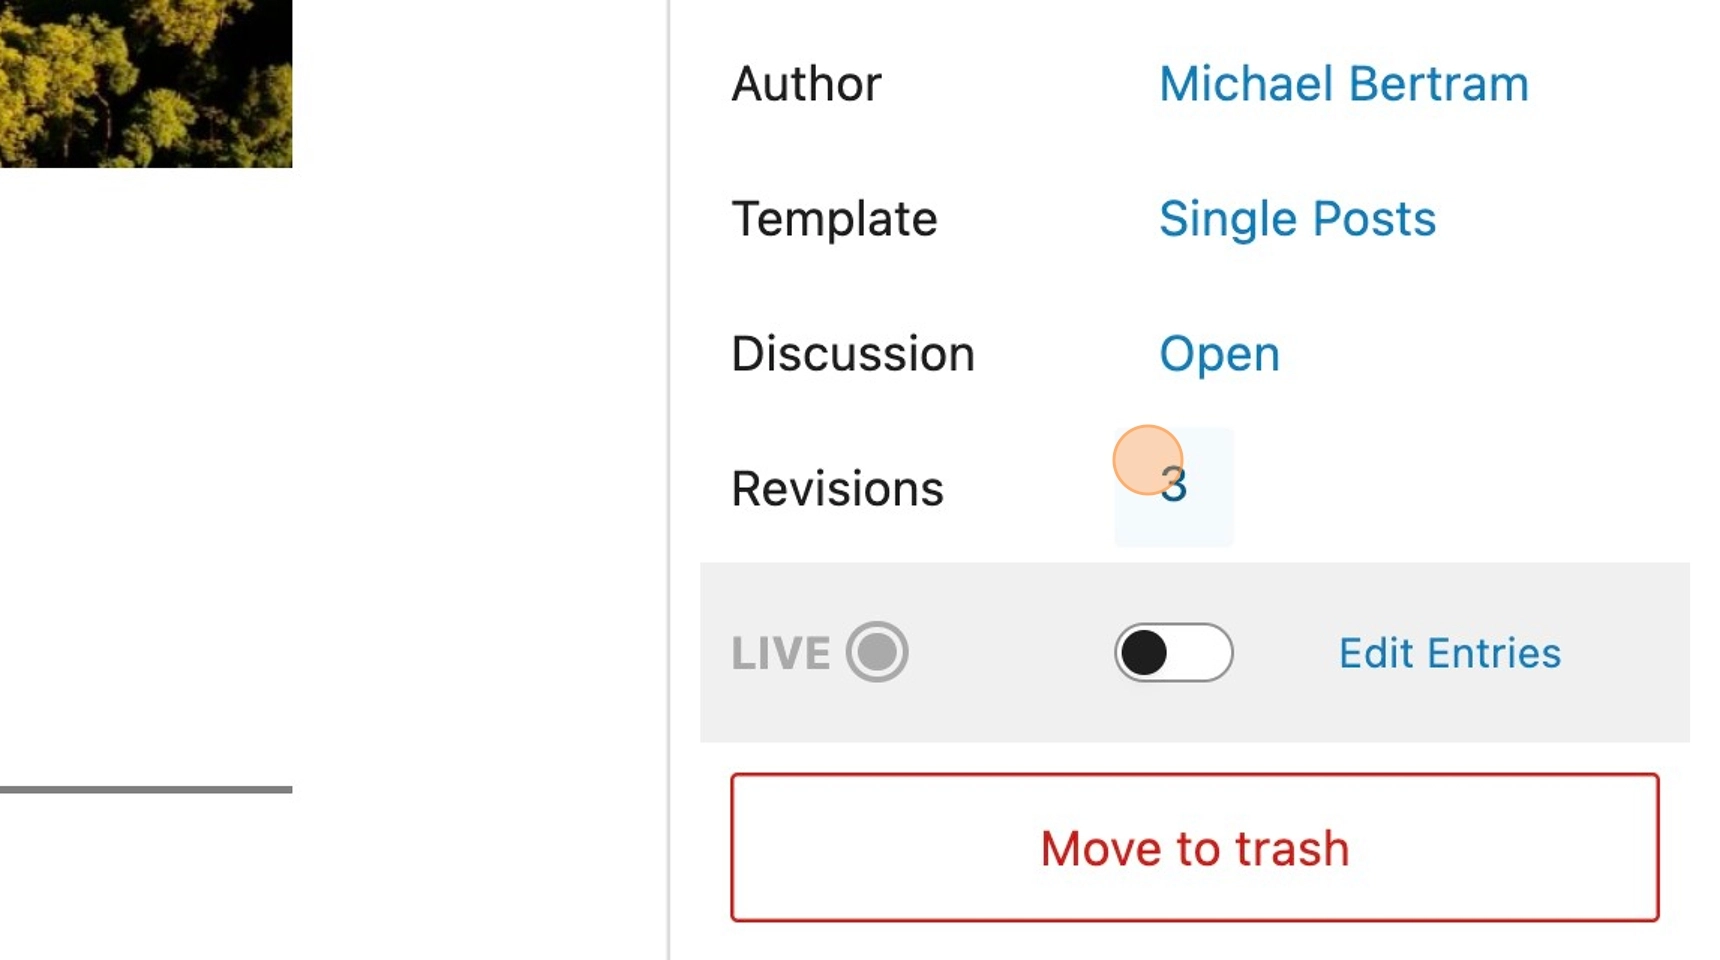

Please Note: Some sites will have a cap on the number of revisions that will be saved. In this example every time a change is made and saved, the revisions value in the sidebar increases, until it reaches 3 as this is the default maximum visible revisions. Any draft posts will also appear in this revisions list.
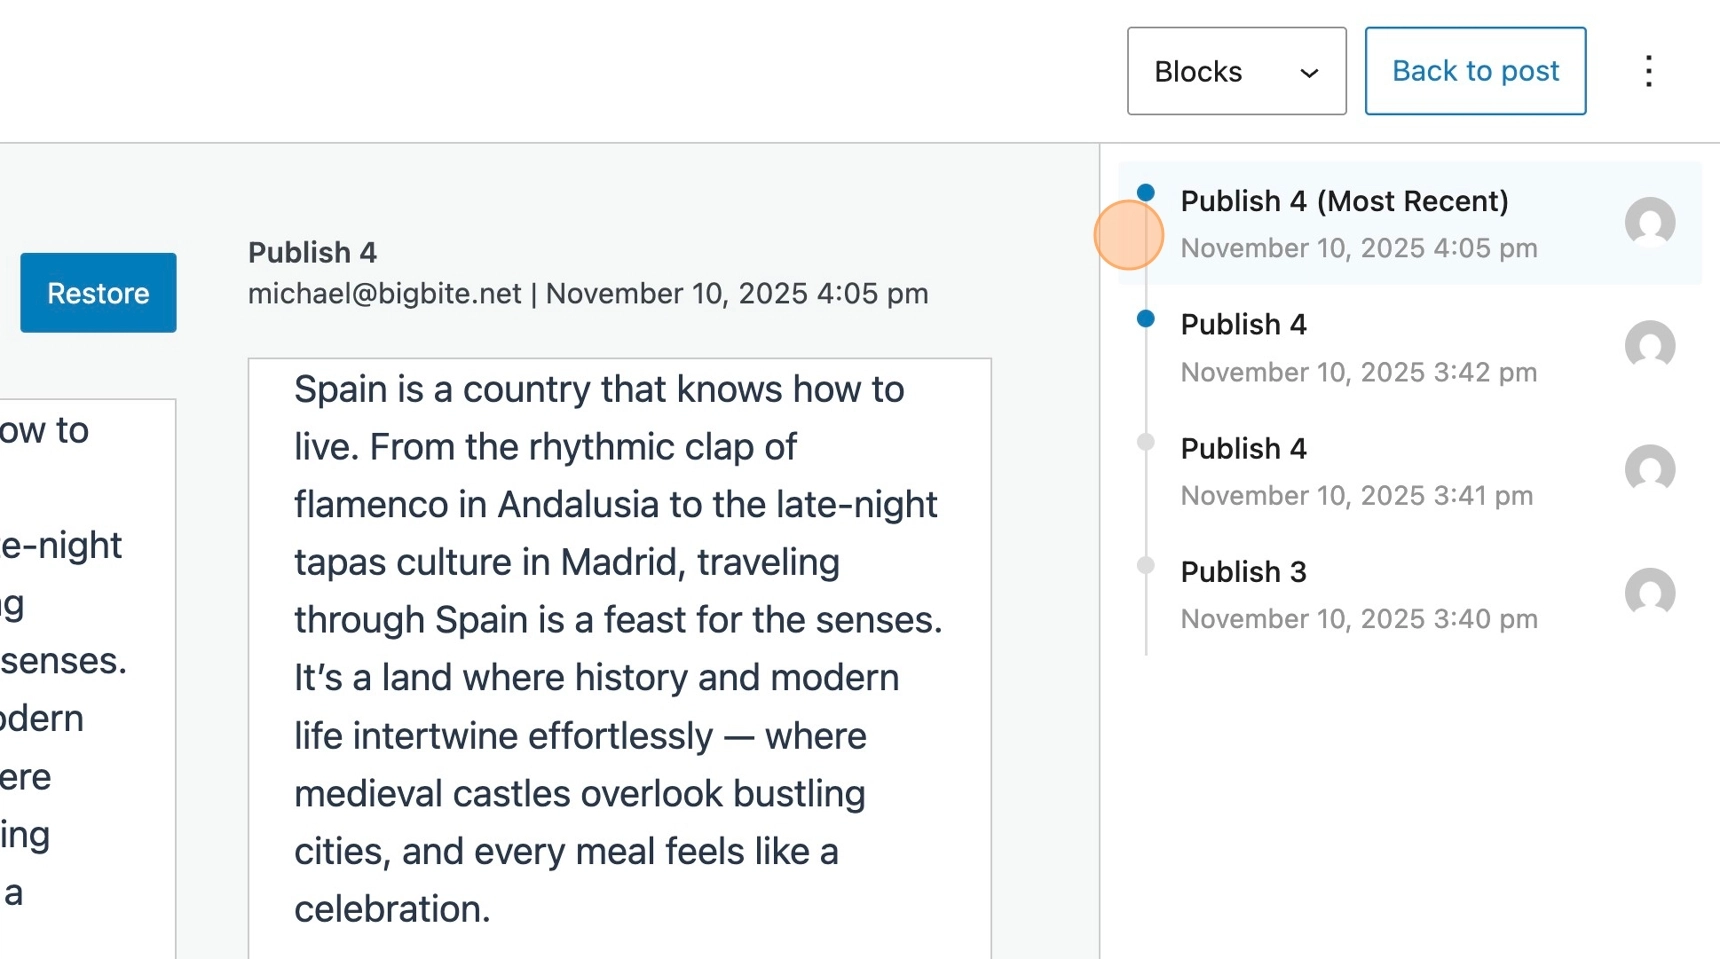
3. Revisions compares the current version of your post with the previous saved version. Within the sidebar you will see all available versions of the post. Selecting any of these versions will compare that selected version to its previous version.
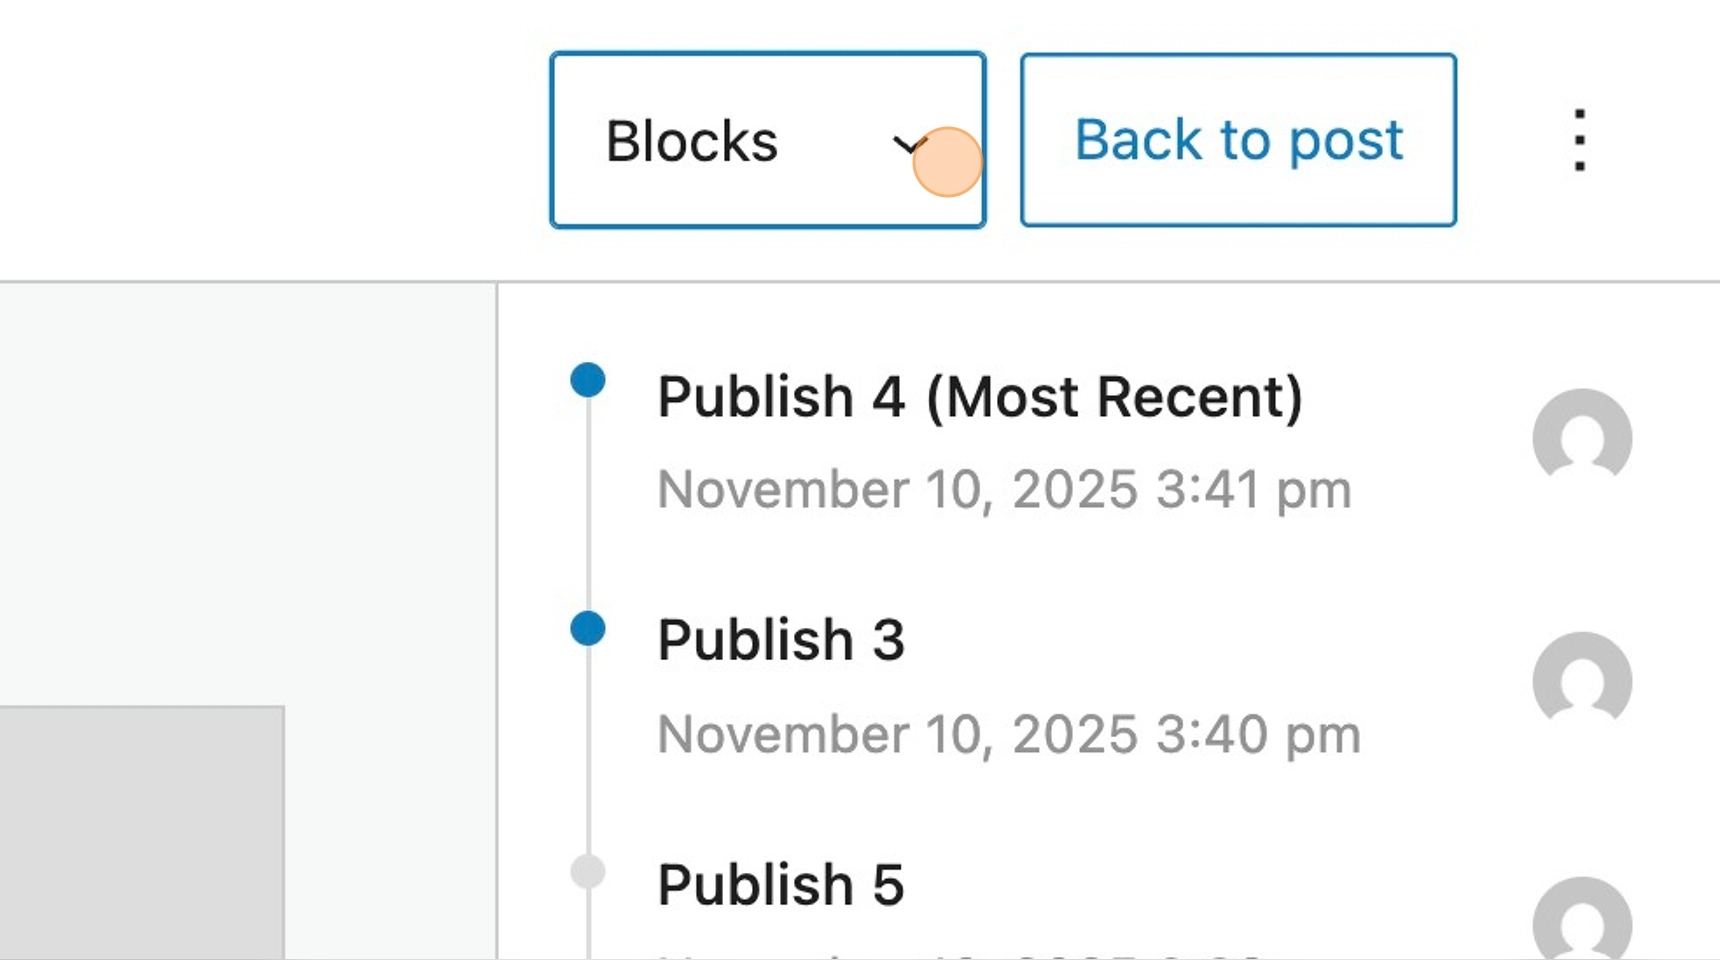
4. At the top of the editor, the drop down allows you to select different views for the revisions. The selection here would be determined by the changes made.
Blocks view, shows the changes made to any blocks within the editor.
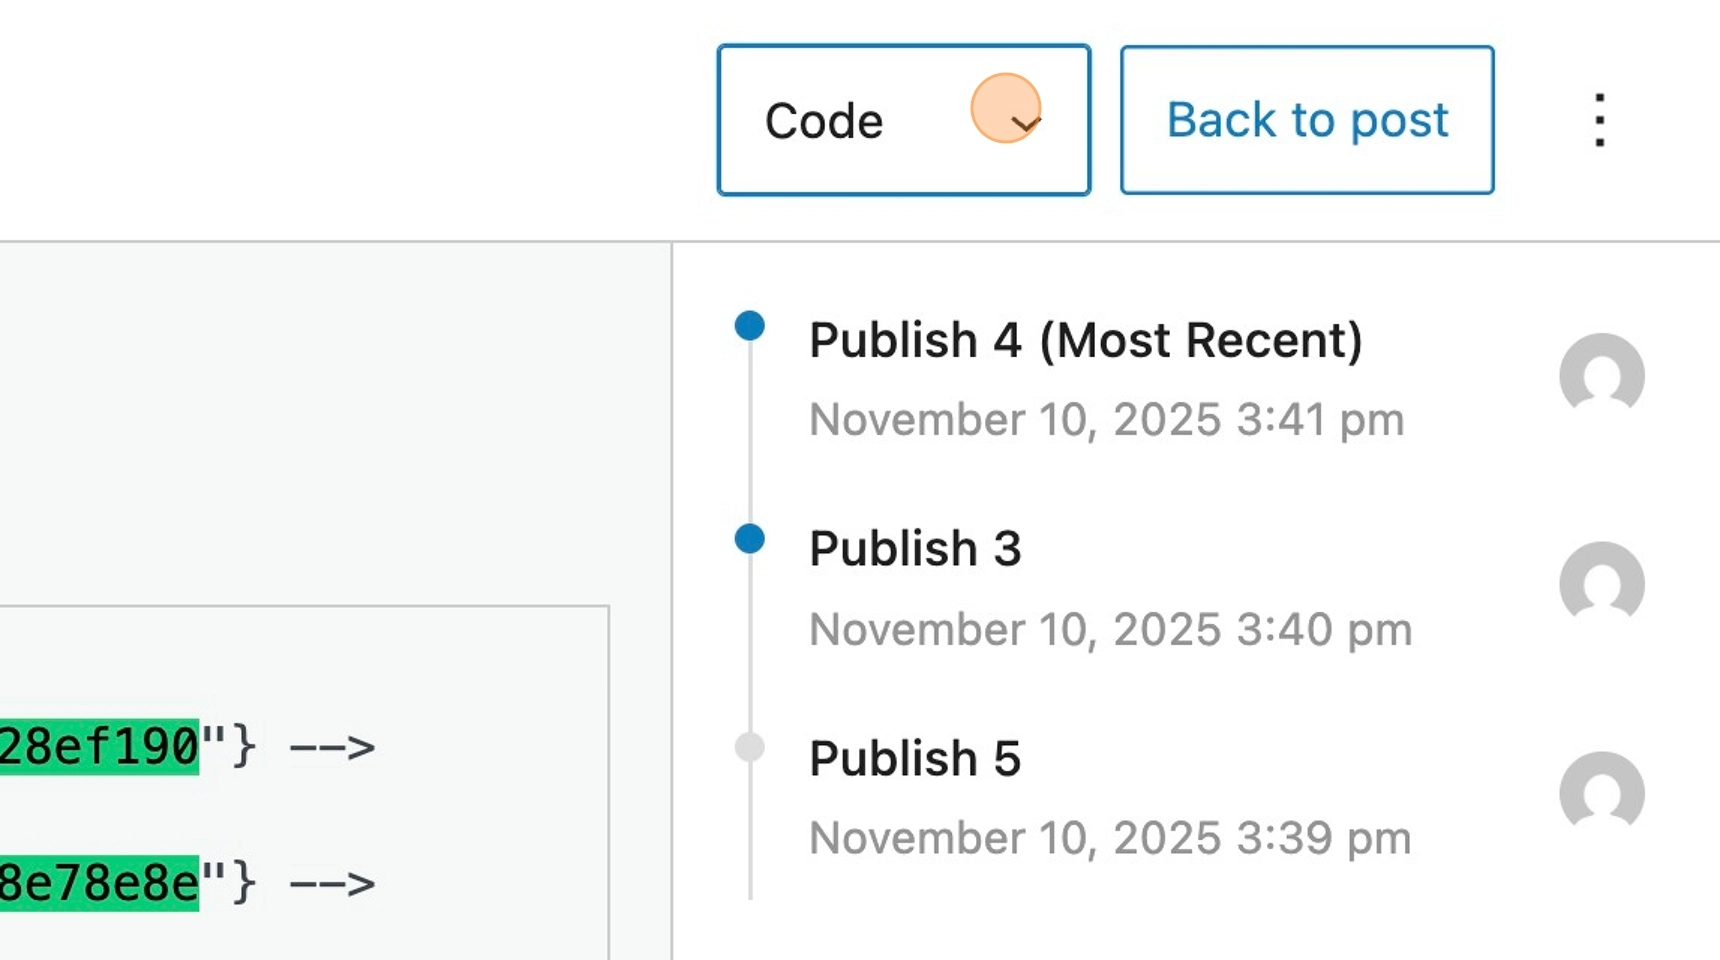
5. Code view, will show the block code with any changes made. These will correspond to the changes shown in the block view.
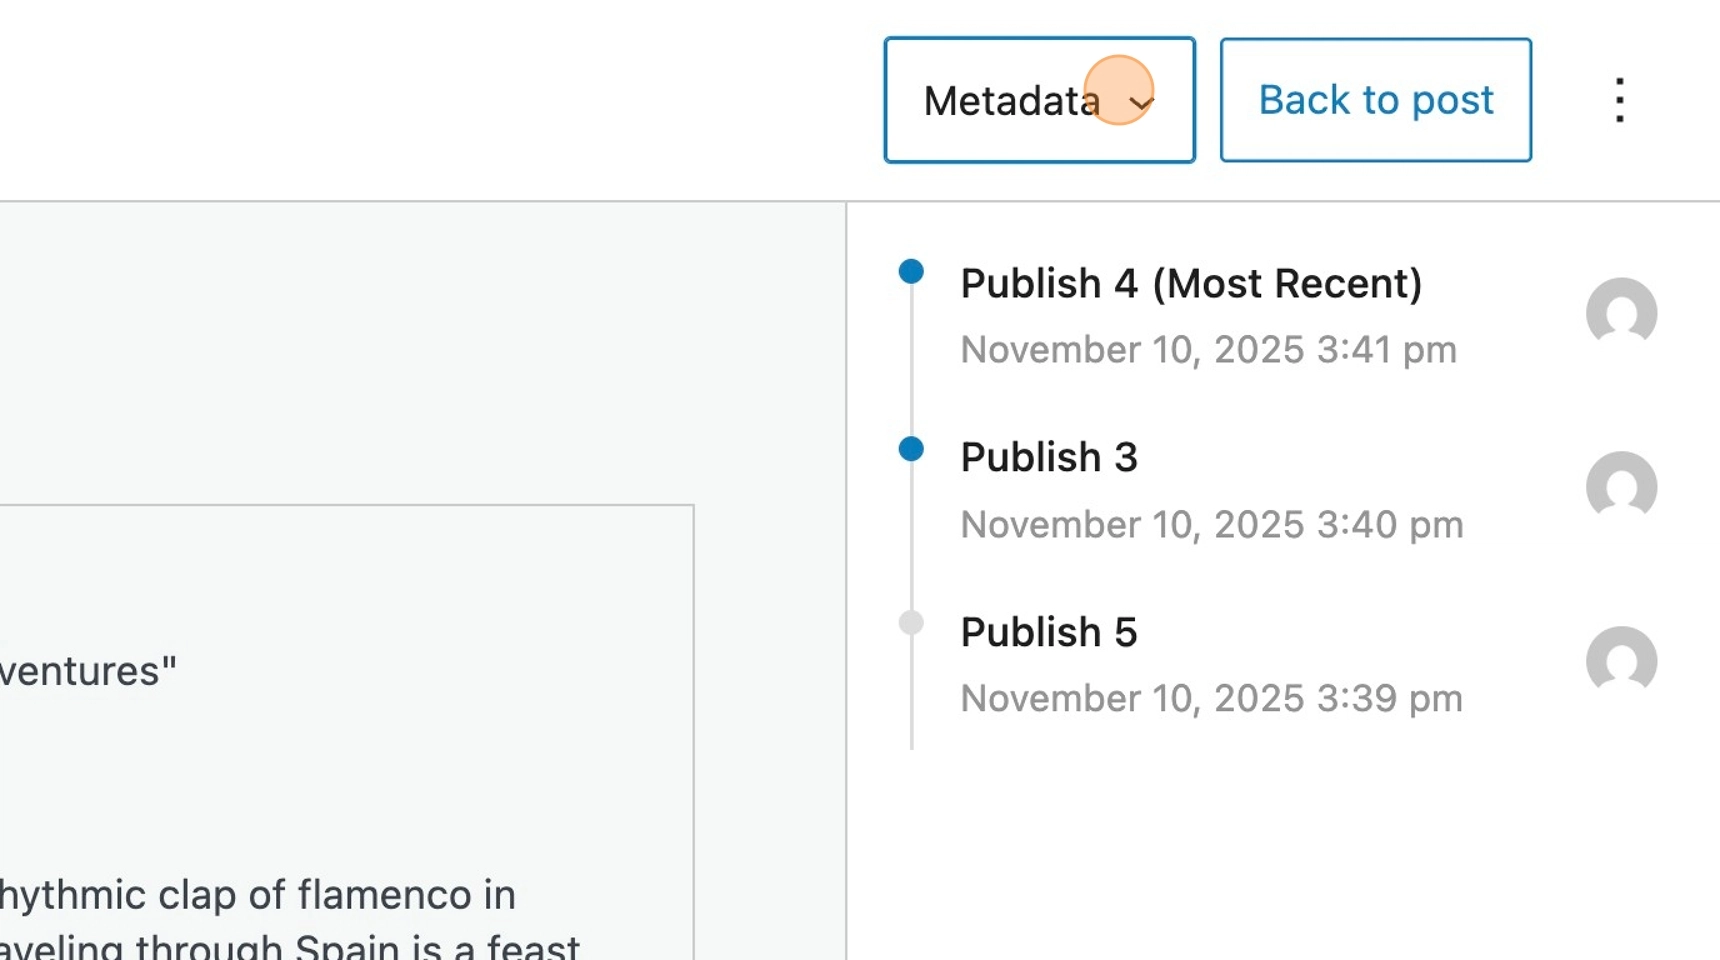
6. Metadata view, shows any changes made to any meta fields. For example this would be anything changed within the Meta tab within the editor.
Restoring a previous version
7. The restore button will discard any changes made in the latest publish and restore the post to the previous version. Returning back to post, you will see that the content has reverted back to the previous version.