Getting Started
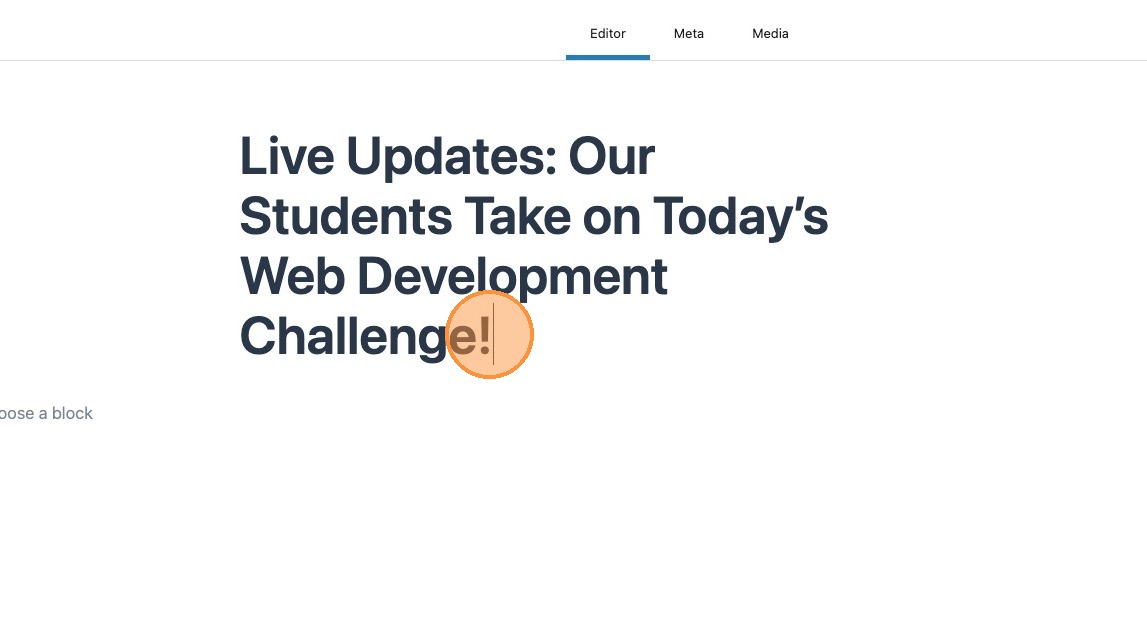
1. Live posts work like any other, simply start by adding your title.
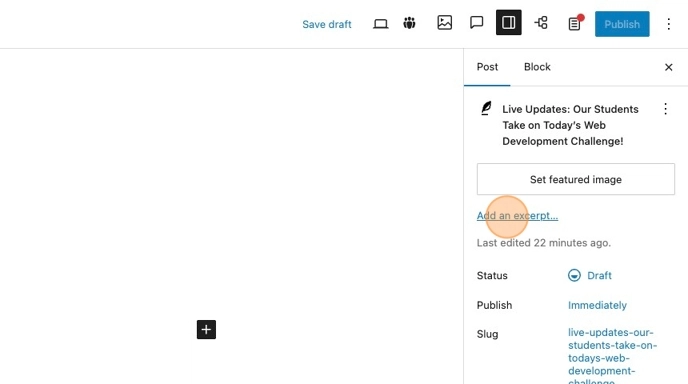
2. In the regular fashion, meta fields can also be updated, including the excerpt and categories.
Turning into a Live Post
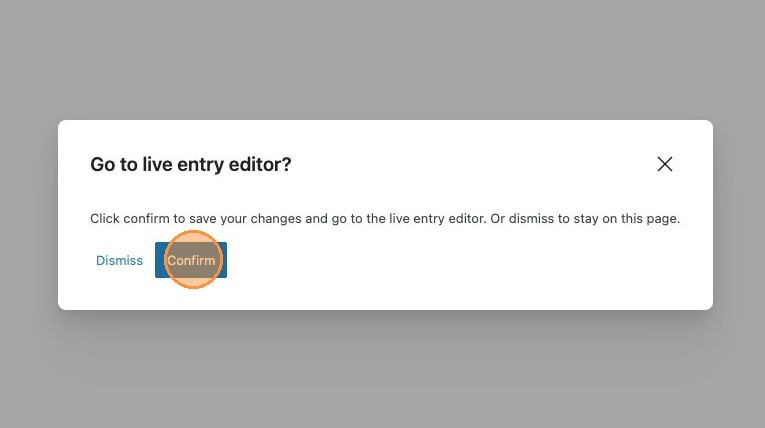
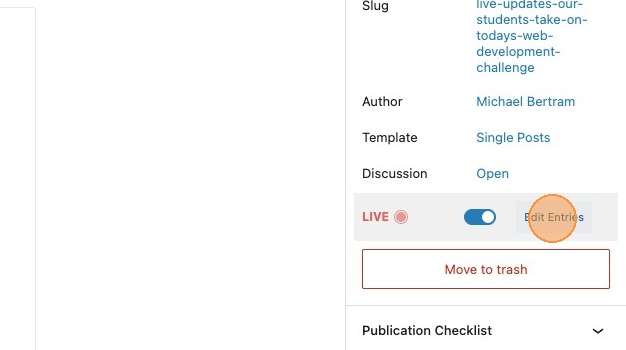
3. To make this a live post is simple. Toggle the live status in the sidebar
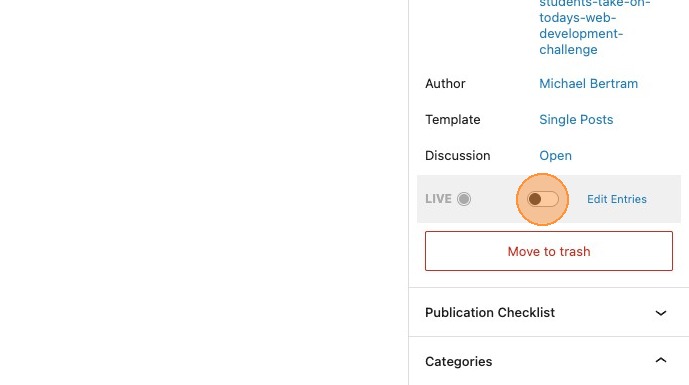
4. You will be asked to confirm that you wish to go to the live entry editor.
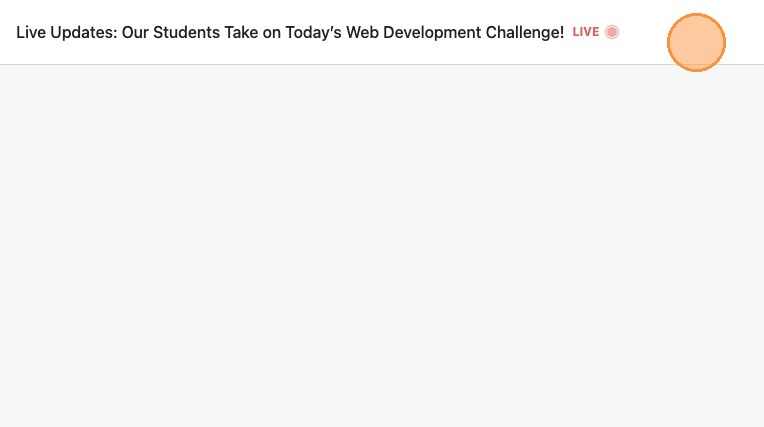
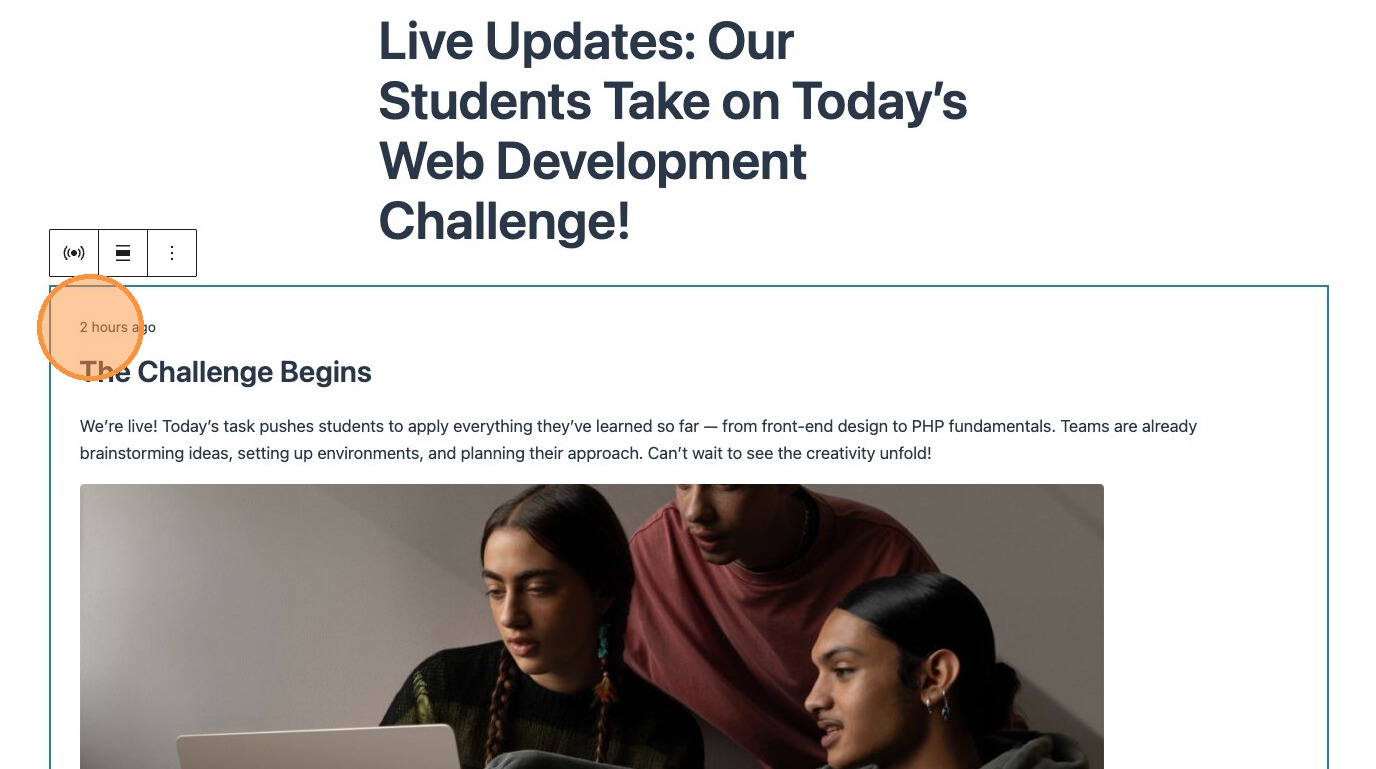
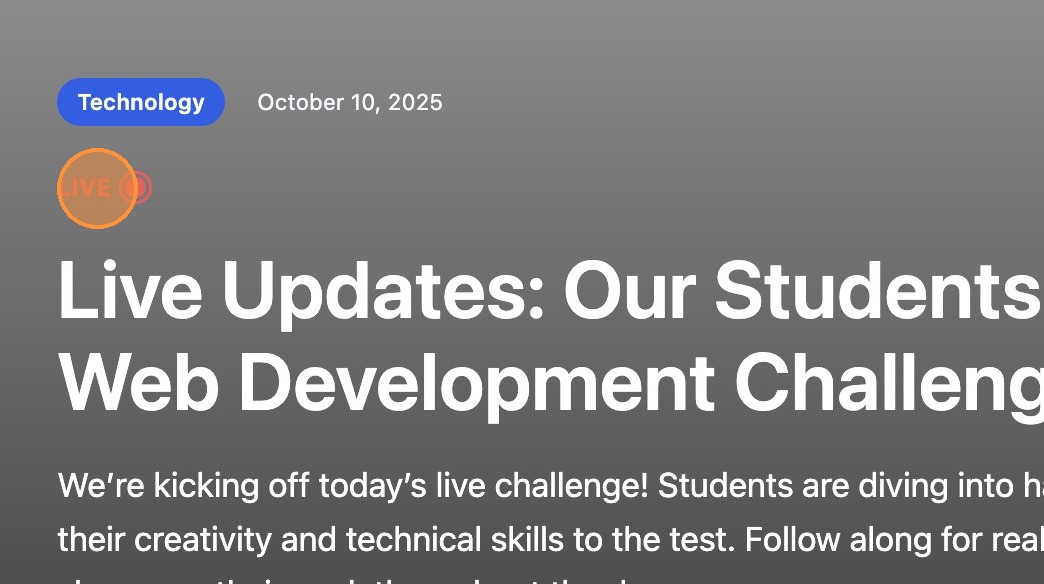
5. Within the live entry editor, you will now see a banner at the top of your page. This should display the LIVE status.
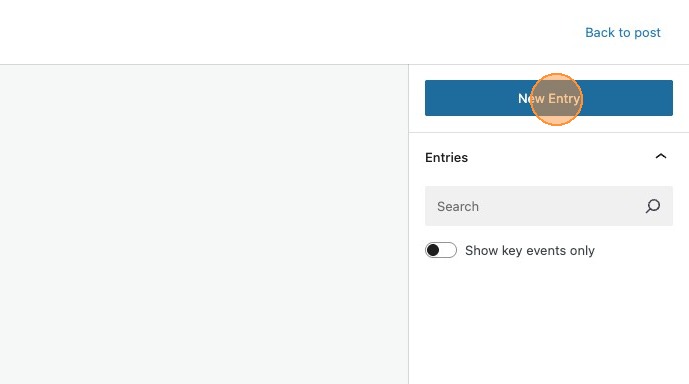
6. To add your first entry, select the new entry button.

The live entry editor, provides a condensed version of the post editor, and includes a range of tools required to create the entries that will populate the feed of your live post.
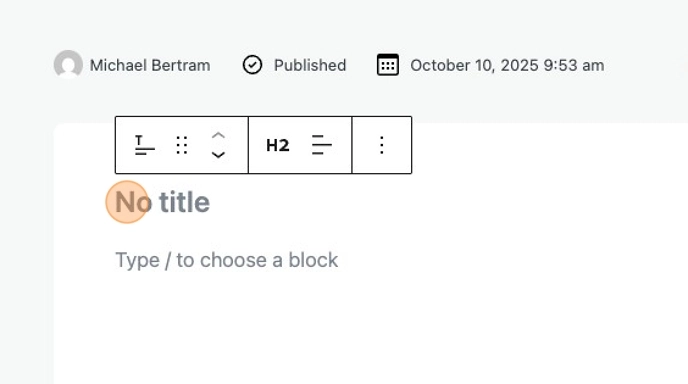
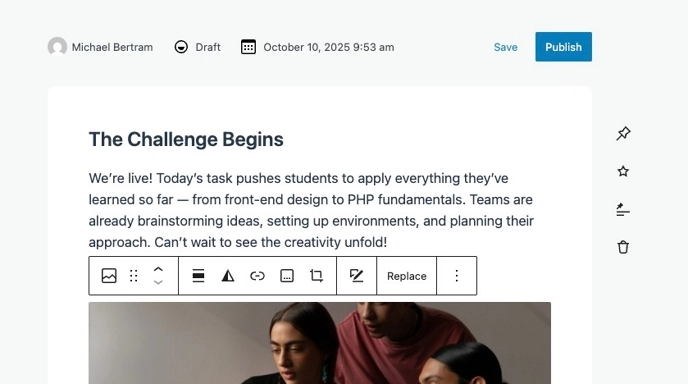
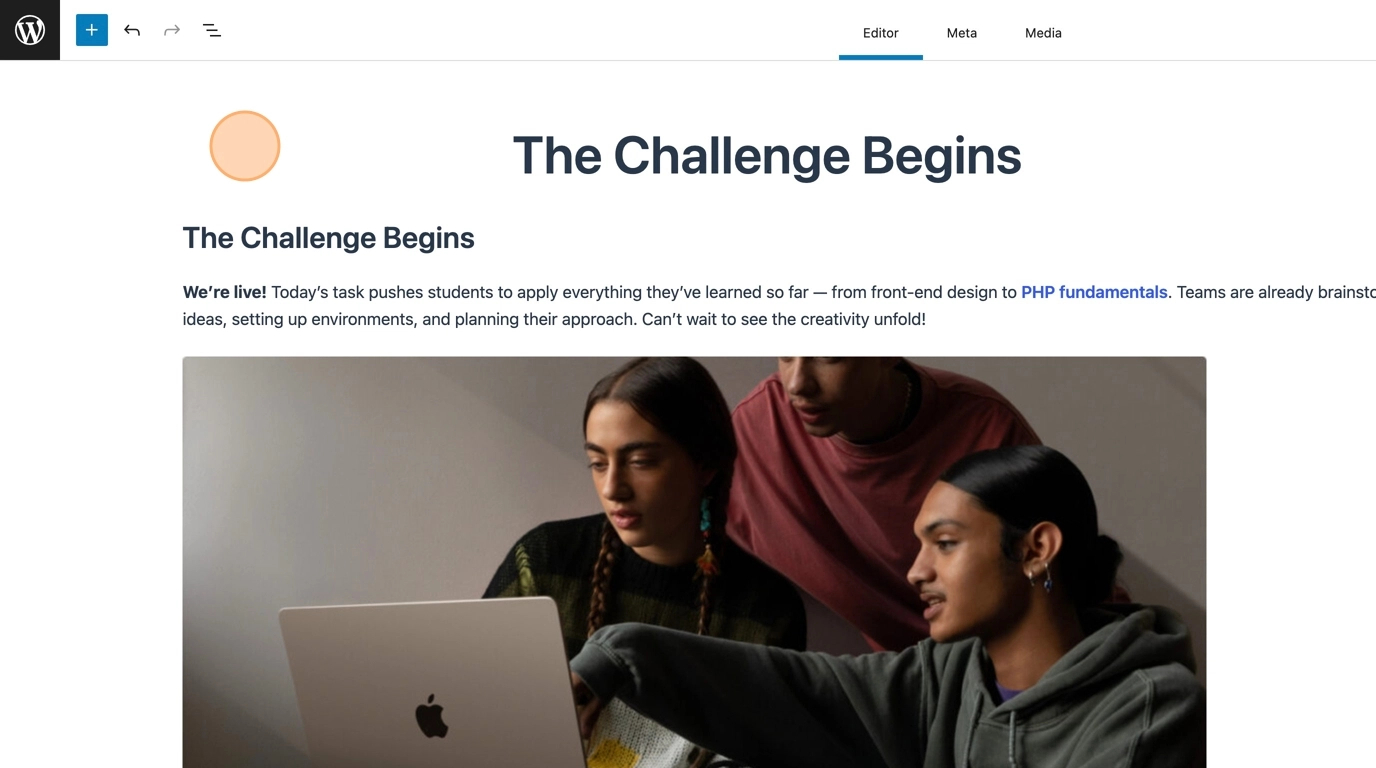
7. You can now go ahead and add a title and some content for your entry.
Tip: Within the Live Entry Editor you will have access to a range of additional blocks, such as [[Heading]], [[Paragraph]], [[Image]], [[Lists]] and [[Embeds]]
Within the Live Entry Editor you will have access to a range of additional blocks, such as Heading, Paragraph, Image, Lists and Embeds
8. To add an additional block, simply start typing with / and the name of your block, or select the add block icon and choose your desired block.
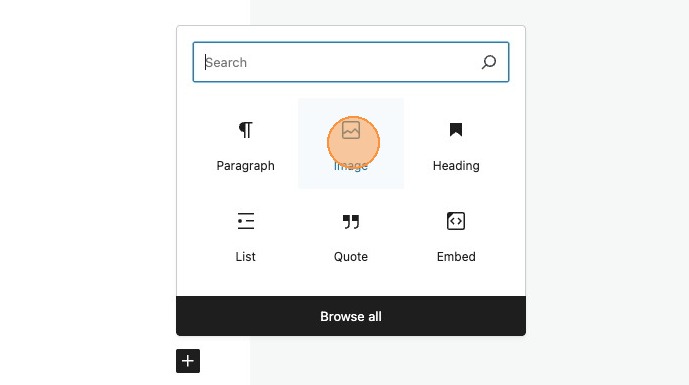
9. In this instance an image has been added.

10. Once your post entry is complete, you can select publish, and this will be published as a live entry, identifiable by the now red button.
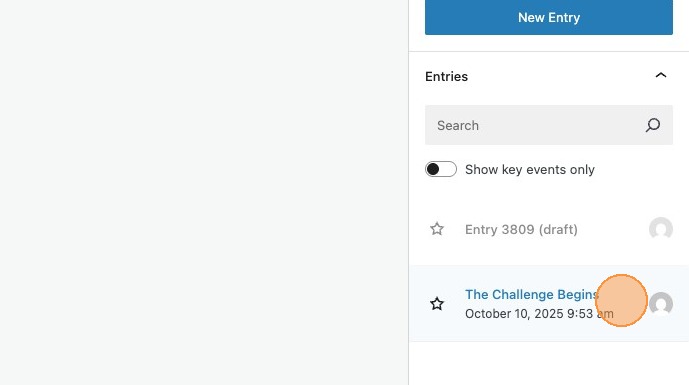
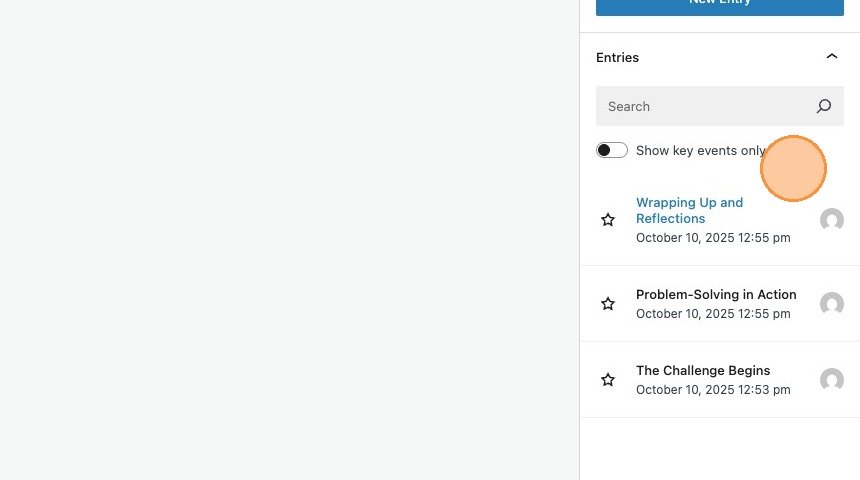
11. Your new entry is now visible in the list of entries in the sidebar.
Adding the Live Feed to the post
There are several ways to include the live feed block. It can appear directly within the live post itself, or it can be placed on a dedicated page template designed for live posts.
For this documentation, we’ll add the live feed directly to the Live Post. However, depending on your theme and specific requirements, you may choose to include it in a custom page template instead.
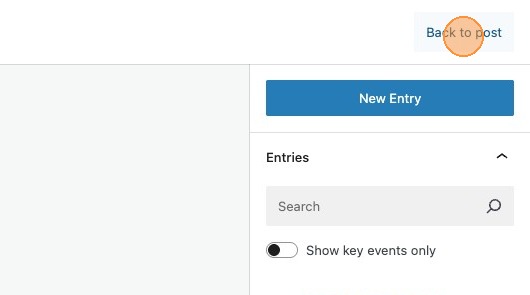
12. To add the entry, the first thing to do is to exit the live entry editor and return back to your post.
13. Search for and select the live feed block to add it to the post content.

14. You should now see your live entry in the editor. Any additional entries will now also appear here.
Adding new entries
15. There are multiple ways to add or edit a live entry. Clicking the edit entries button in the sidebar.
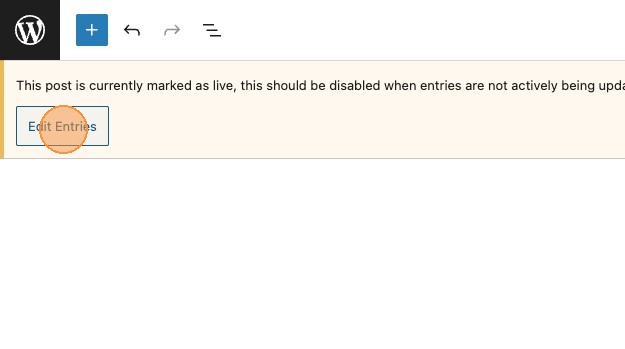
16. Or, by selecting edit entries from the banner will both take you back to the live entry editor.
17. New entries can now be added, in the same way by selecting new entry, entering the content and publishing.
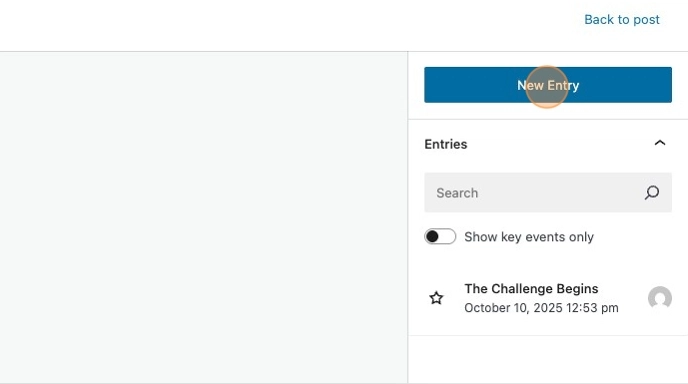
18. You can see now that we have multiple entries in our entry list in the sidebar.
Want to edit an existing entry?
19. To edit an existing entry, simply select the desired entry in the sidebar and make the relevant changes. In this example some text has been made bold and an external link added.

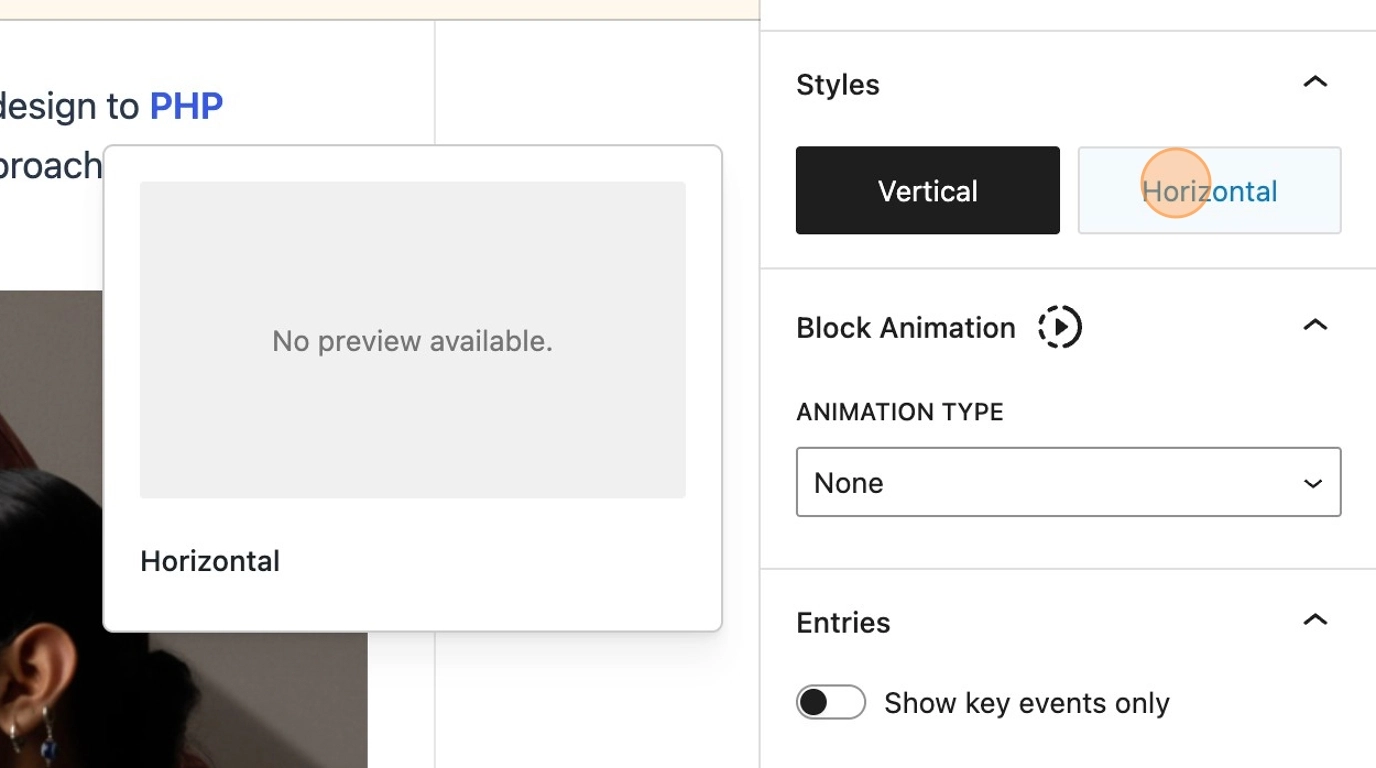
20. Clicking Save, will update the published entry with any changes.
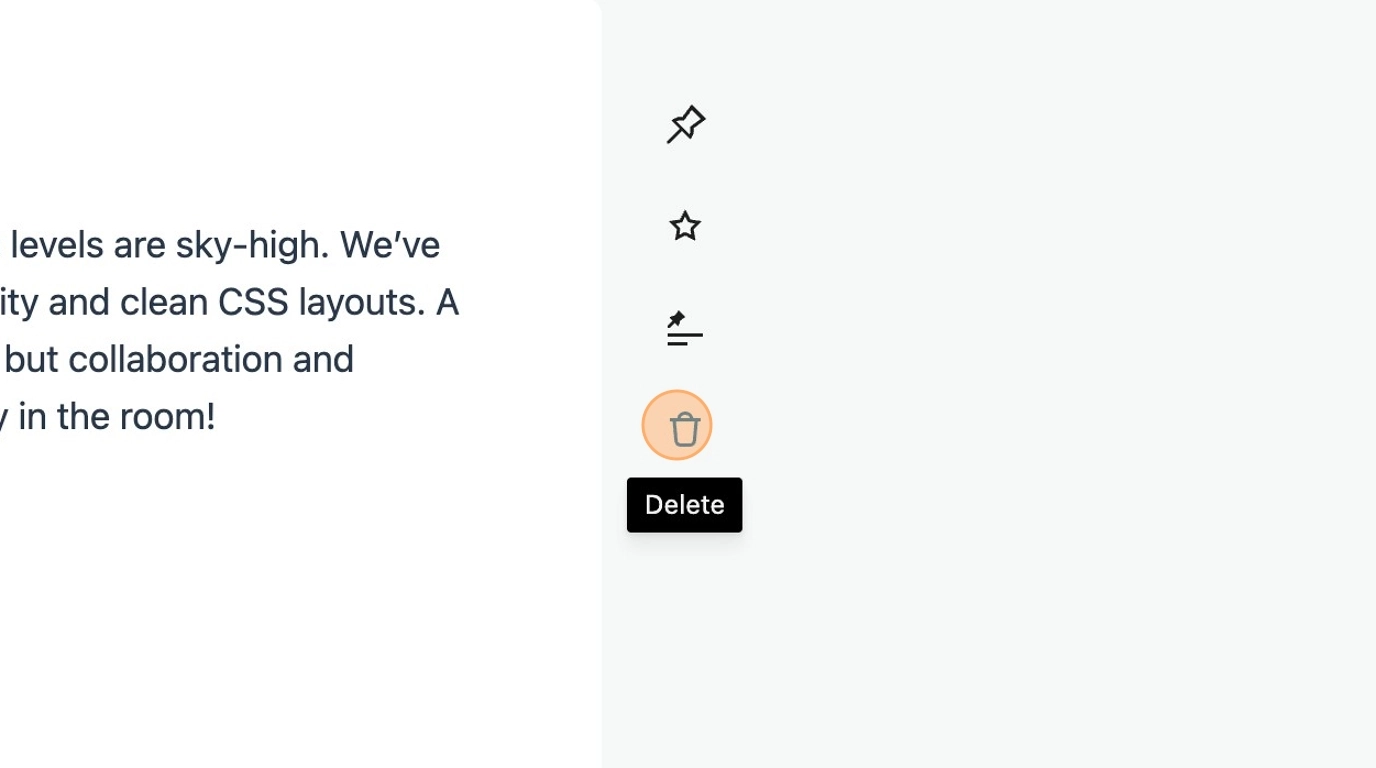
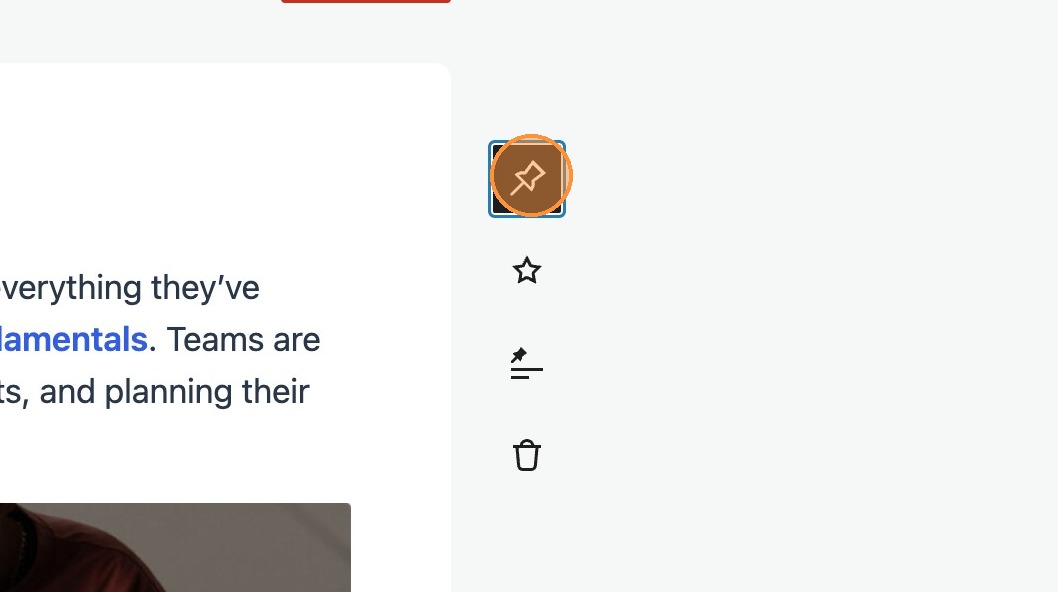
Using the Live Entry tools
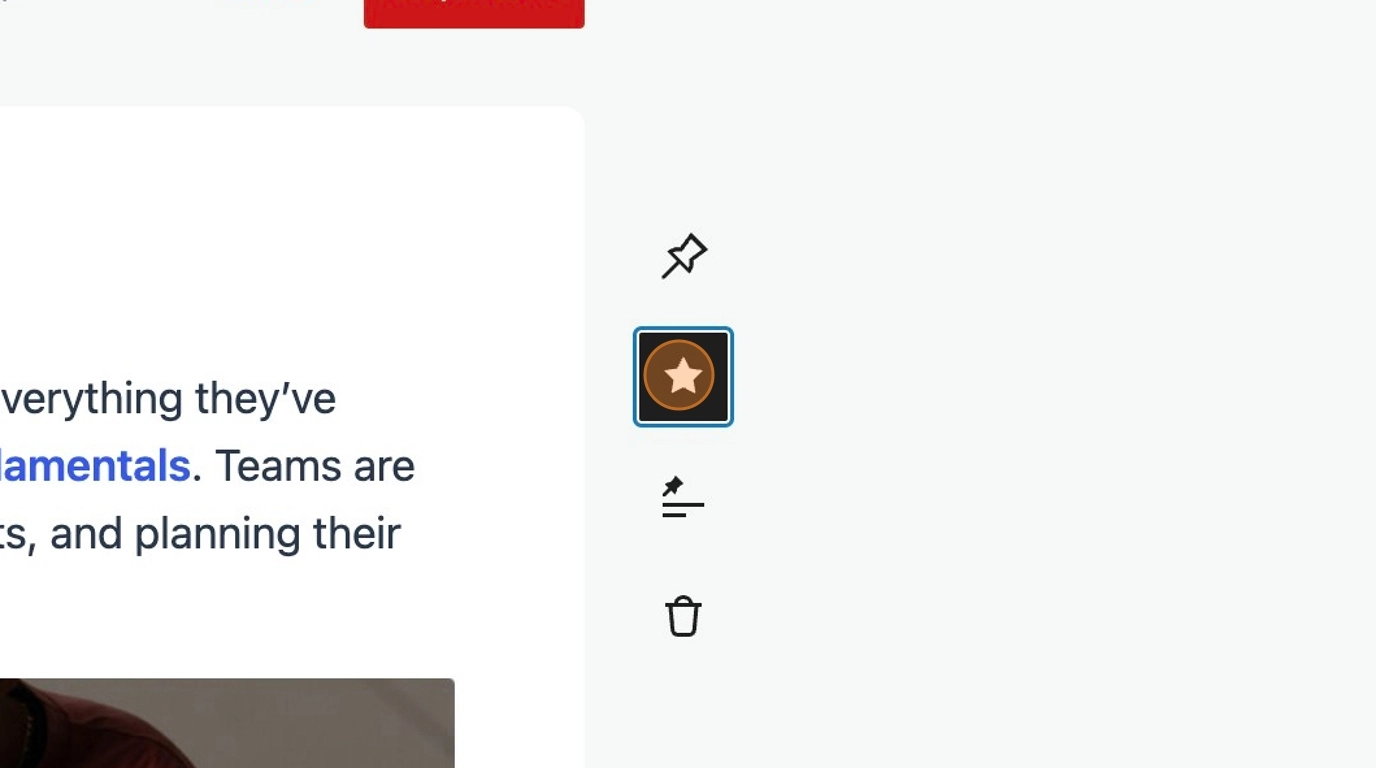
There are 4 tools available when creating live entries, these are pinned, featured, convert to post and delete
Lets take a look at each of these.
Pinned entry
21. Click this icon.
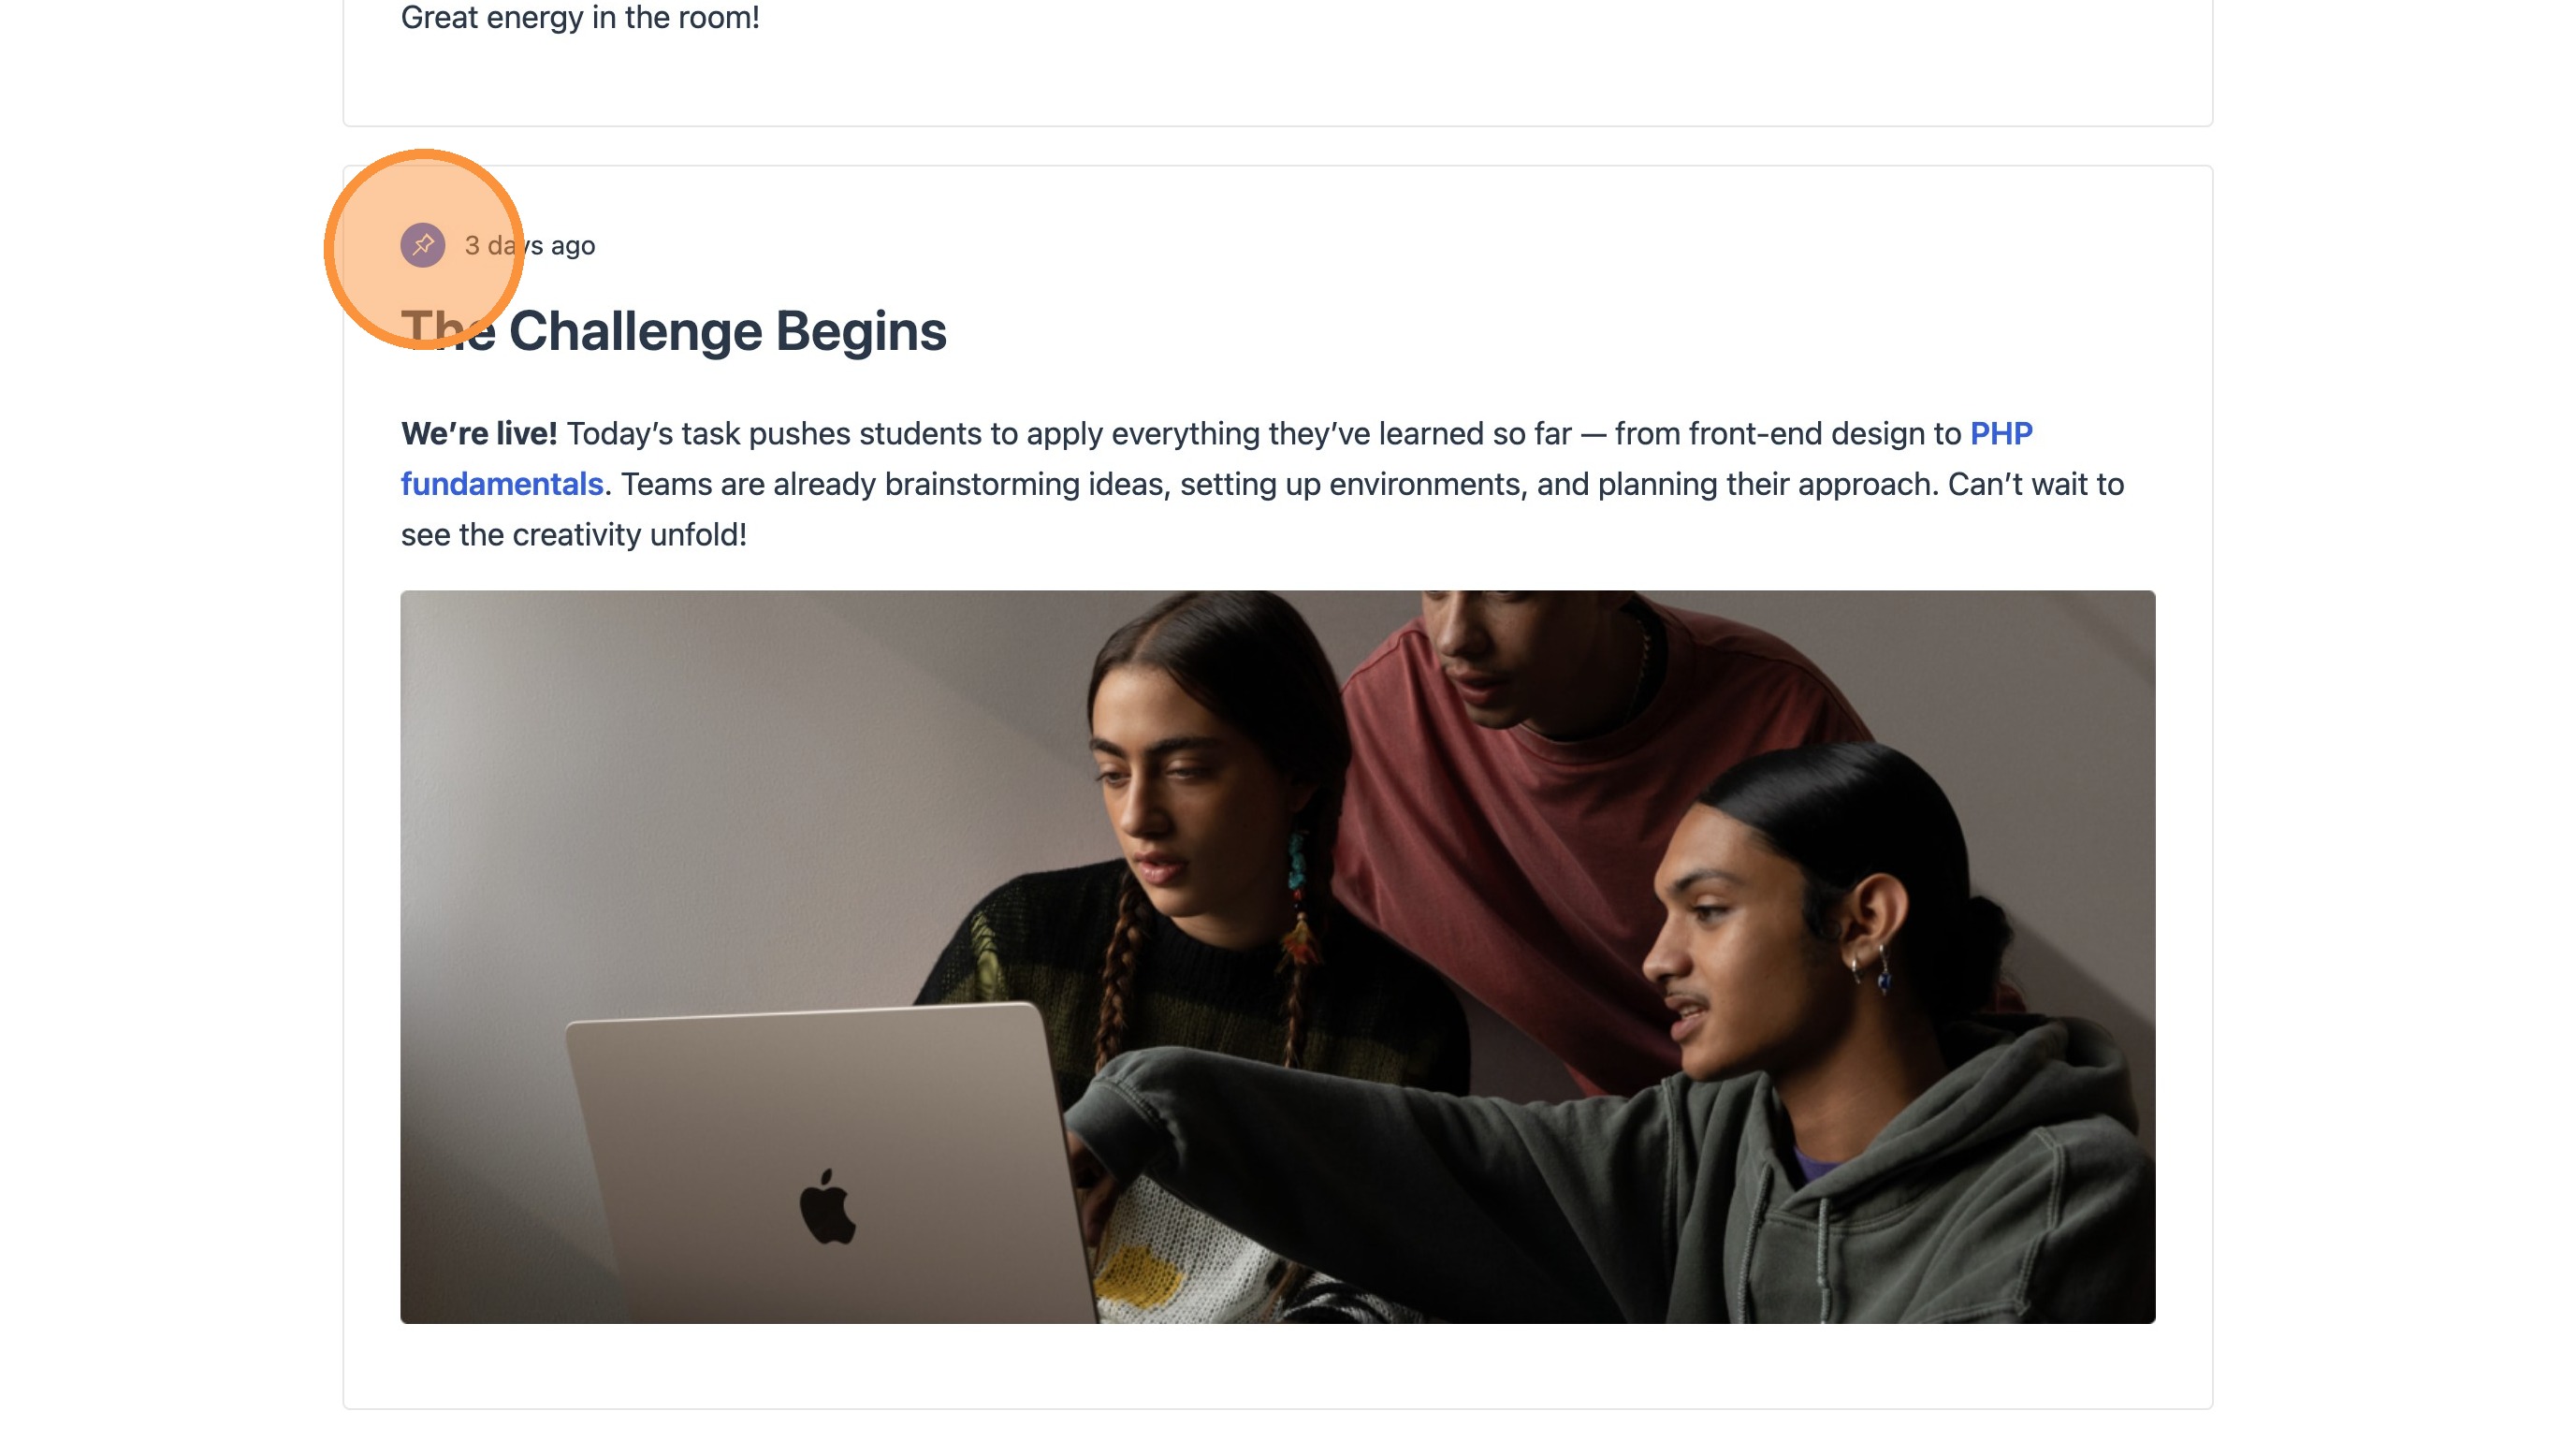
22. You will notice that this has now pinned this entry to the top of the feed.

23. The entry also appears in it’s original position in the feed, and is marked as a pinned entry.
Featured entry
24. Marking an entry as Featured, will ensure it appears within the Live Timeline block. Select the Key Event icon and save the changes.
25. This will change the fill of the icon in the sidebar, to confirm it’s key event status. Any entry that you wish to appear in the Live timeline by default, should be saved as a key event.
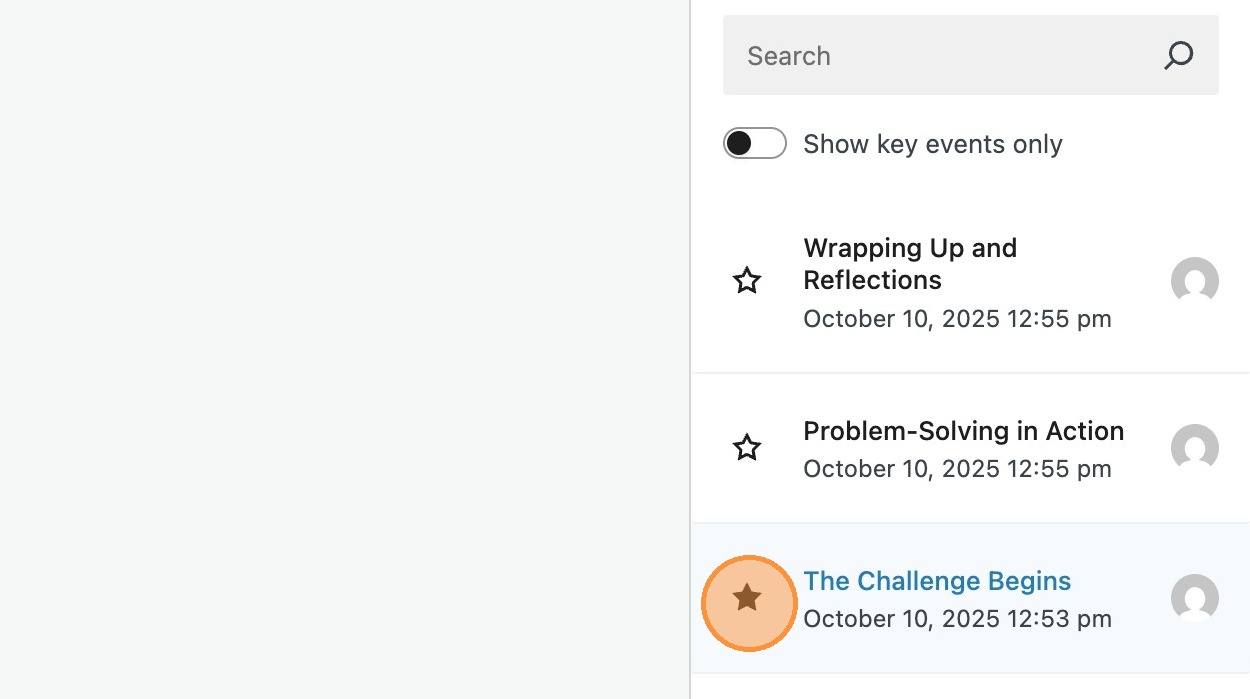
26. Selecting the key events toggle will filter the entries list to key events only.

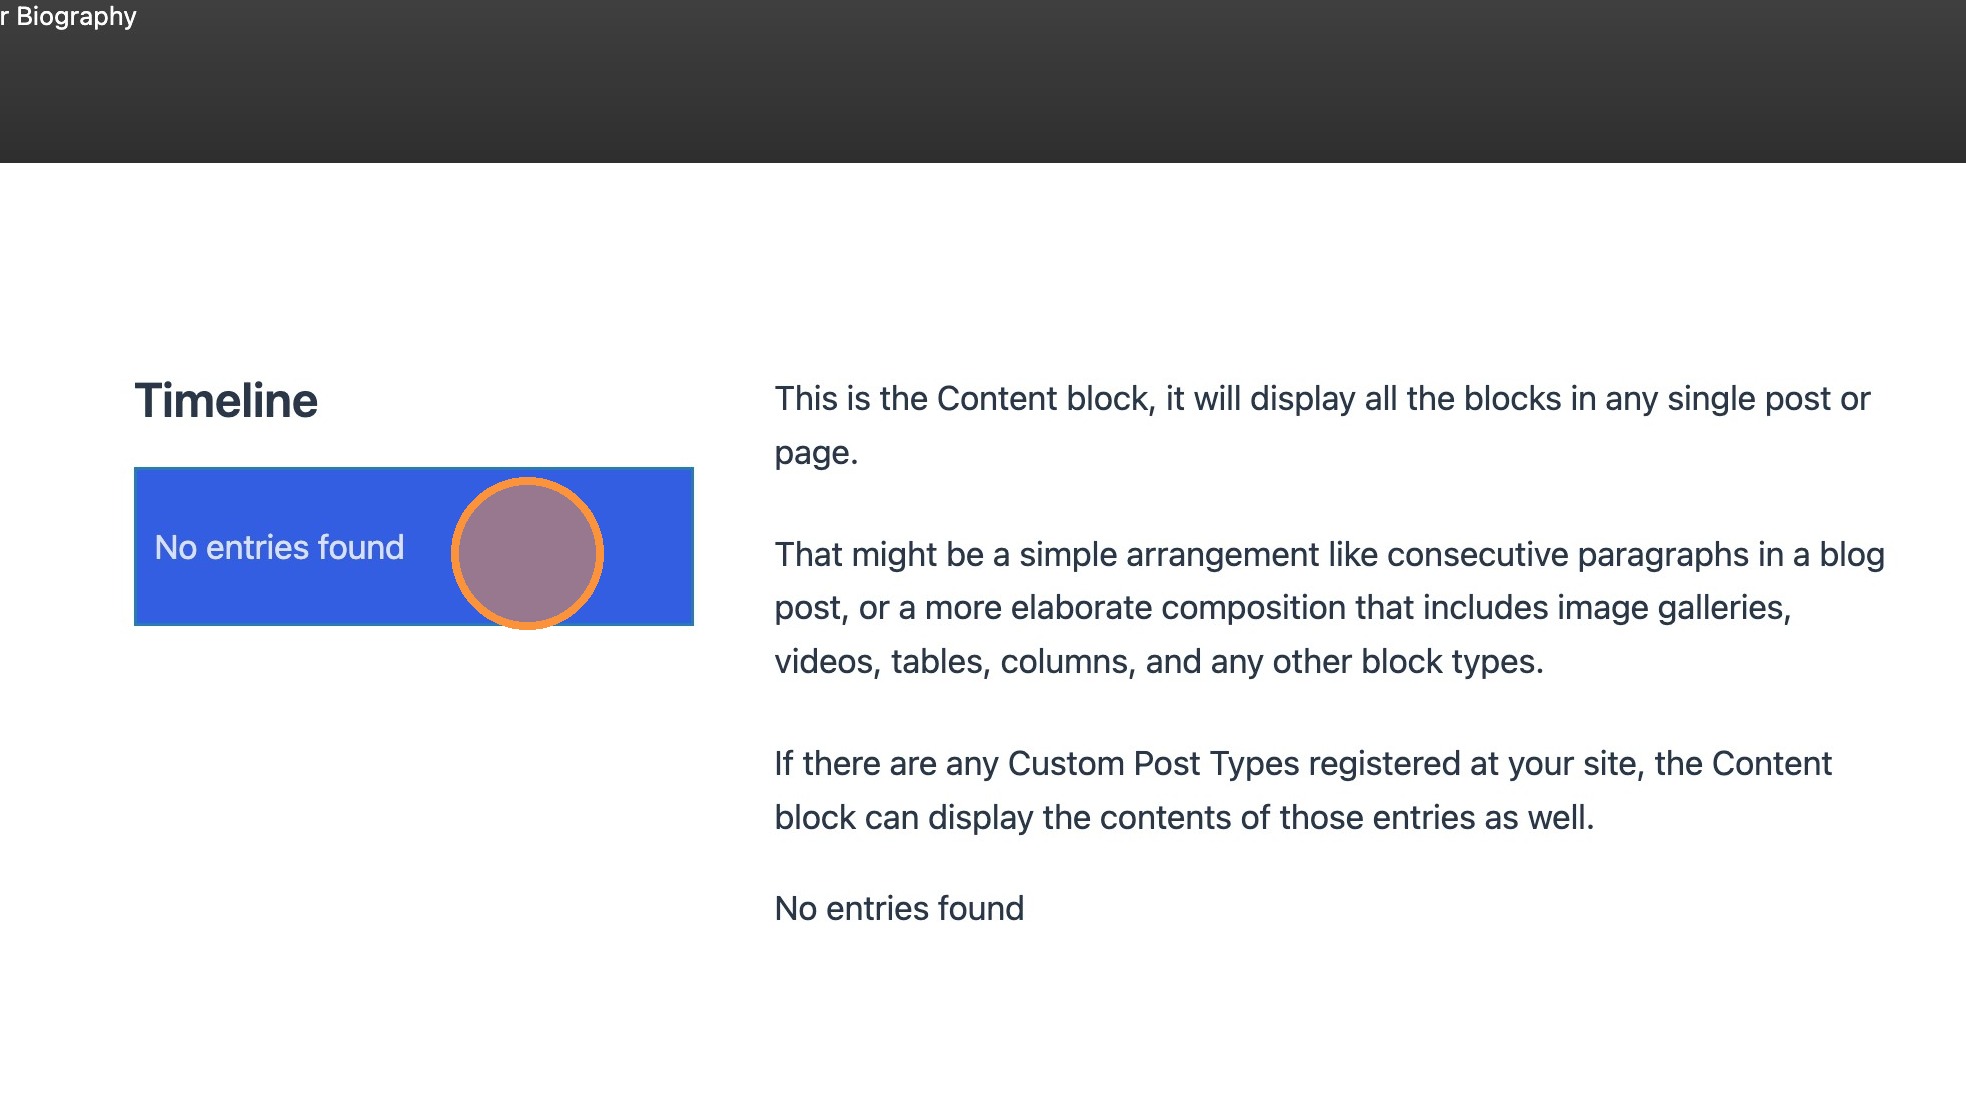
27. A Live Timeline block can now be added in the editor. You will notice that this only shows the events that you have marked as key entries, by default.
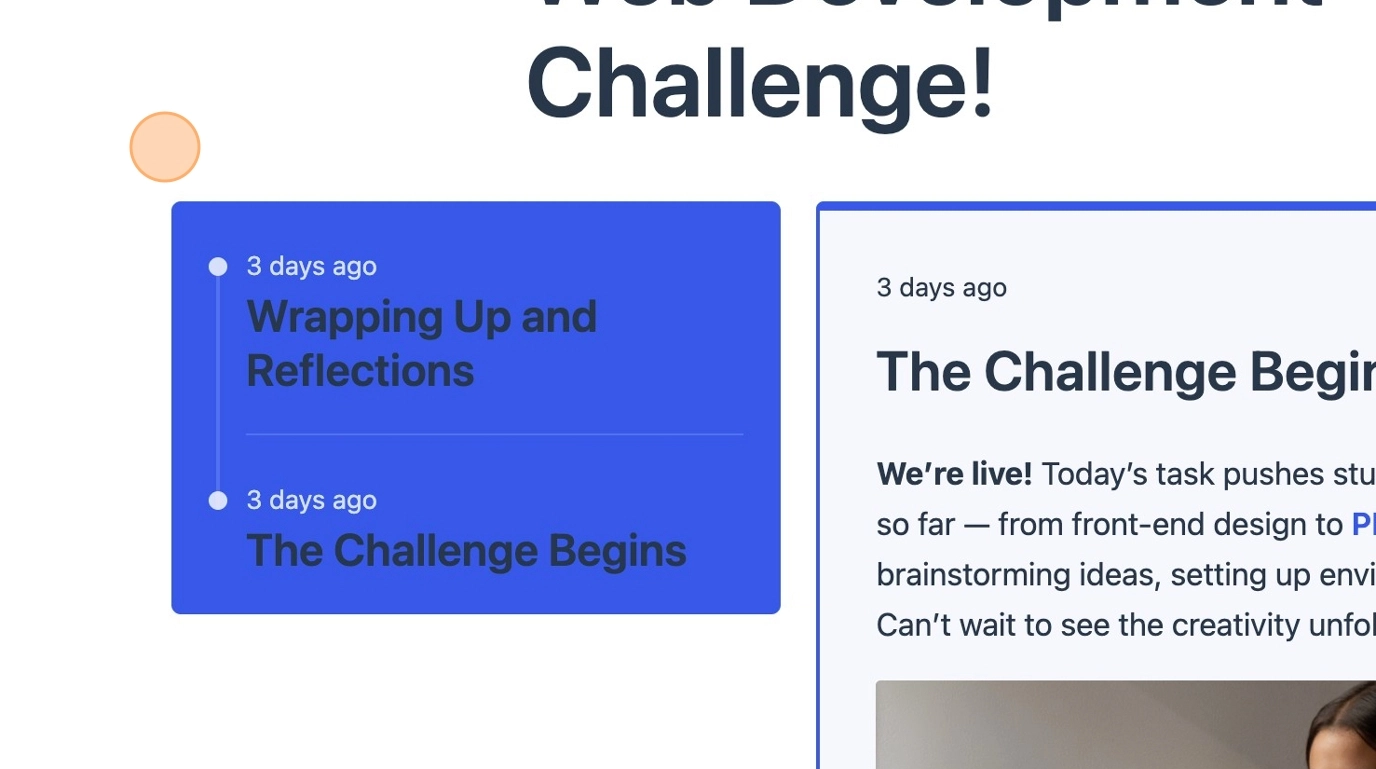
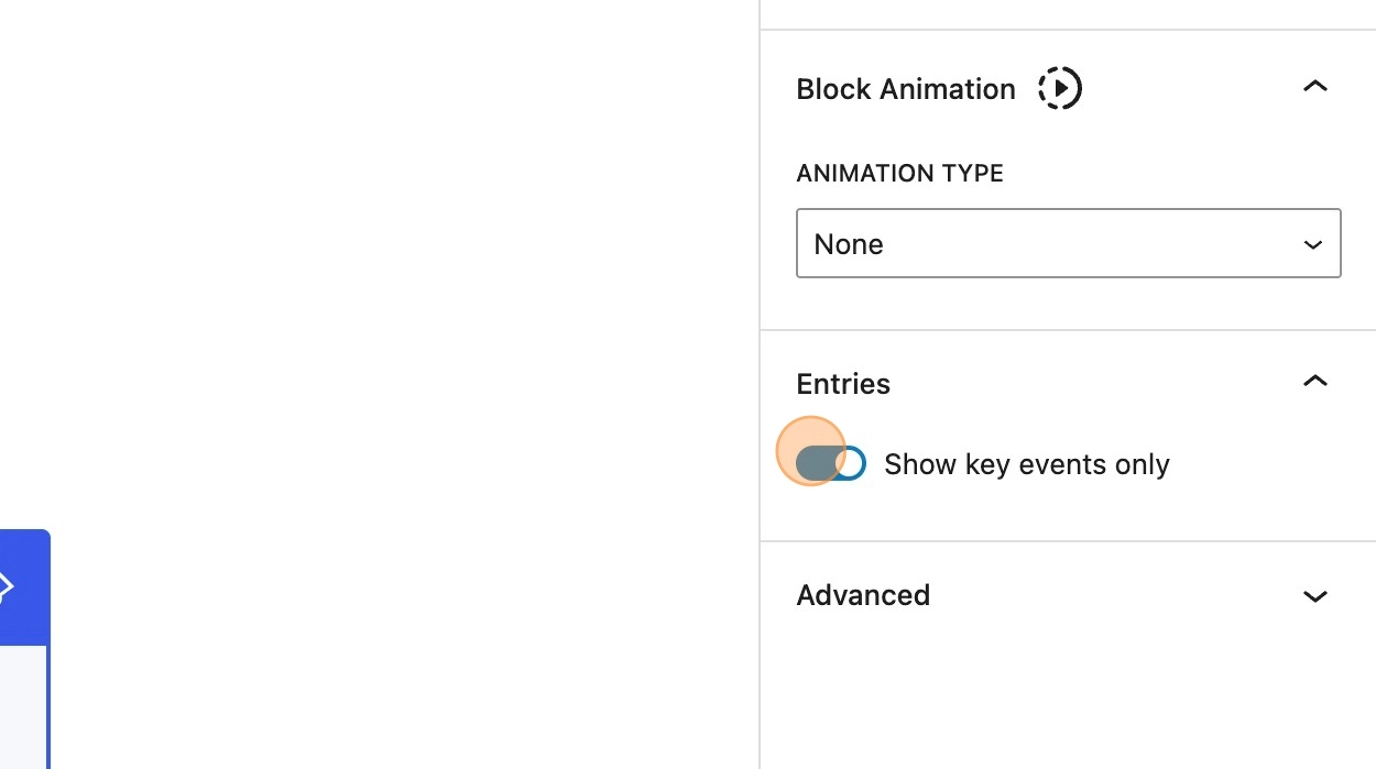
28. Within the sidebar, there are layout options for the Live Timeline block. Toggling ‘Show key entries only‘, displays either all entries, or key events only.
29. It’s also possible to switch the layout of the timeline from vertical to horizontal, dependent on your specific theme requirements.

Please Note: Depending on your specific requirements, it may be more appropriate for both the Live Feed and Live Timeline to be placed within a dedicated page template.
30. Adding a specific page template for live posts, allows you to differentiate between Live and Standard posts.
31. When the template is assigned, it will inherit the entries assigned to the specific post along with any other post content. In this instance, you would not need to add the Live Feed block to your post.
Marking a post as live on the frontend
32. Within the template is also an ideal place to add a Live Flag block. This shows the user a visual prompt to identify a live post. Within your template, select the Live Flag block.
33. When viewed on the frontend, an animated Live Flag is now included.
Converting an entry to a post
34. It may be appropriate to convert a particular entry into its own standalone post. This is simple to do by selecting the icon.
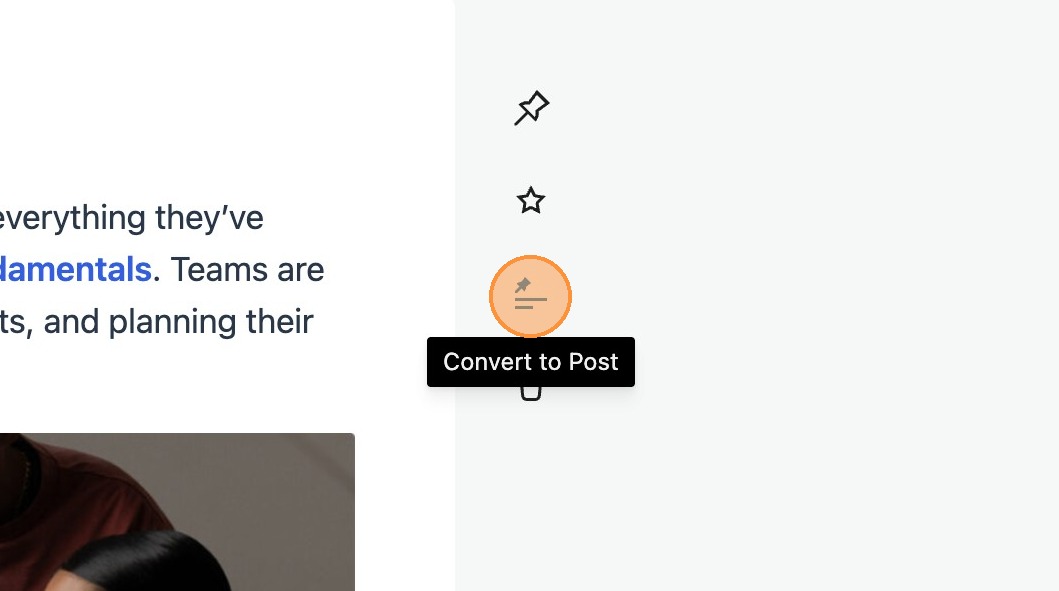
35. This will create a new post containing the content from the live entry at that point in time. No continued link will exist between the Live News Entry and the new post, so you can manage your new post independently.
Deleting an entry
36. To delete an entry, select the delete icon, and confirm your selection. This will remove the entry from the entries list.