What is an Ad slot?

An ad slot is a specific space or container on a webpage where an ad is displayed.
Ad slots are configurable, but by default, MediaPress Ads provides a default range of slots which align with Google recommendations relating to the most popular ad sizes. You can read more on this in Google’s guidance here.
MediaPress ad slots
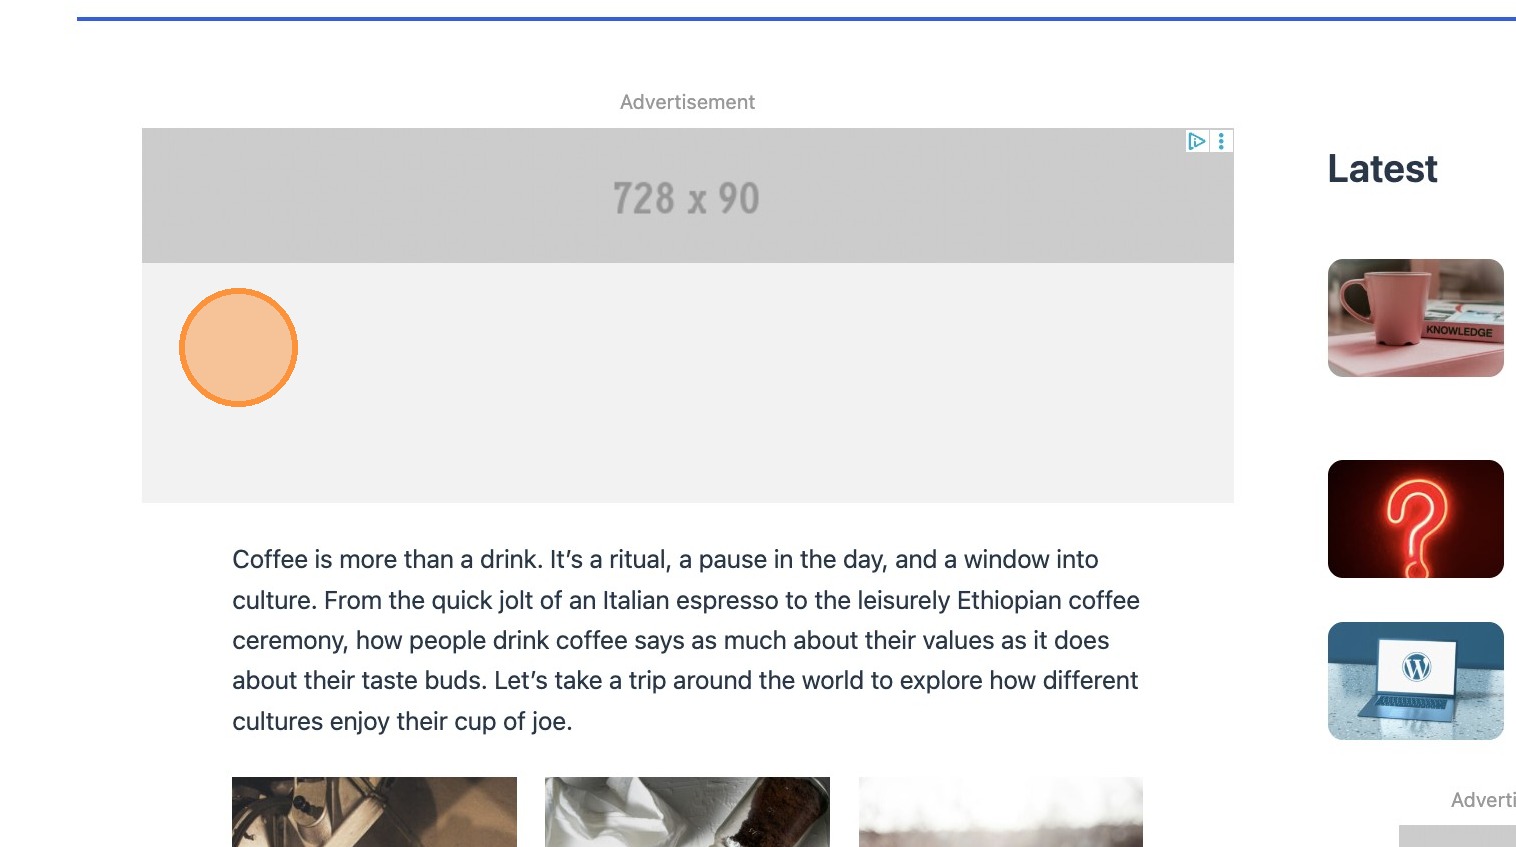
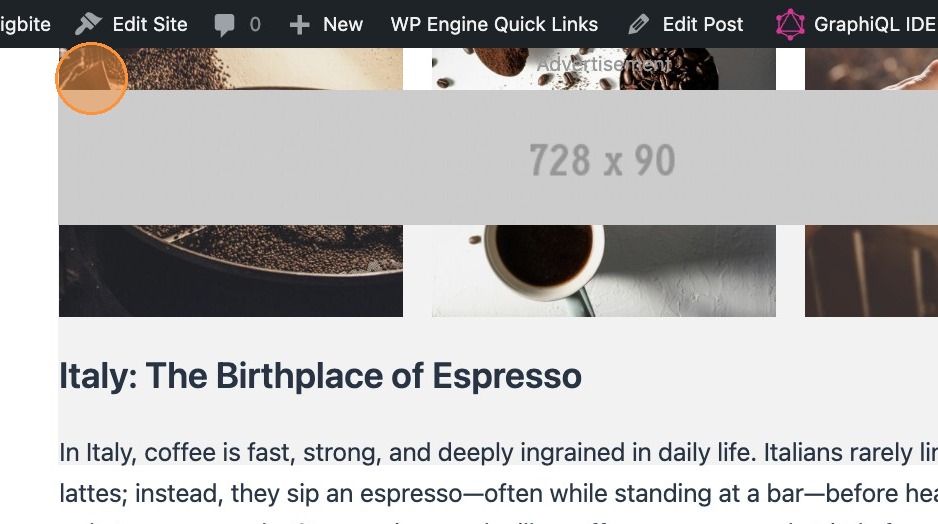
article_banner
This ad slot would typically be expected to be inserted above the main content. The following sizes are applicable:
- 320 x 50px / 320 x 100px on mobile
- 320 x 50px / 320 x 100px / 300 x 250px on large mobile
- 728 x 90px / 728 x 50px on tablet/desktop
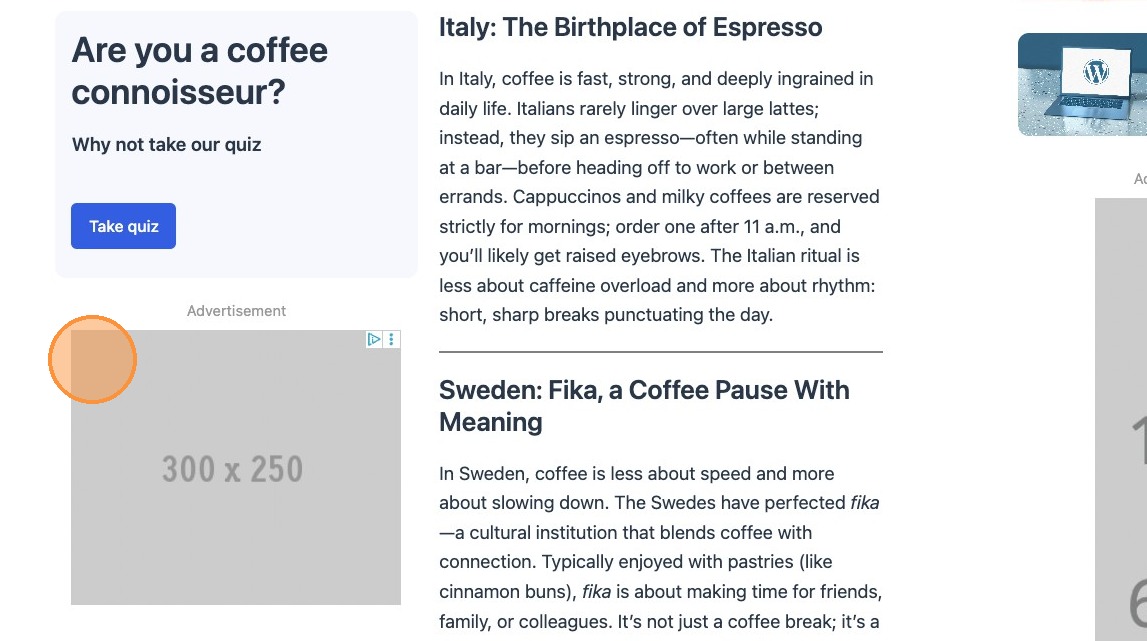
article_mpu
Also known as medium rectangle, this slot is expected to be placed in sidebars, which may stack on mobile, or within content. The following sizes are applicable:
- 300 x 250px any device
article_largeMpu
Also known as half page, this slot is an alternative / double height version of the article_mpu. The following sizes are applicable:
- 300 x 600px
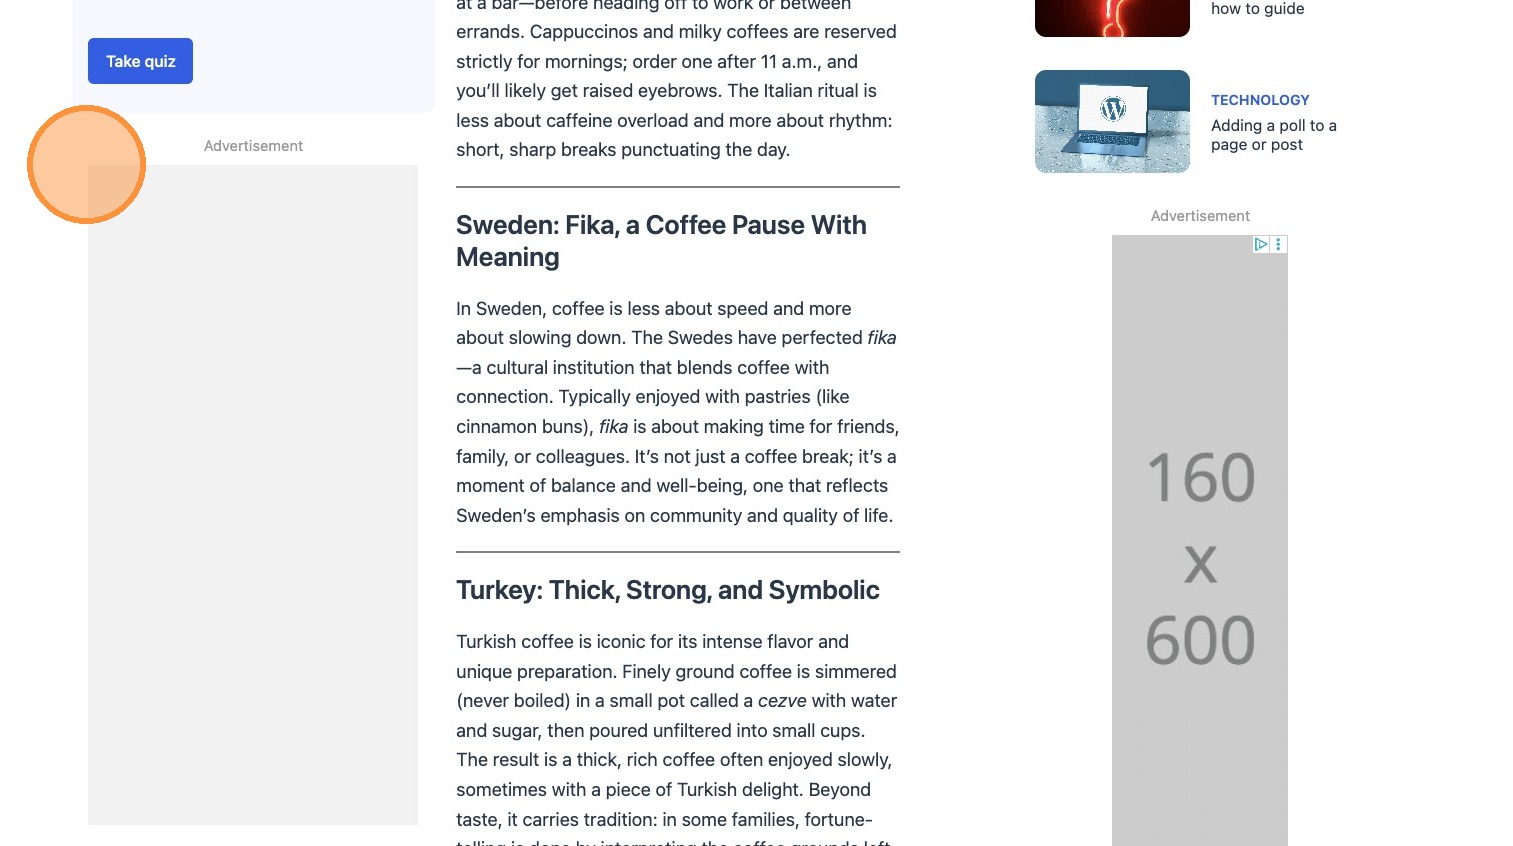
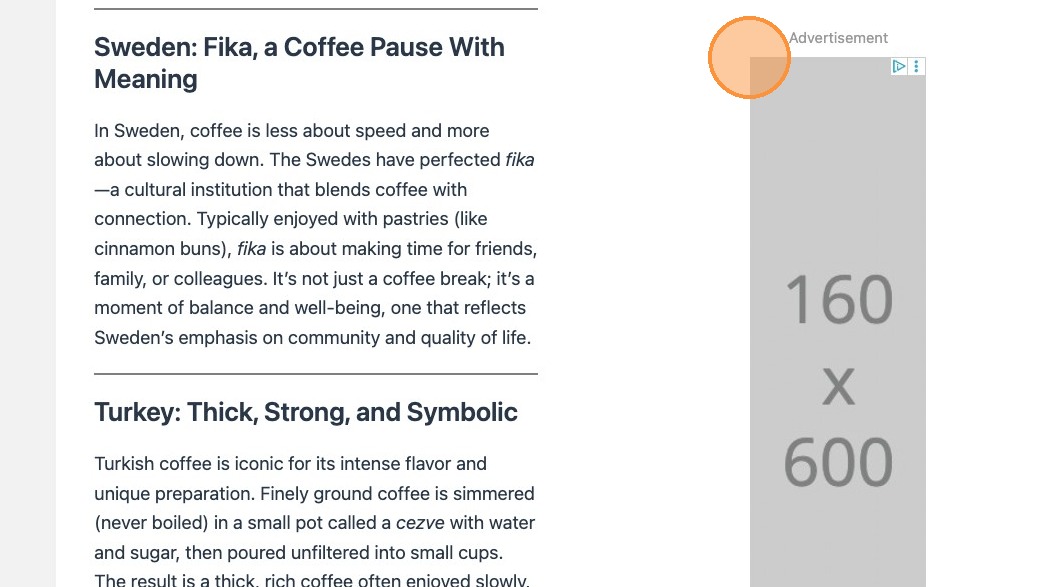
article_skyscraper
Also known as wide skyscraper, this ad slot is expected to be placed in sidebars. The following sizes are applicable:
- 160 x 600px
article_inread
This ad slot is intended to be injected automatically within article content. The frequency can be setup in your config. The following sizes are applicable:
- 320 x 50px / 320 x 100px / 300 x 250px on mobile
- 320 x 50px / 320 x 100px / 300 x 250px / 728 x 90px on tablet
- 320 x 50px / 320 x 100px / 300 x 250px / 728 x 90px / 728 x 250px on desktop

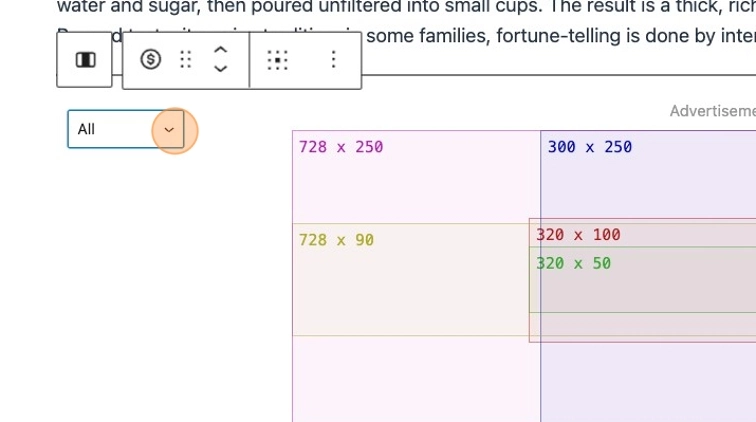
Please Note: Some blocks can house multiple sizes of image, in these instances Google will serve the most appropriate ad size for what will work best. For these blocks, its also possible to manually select the option in the editor. This is demonstrated below.
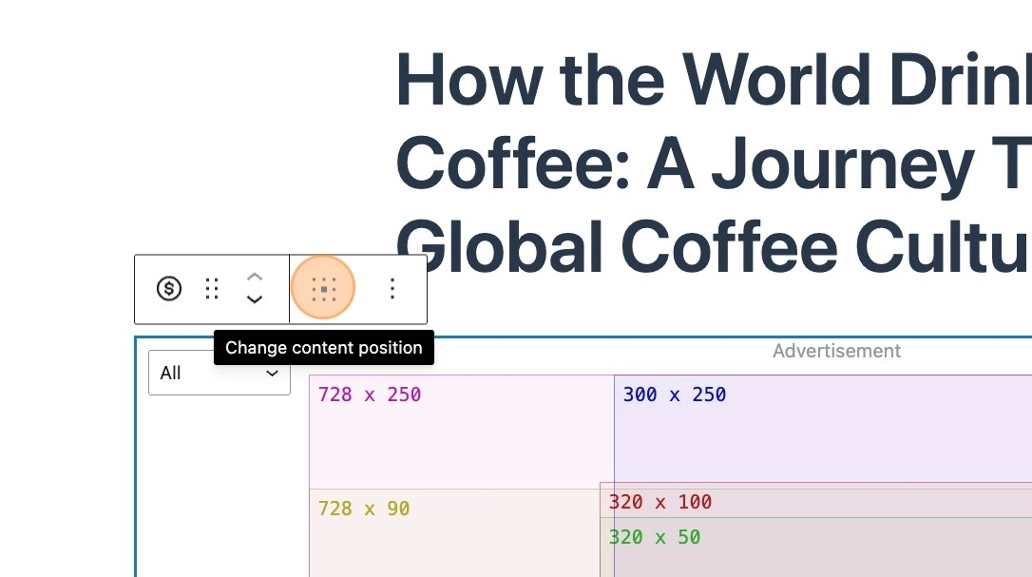
It’s also possible in the block controls to change the content position of your slot.
Adding an Ad slot
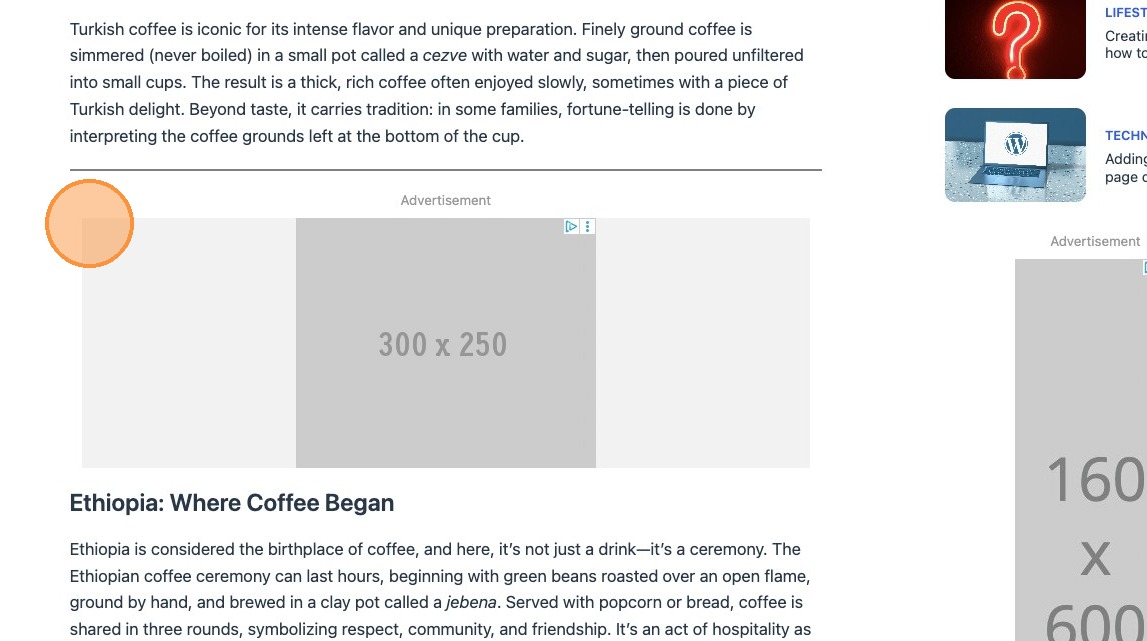
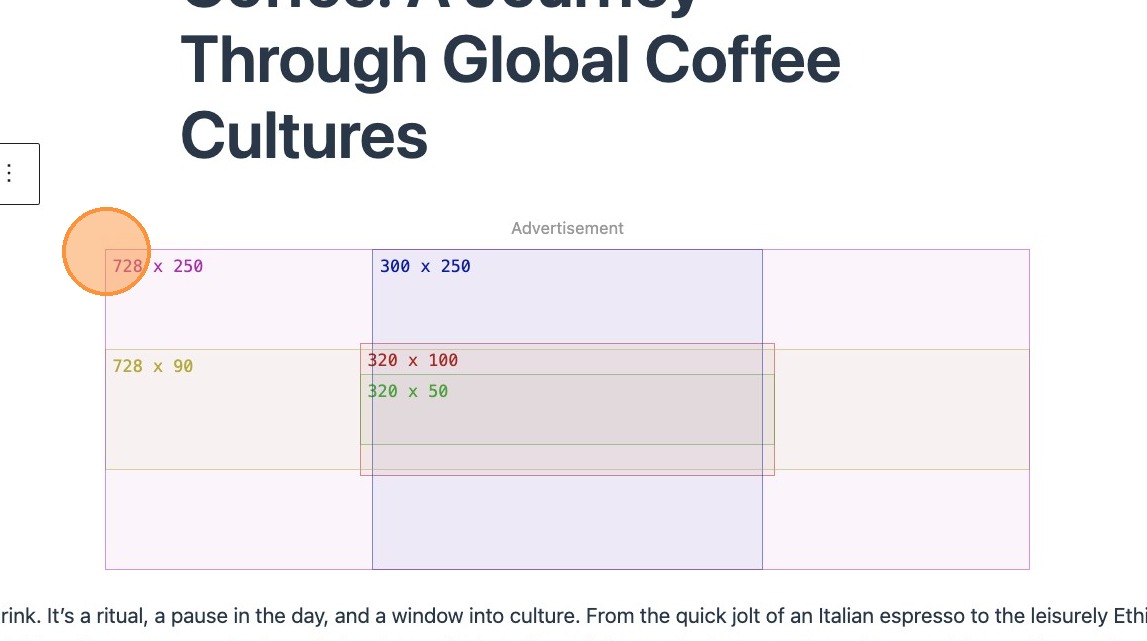
When you add an ad slot to your post you will see a placeholder appear, outlining the different sizes that Google may opt to show in that slot. There are multiple ways to include an ad slot in your post.
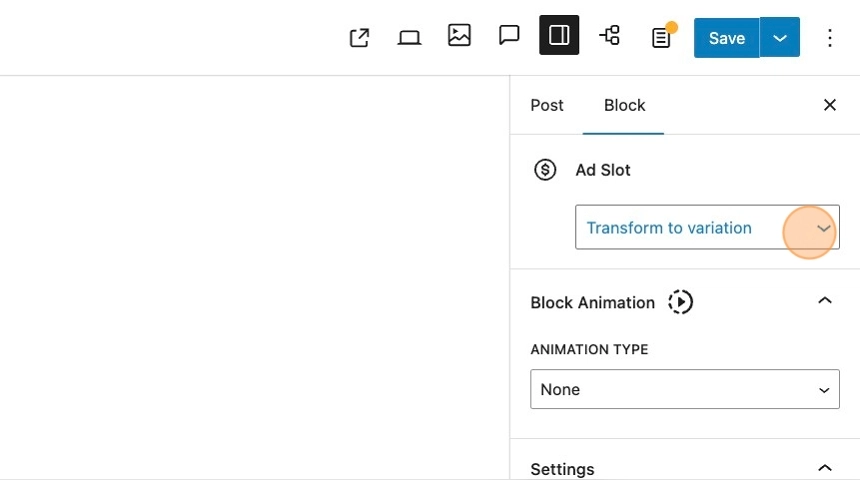
1. Search for and add the ad block. The ad slot itself, renders a placeholder by default.
2. From within the sidebar you can now choose the variation of your ad slot, using the dropdown.
3. Selecting the required variation will display the placeholder in the editor.
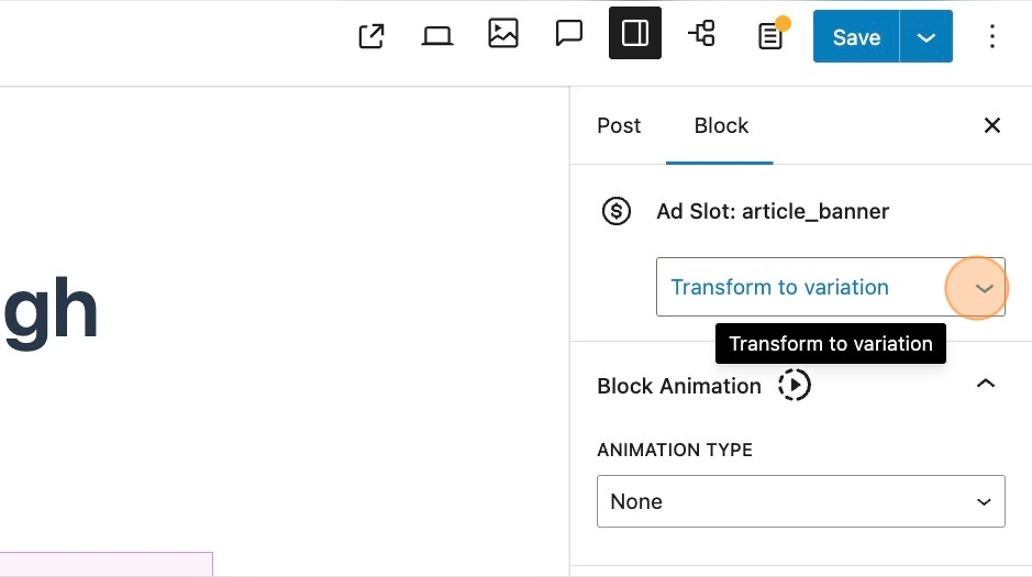
4. Alternatively, if you know the desired variation, you can add the specific ad block straight into the editor. This will add the block to the editor in the same way.

5. You again, have the option in the sidebar to change the variation depending on your specific requirements.
Ad Unit Path
Before inserting ad blocks into your posts and templates you will need to ensure you have the ad unit path configured for your site. This path is the unique location where a specific ad unit lives. Lets break this down for reference.
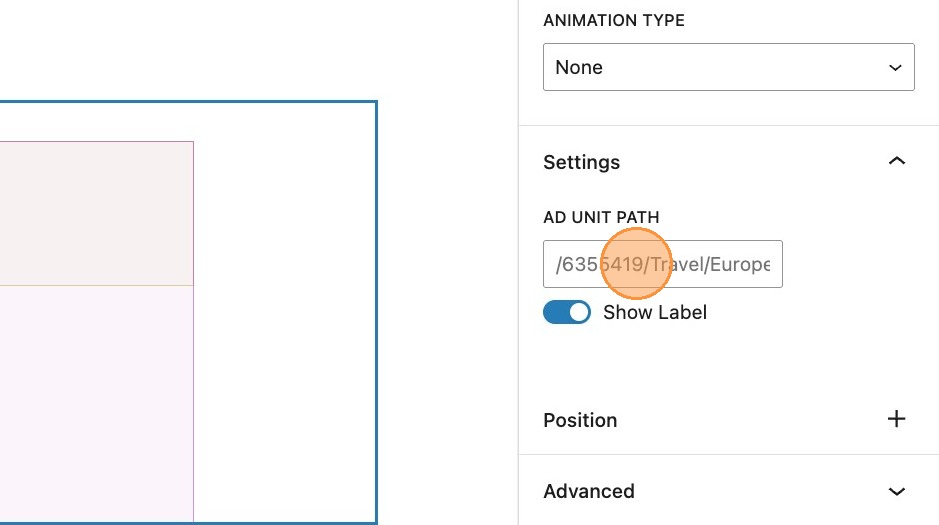
In this example [[/6355419/Travel/Europe]] :
/6355419– is the network code (also called the publisher ID).
It uniquely identifies your Google Ad Manager account.Travel– is the parent ad unit or category.
In this case, it’s likely a top-level section of your site (e.g., a section about travel).Europe– This is a child ad unit under Travel
It narrows the scope, so ads served here target content specific to Europe.
Essentially this path tells Google to serve an ad in the Europe ad unit, which is part of the Travel section of network 6355419.
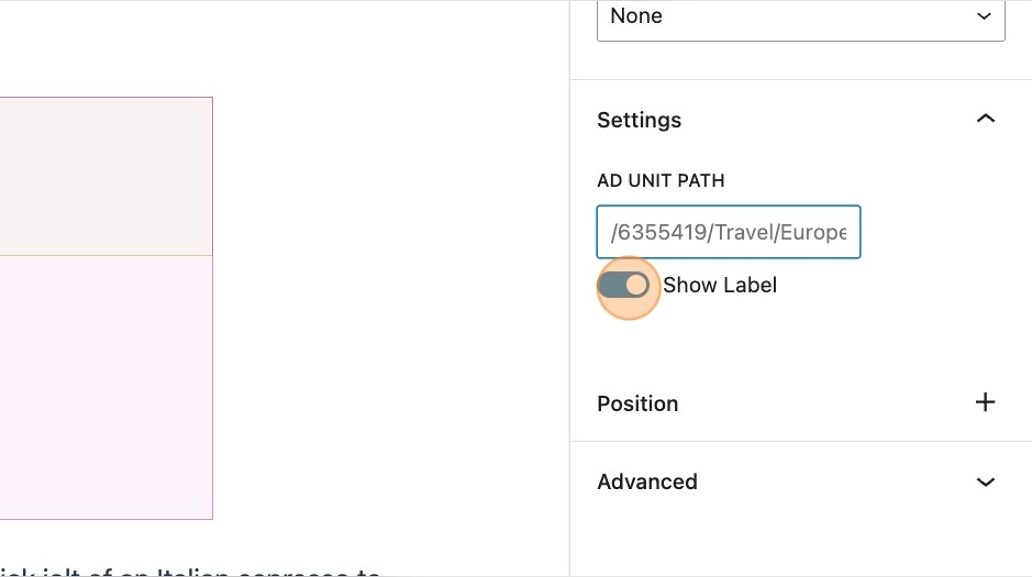
6. The ad unit path property will be populated with the default from your site settings, however if you wish to override it on a specific ad block you can do that here.
7. It’s possible to configure additional unit paths within the site settings, accessible from the WordPress dashboard. This ensures ad placements are manageable without the need to touch any code.
Additional ad slot settings
8. By default, ads show an Advertisement label above the ad. Toggling the show label toggle off will remove this. This can be toggled back on at any time.
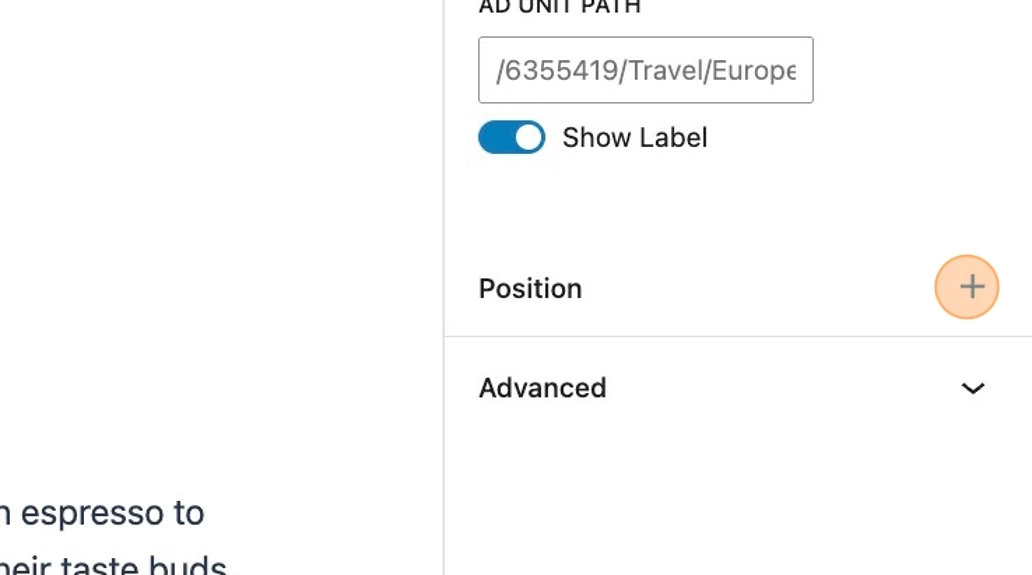
It’s also possible to alter the position of the ad block.
Please note that when using sticky positioning, the ad block will stick to the top of the viewport when scrolling. It’s therefore important to establish the relevance of the ad in relation to your content.
Should your ad be be based on whole post or page content, then applying sticky positioning independently to the ad block would be best practice, as shown in the below example.
9. When viewing on the frontend, you can see this in action. This clip demonstrates this functionality.
However, if your ad is more specific to a section of the content, and you require the ad to be in view whilst the reader scrolls through that section of content, then applying grouping to the section of content would be necessary. The following clip demonstrates this.
10. Any ad that has a sticky position set, will be assigned a pin icon in the document overview panel.
