Getting Started
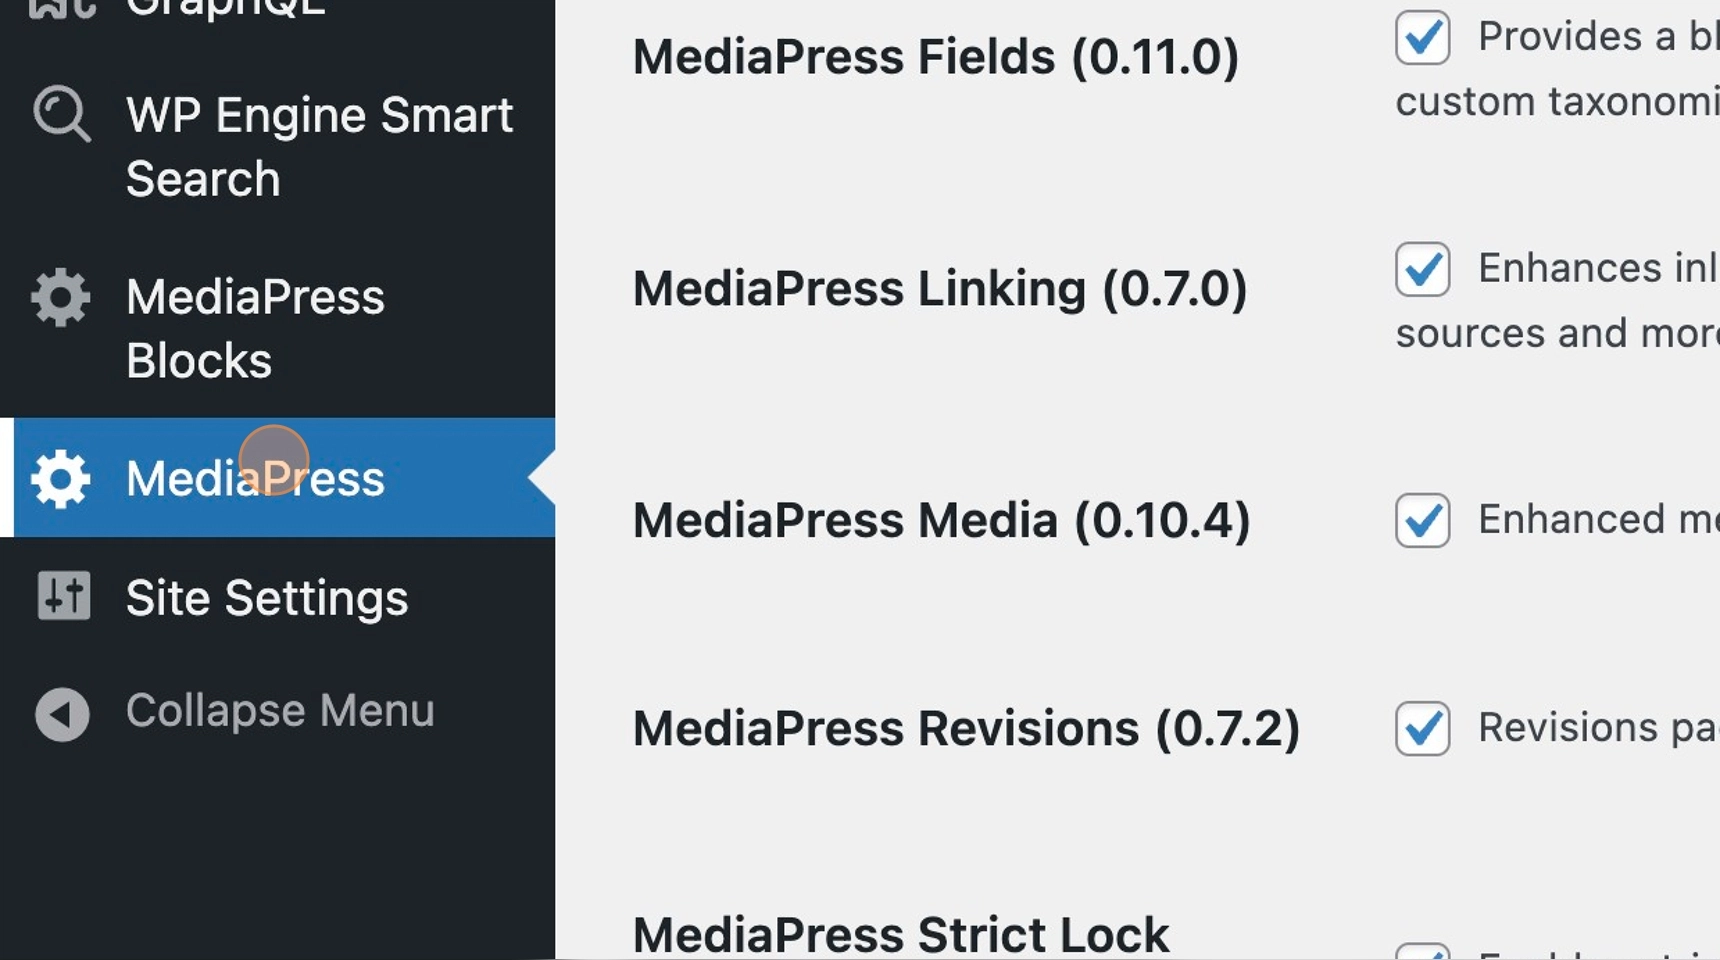
1. Enable the publication checklist module in the MediaPress settings.
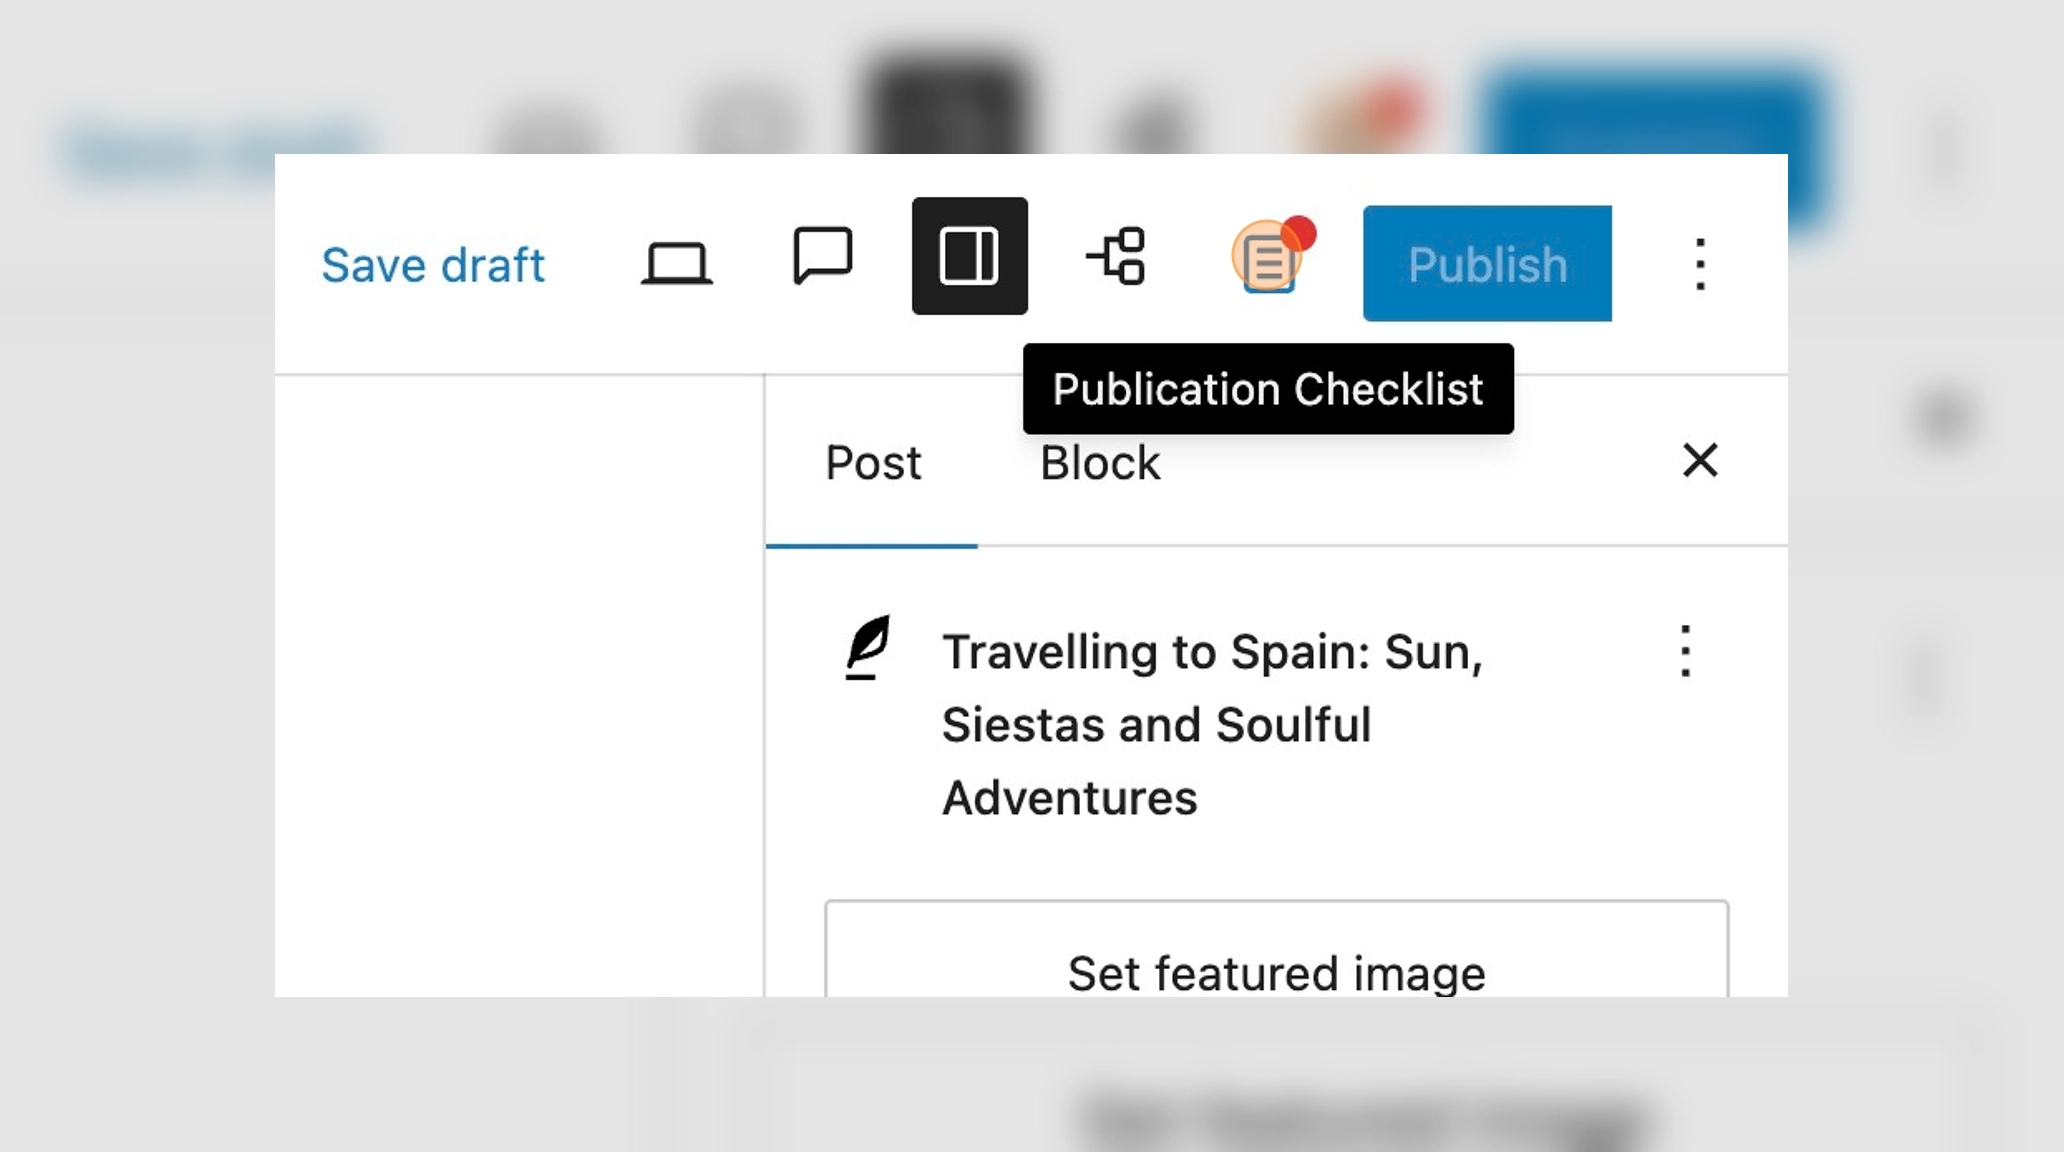
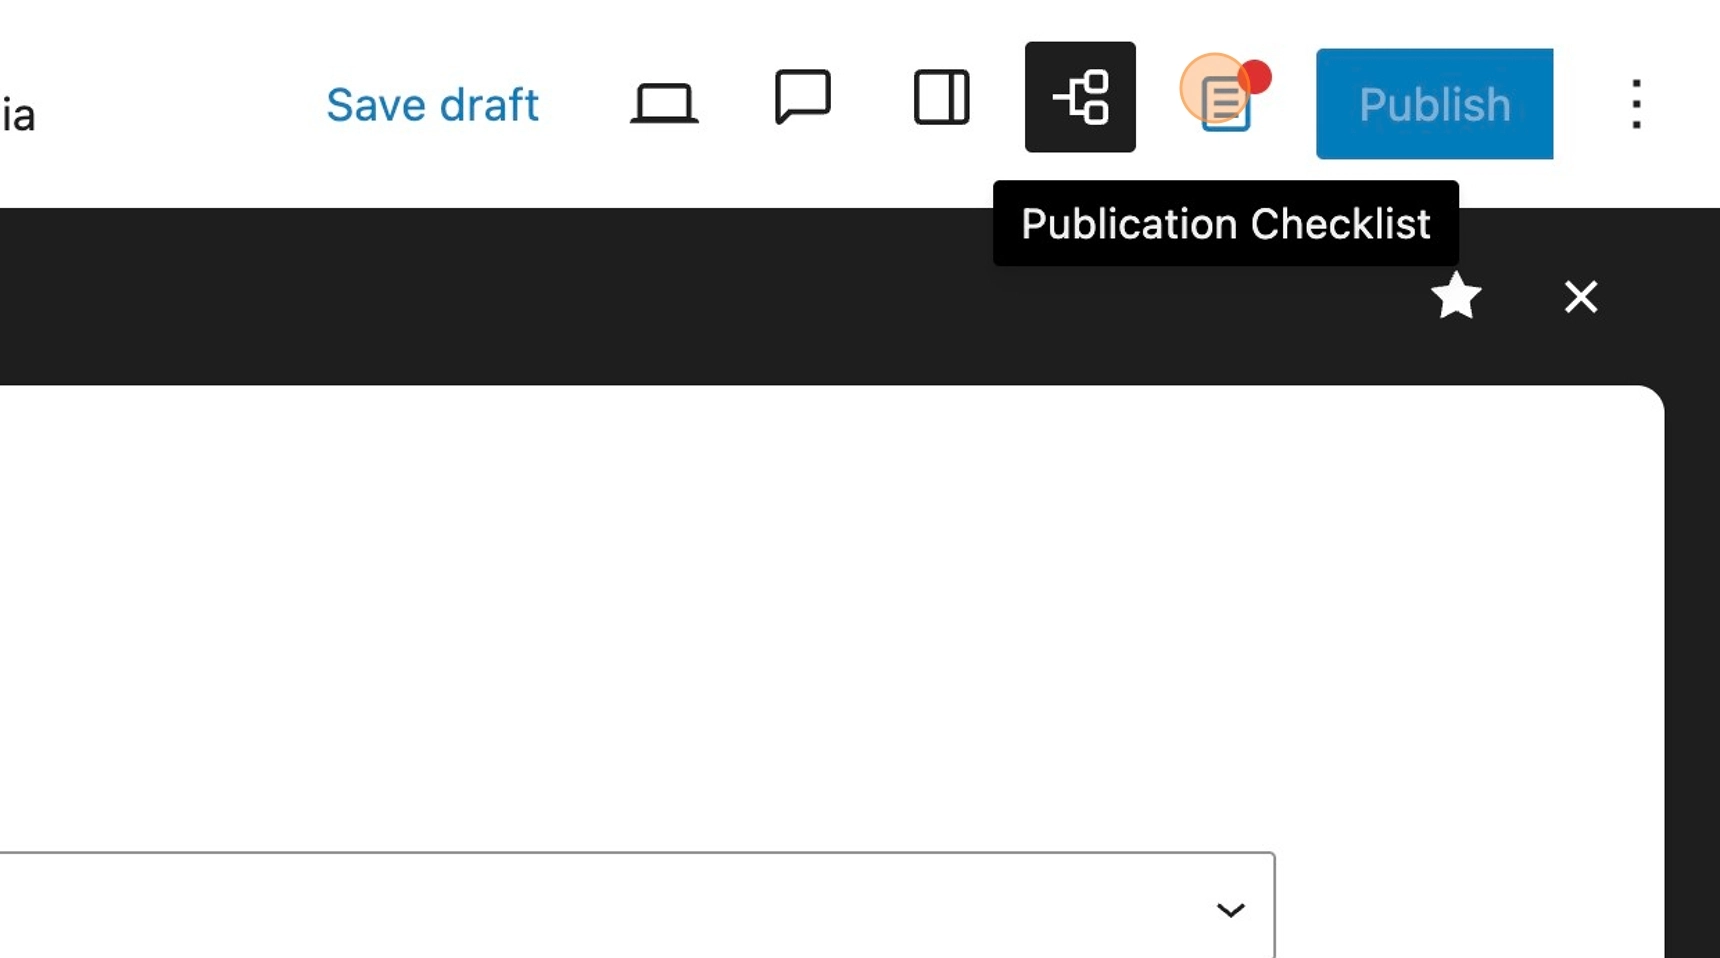
2. Within the editor toolbar, you will see the publication checklist icon. Selecting this will show you a preview of the checklist.
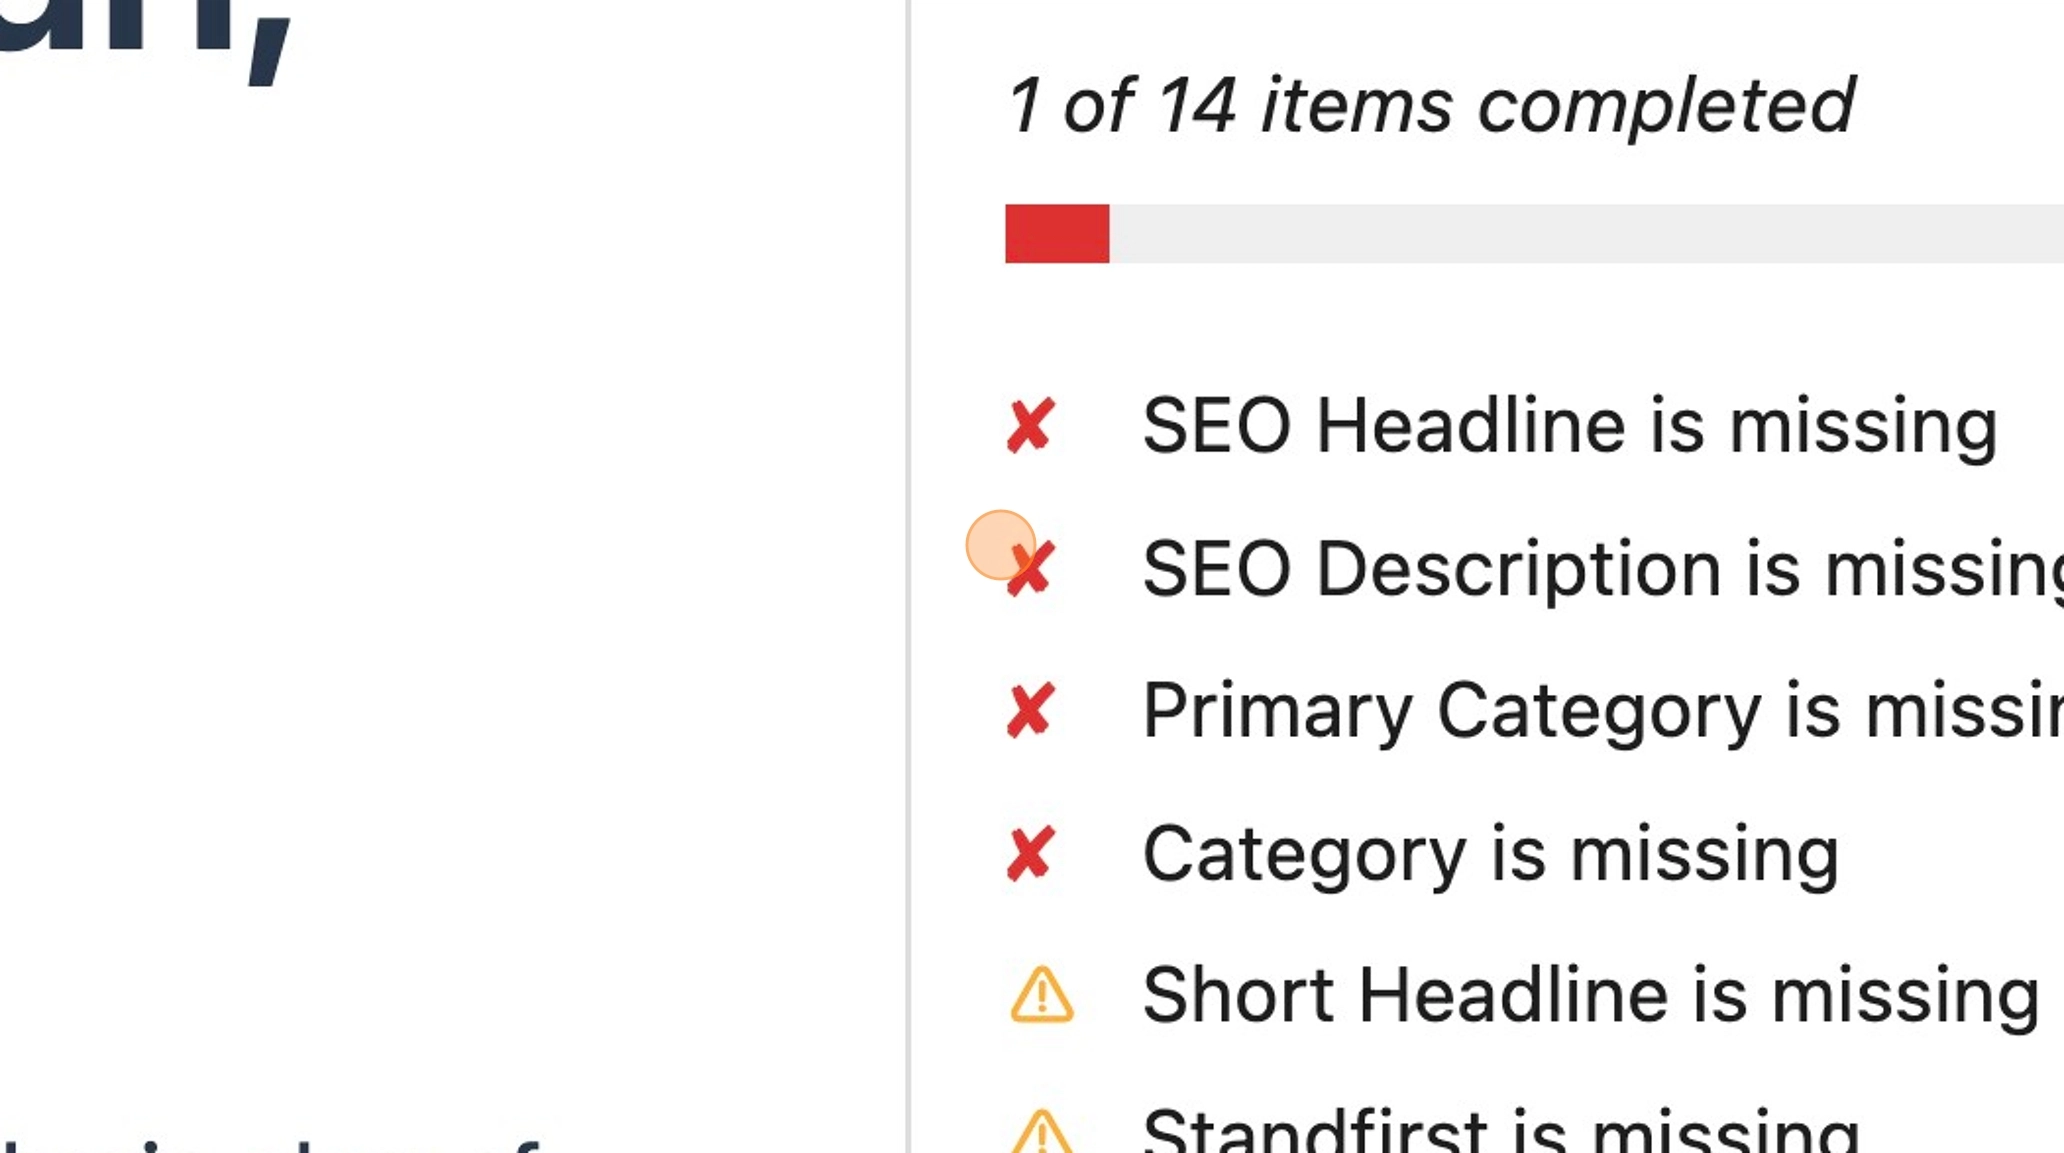
3. Within the sidebar, you will see the publication checklist panel. This panel identifies how many items on the checklist have been completed.

4. Items with a red X indicate a hard blocker. This means that you are unable to publish your post until these items have been addressed. The publish button will be disabled.
5. You will also see a red notification symbol on the checklist icon, this indicates that there are outstanding items that will block publication.

6. The amber warning symbol is an advisory. These can be ignored if necessary, however these are recommended fields for your post.

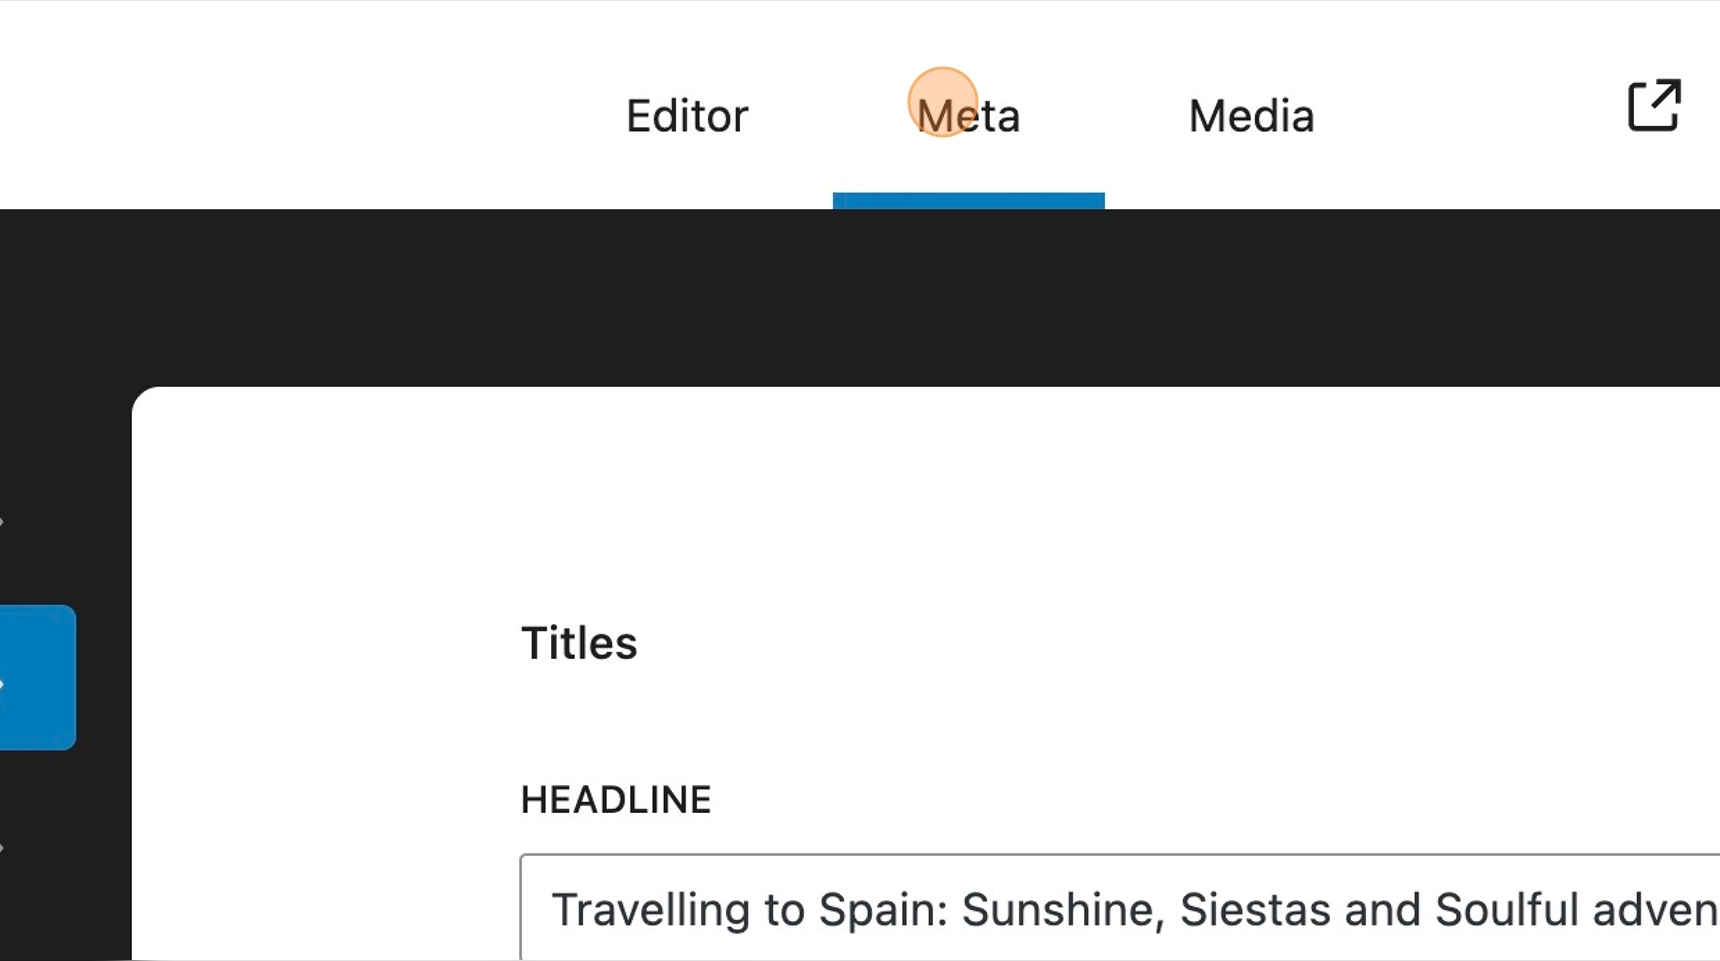
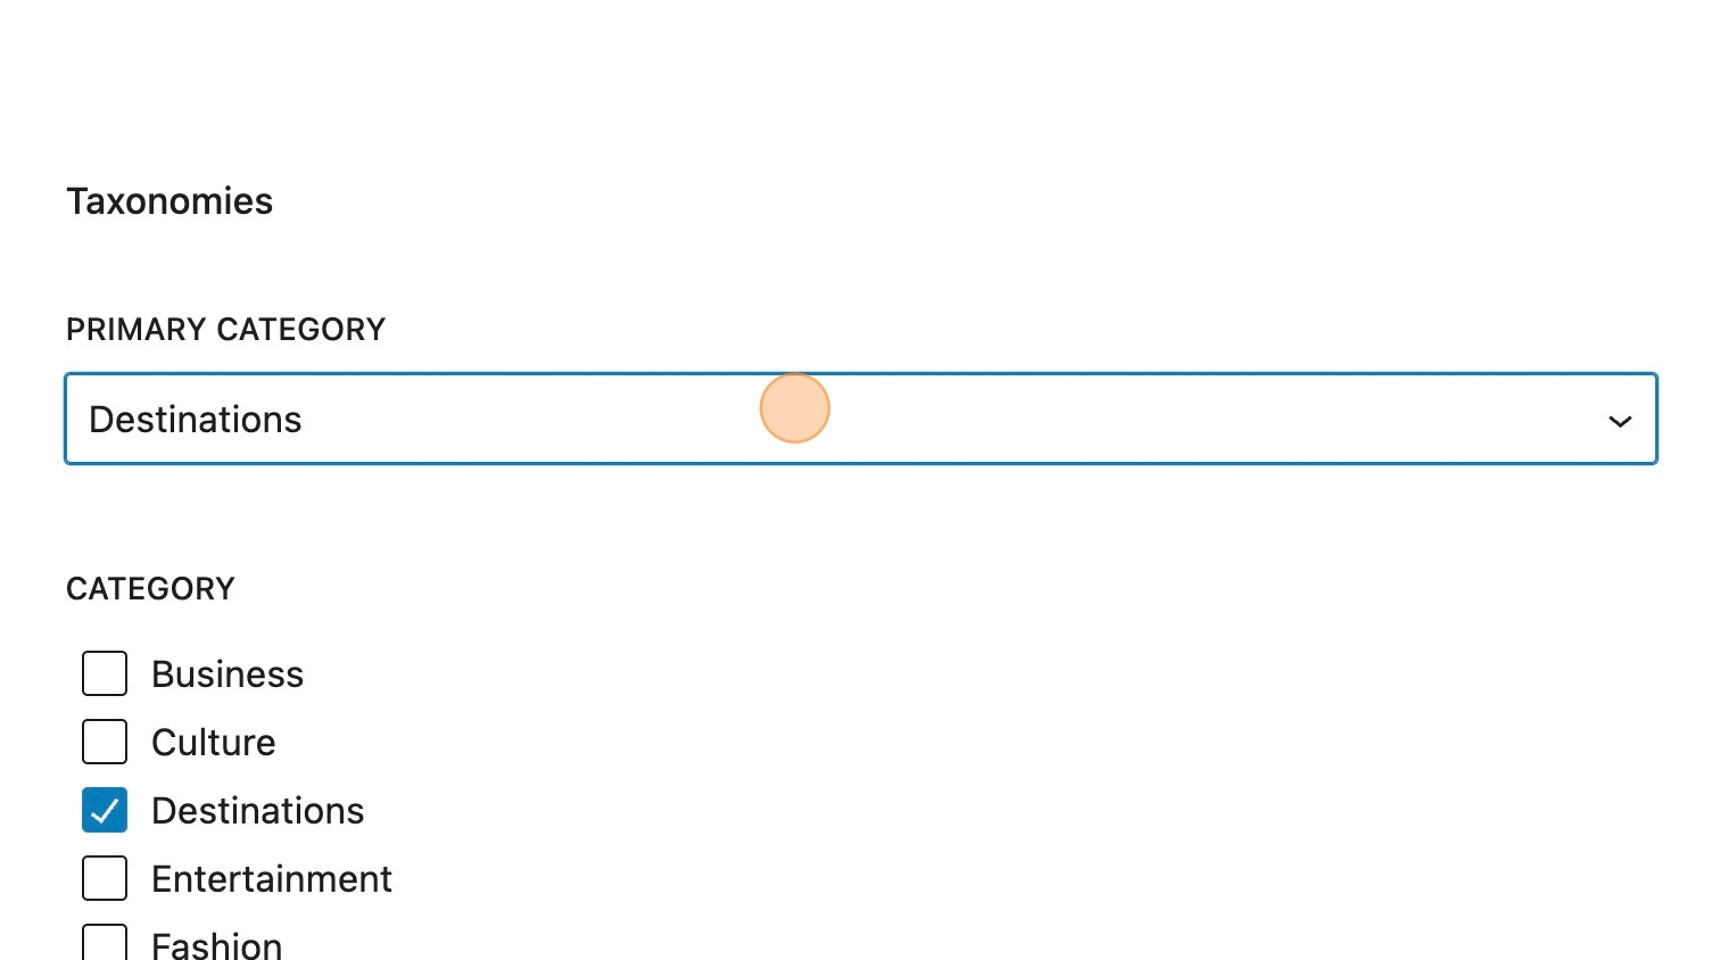
7. In our example, the post titles are required fields, along with the taxonomy fields. Heading over to the meta panel you can add the necessary fields, required in order to publish the post.
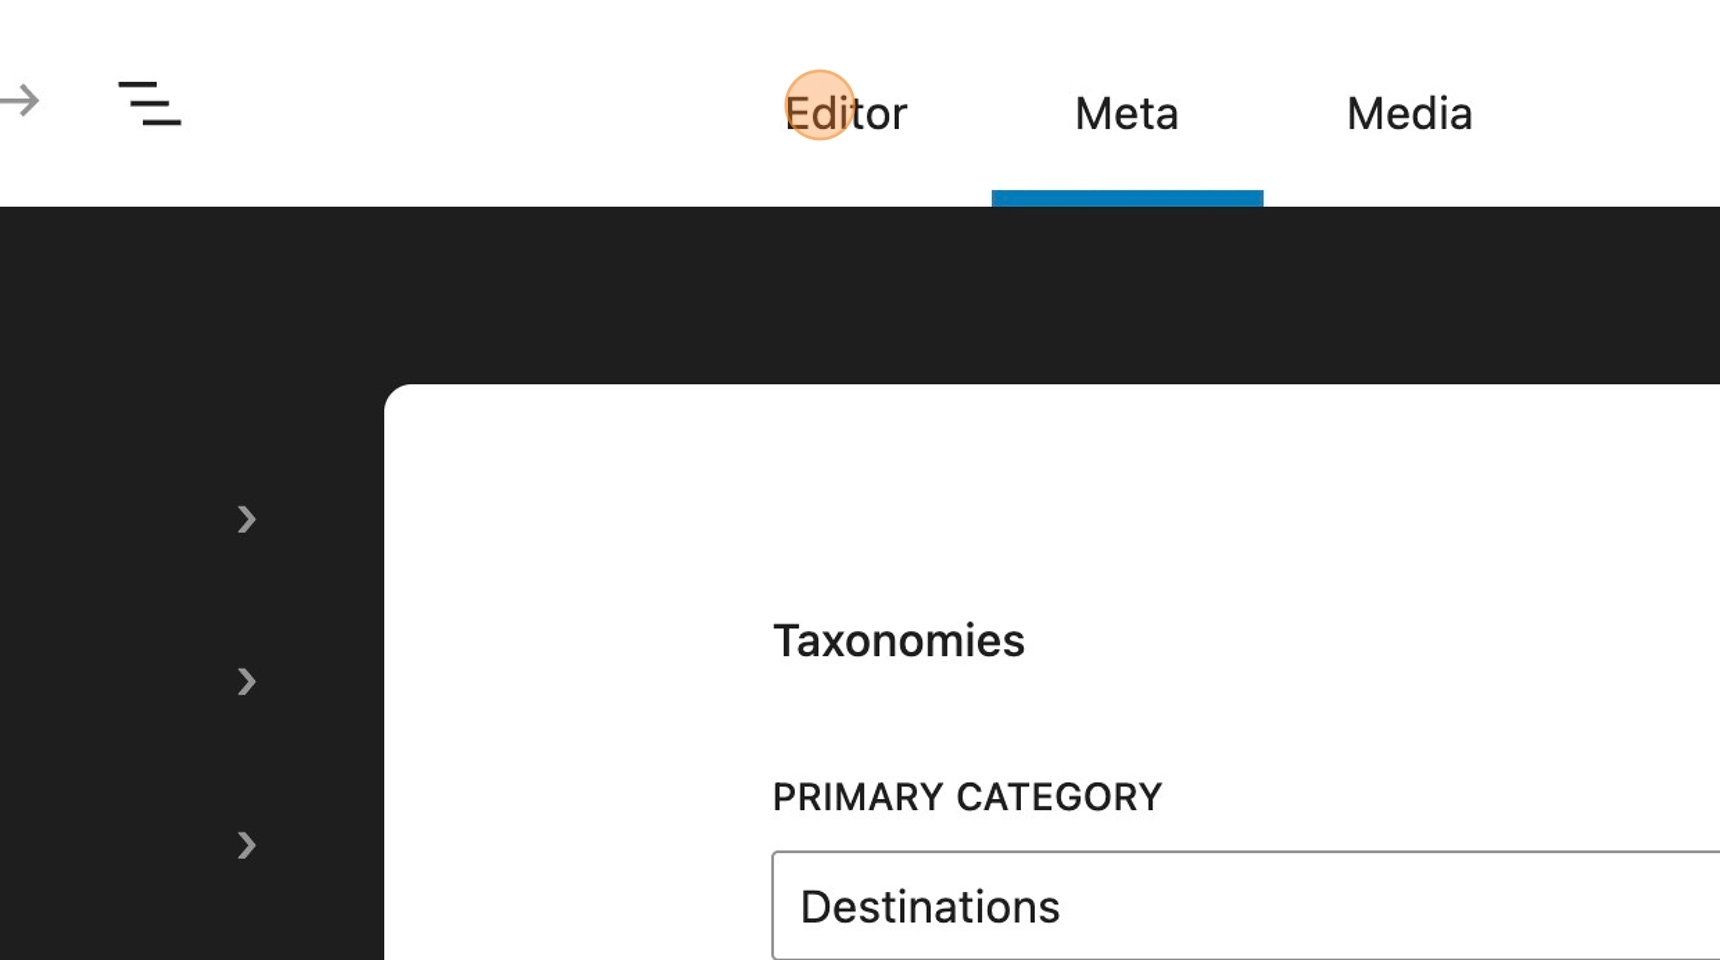
8. From within the meta panel, clicking the icon in the toolbar will reveal your remaining checklist items.

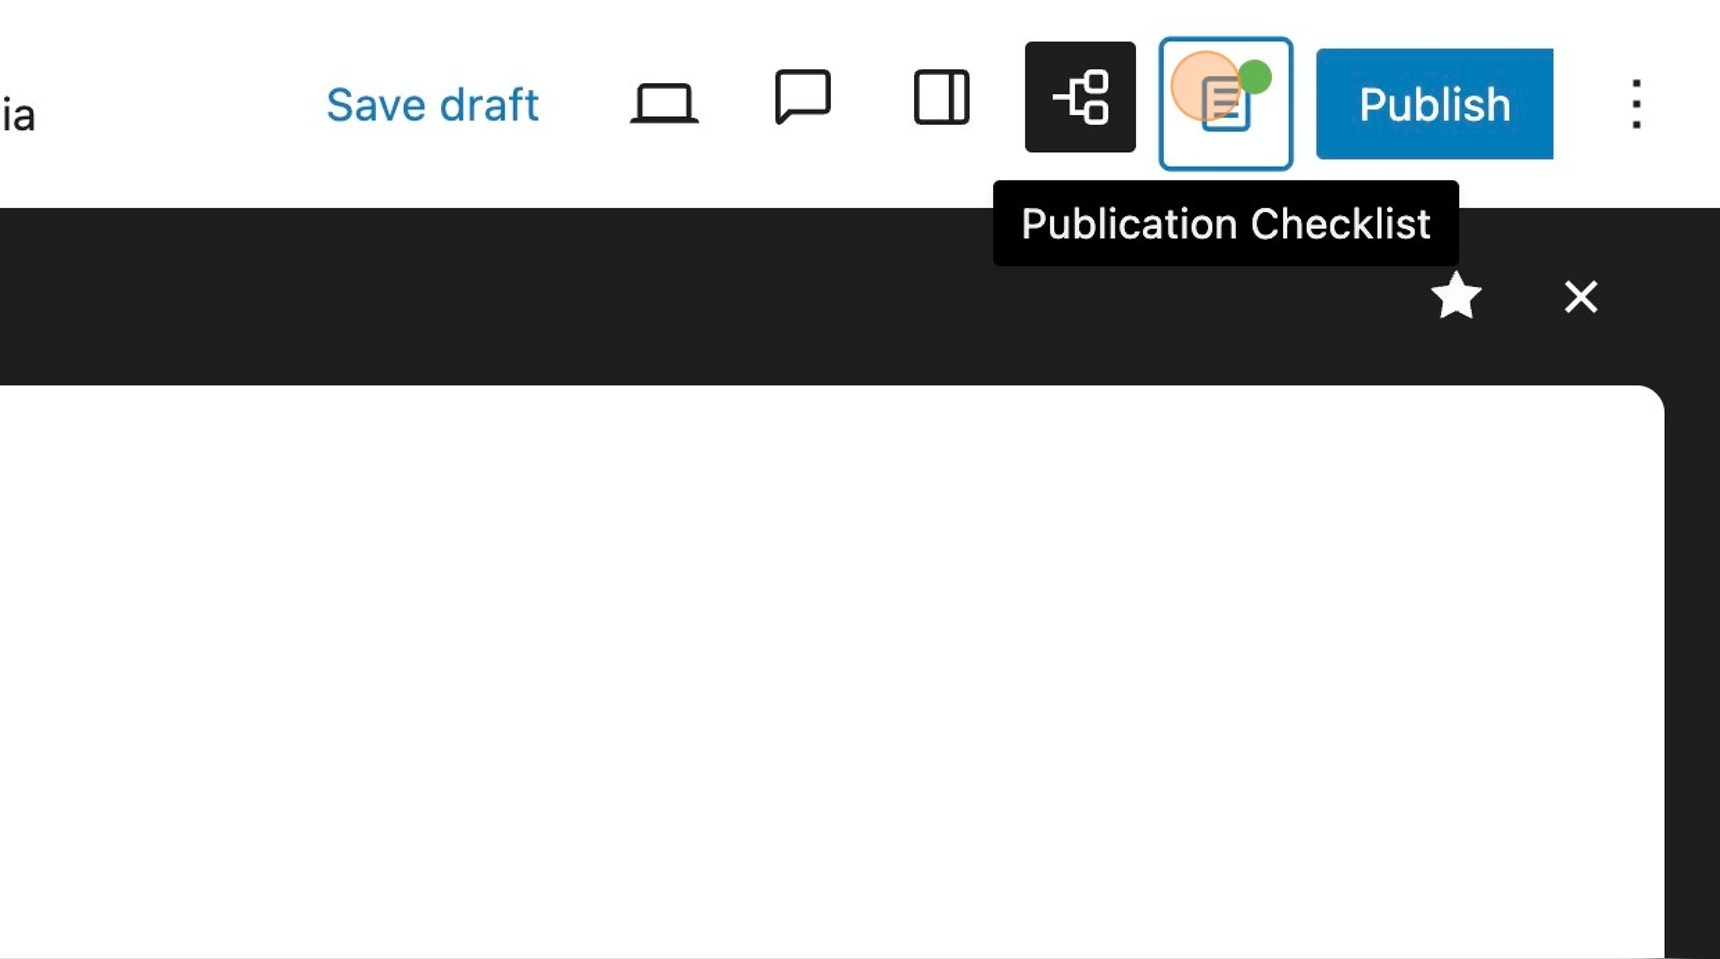
Please note: The notification icon will remain but change to amber or green, depending on whether there are any advisory fields left incomplete.
9. Adding the final mandatory field will change the notification from red to amber, and enable the publish button, as there are now no hard blockers remaining.
10. Returning to the editor, besides the advisory items, you will see all included items now have a green tick.
11. Once the checklist has been fully implemented the notification icon will turn green and the checklist preview will notify you that all publication checks have been passed.
12. You will notice that there is also a reminder in the sidebar to add a social share image. This type of item is informational only, and will not contribute to the overall success/failure of the checklist.
