Getting started
1. Before getting started, it’s important to note that for DAM to function properly, the Fields and Media modules must be enabled in the MediaPress settings.

2. Add a new post.
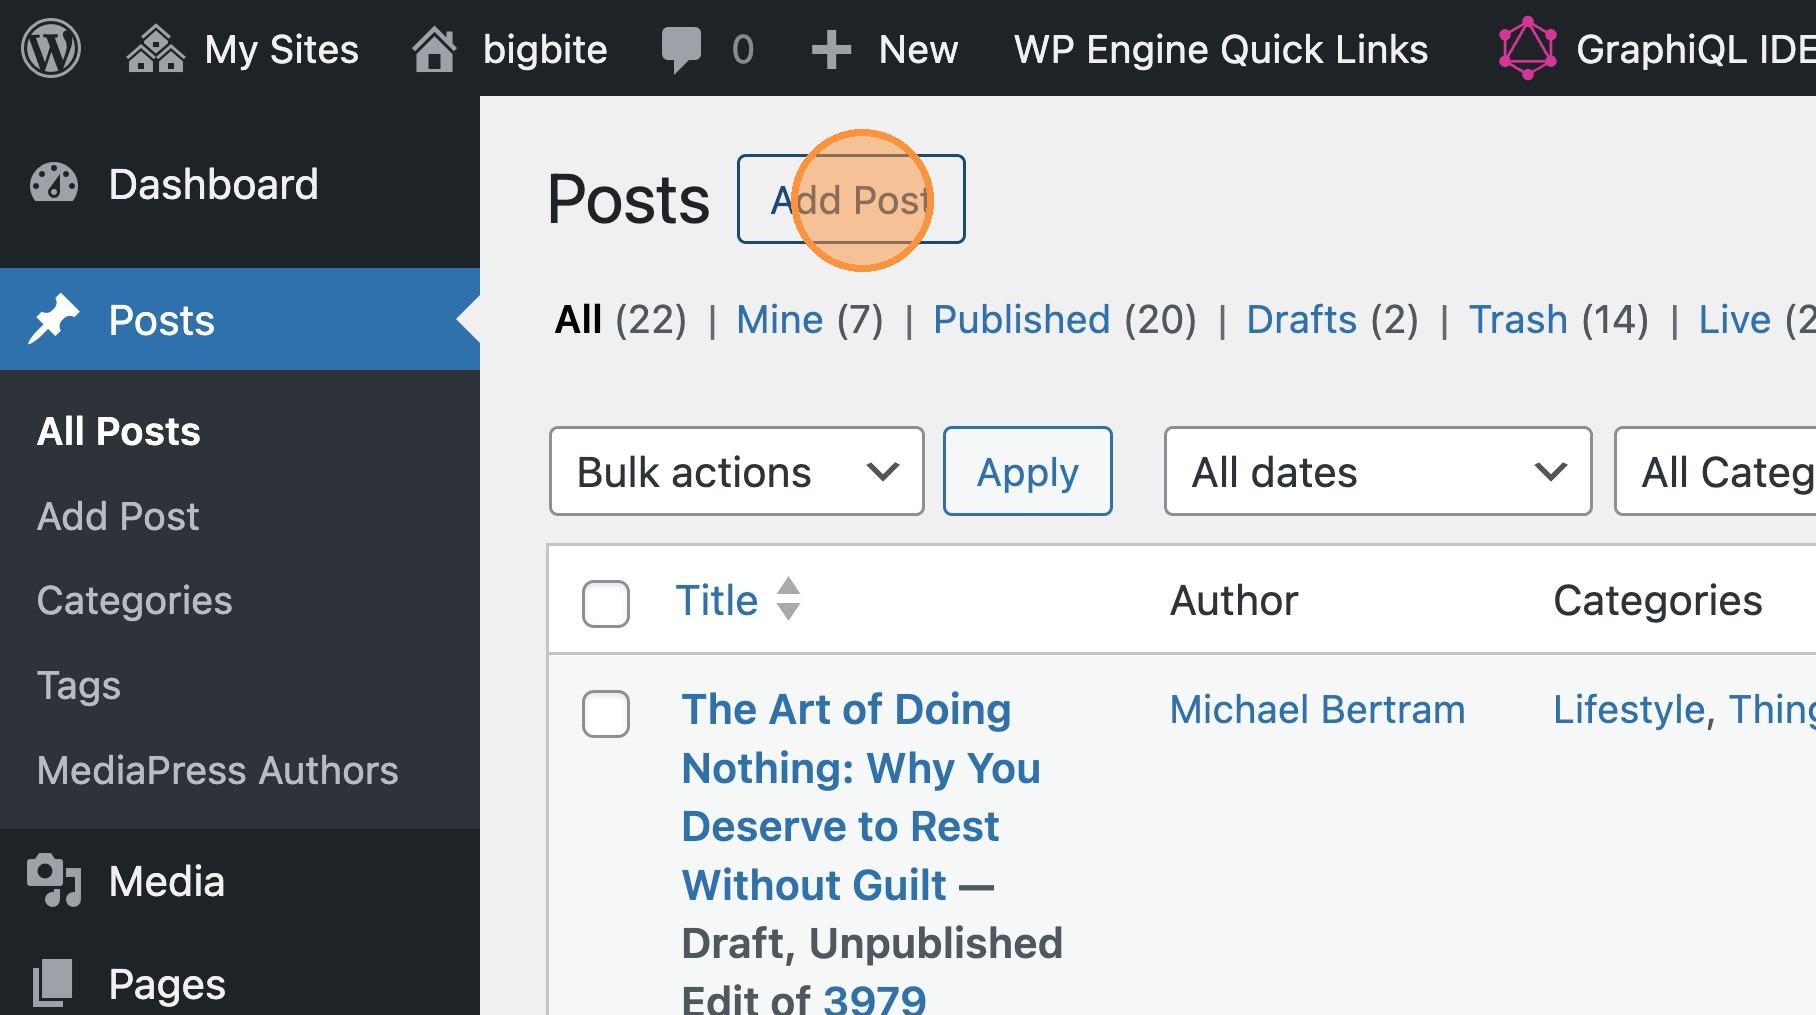
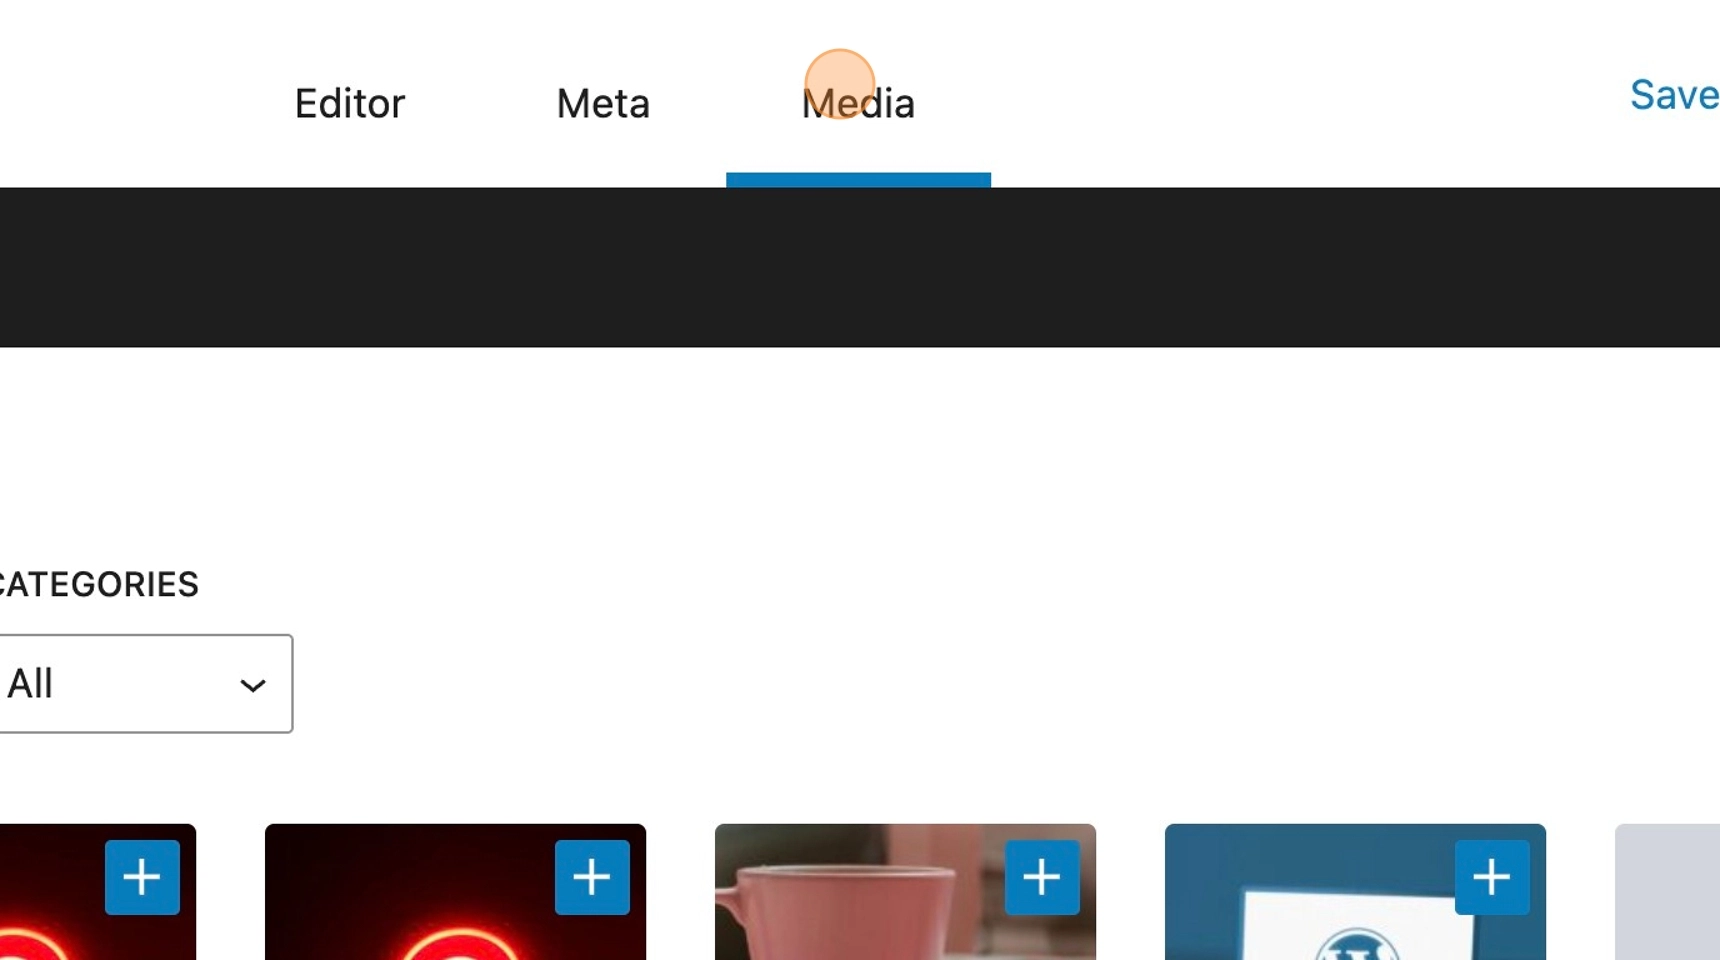
3. Once created, if you select the Media tab, you will see that there is currently no attached media for the post.
DAM functionality

Please note: In the next steps, you will use specific tags to pull assets through from your DAM tool. The assumption is that content in your asset manager will be tagged, and you will know whether a tag exists within your chosen asset manager. This will ensure you are able to pull any relevant images that have the specific tag that you use.
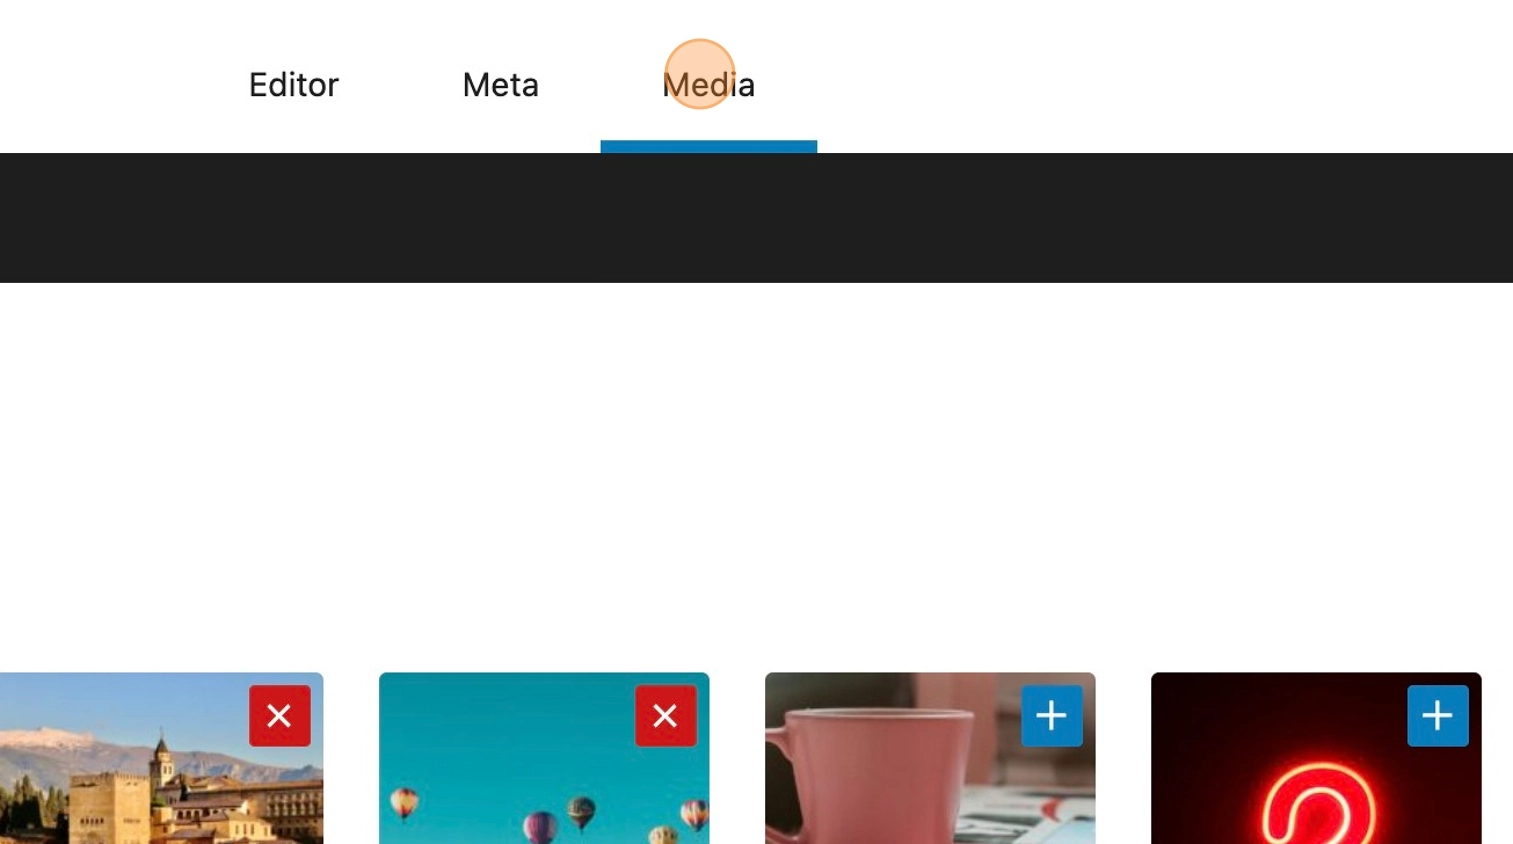
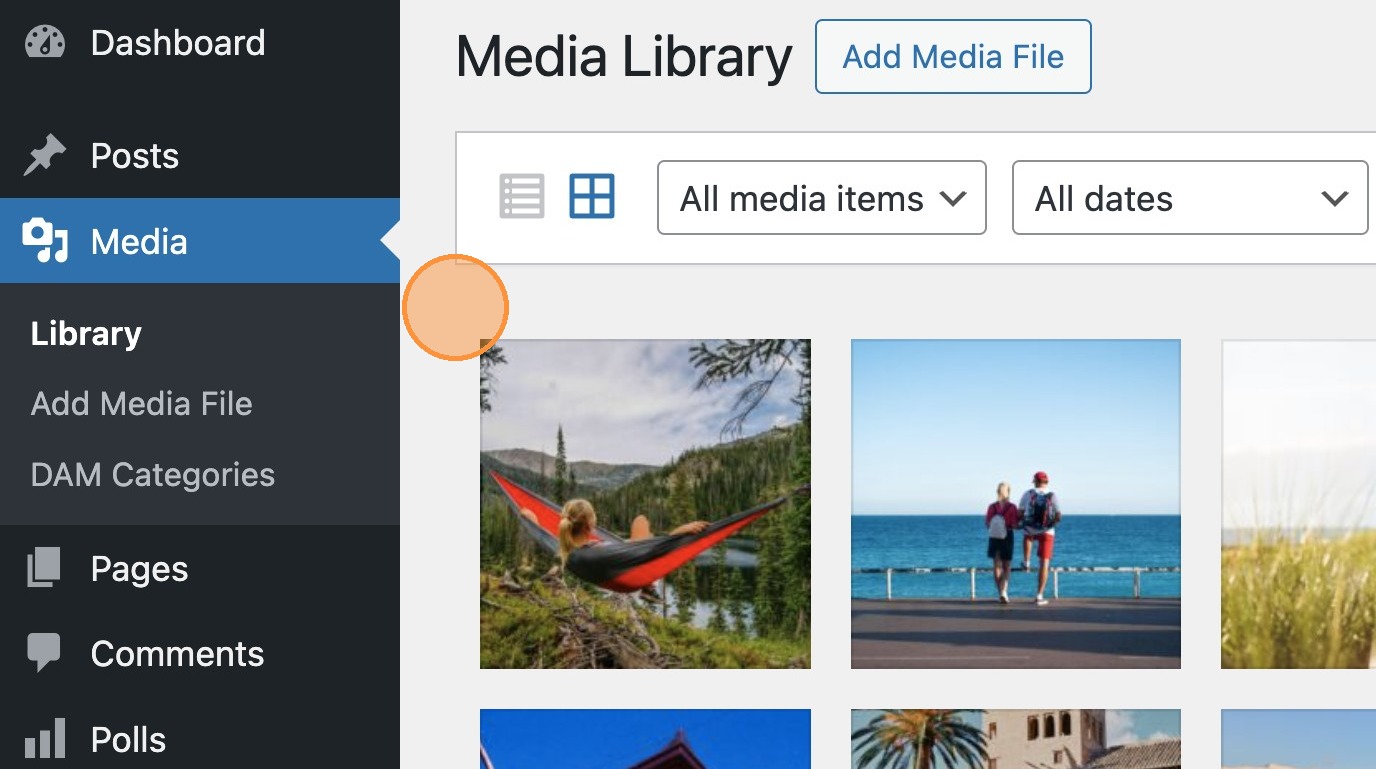
4. In the example below, you can see that there are a number of images tagged with a [[post_spain]] tag.
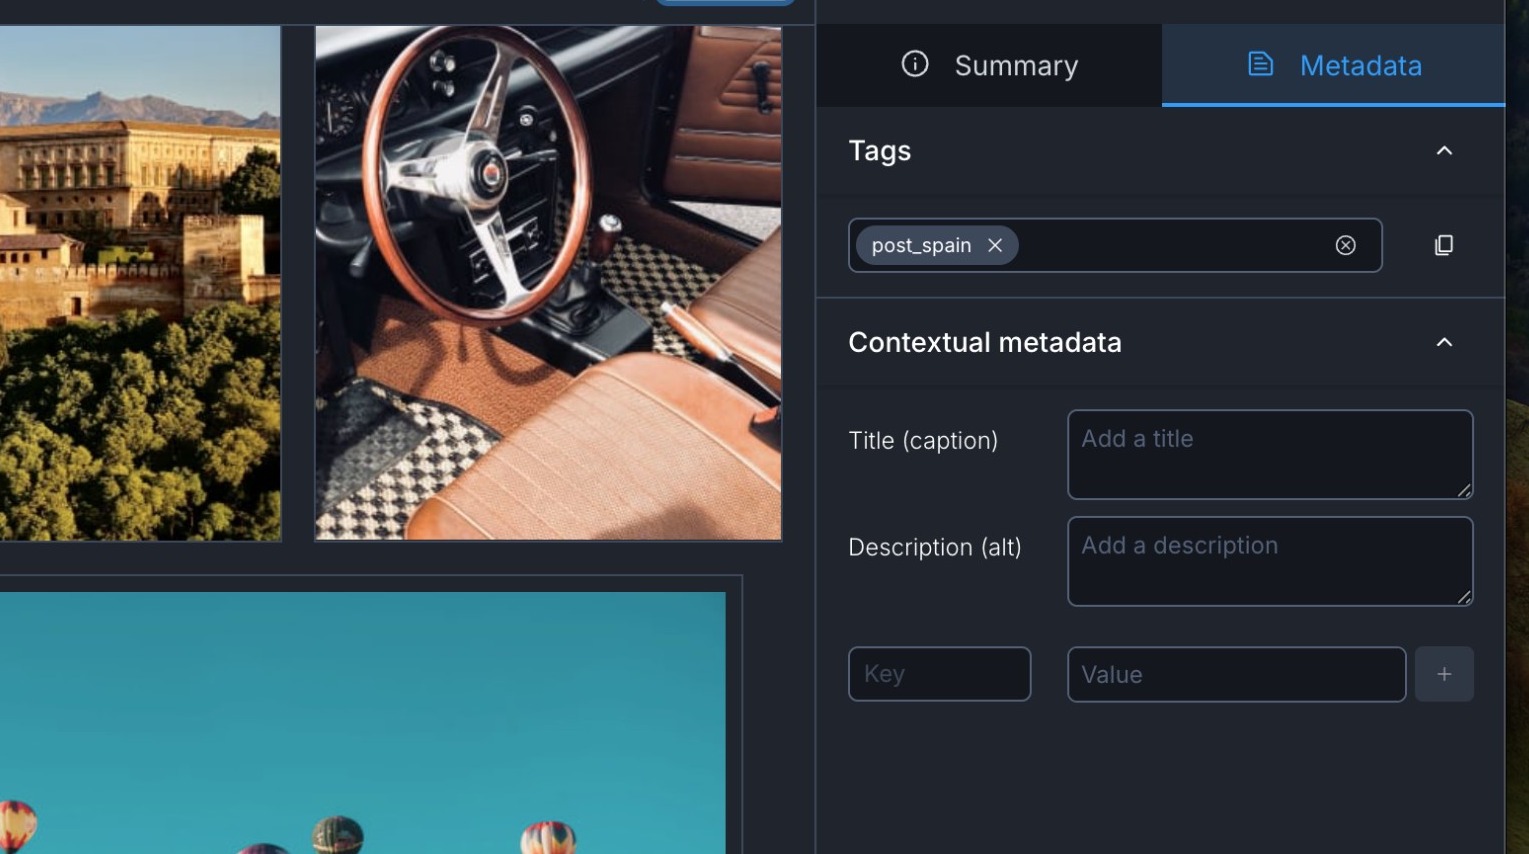
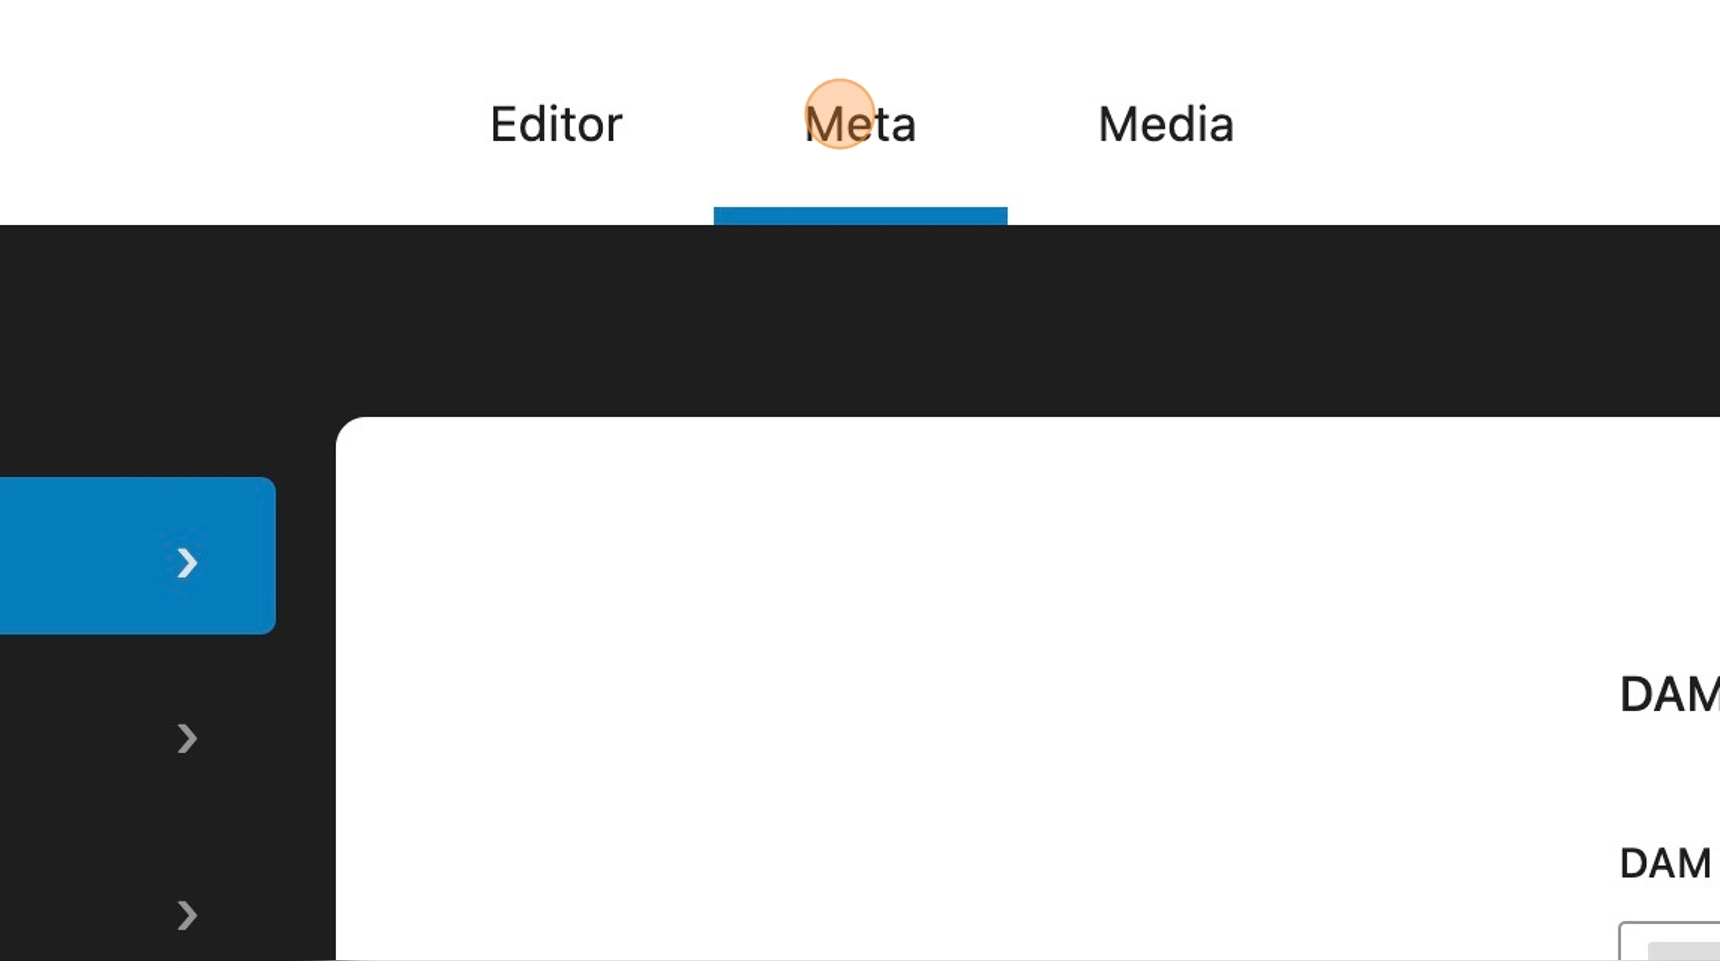
5. Within the Meta tab of your post, you will see the DAM field. This allows the option to search for a specific tag. Type in your desired tag and select Sync Assets.
6. Performing this sync will retrieve any assets from the external asset manager that have the specific tag that you typed in. You will see these appear in the attached media panel.
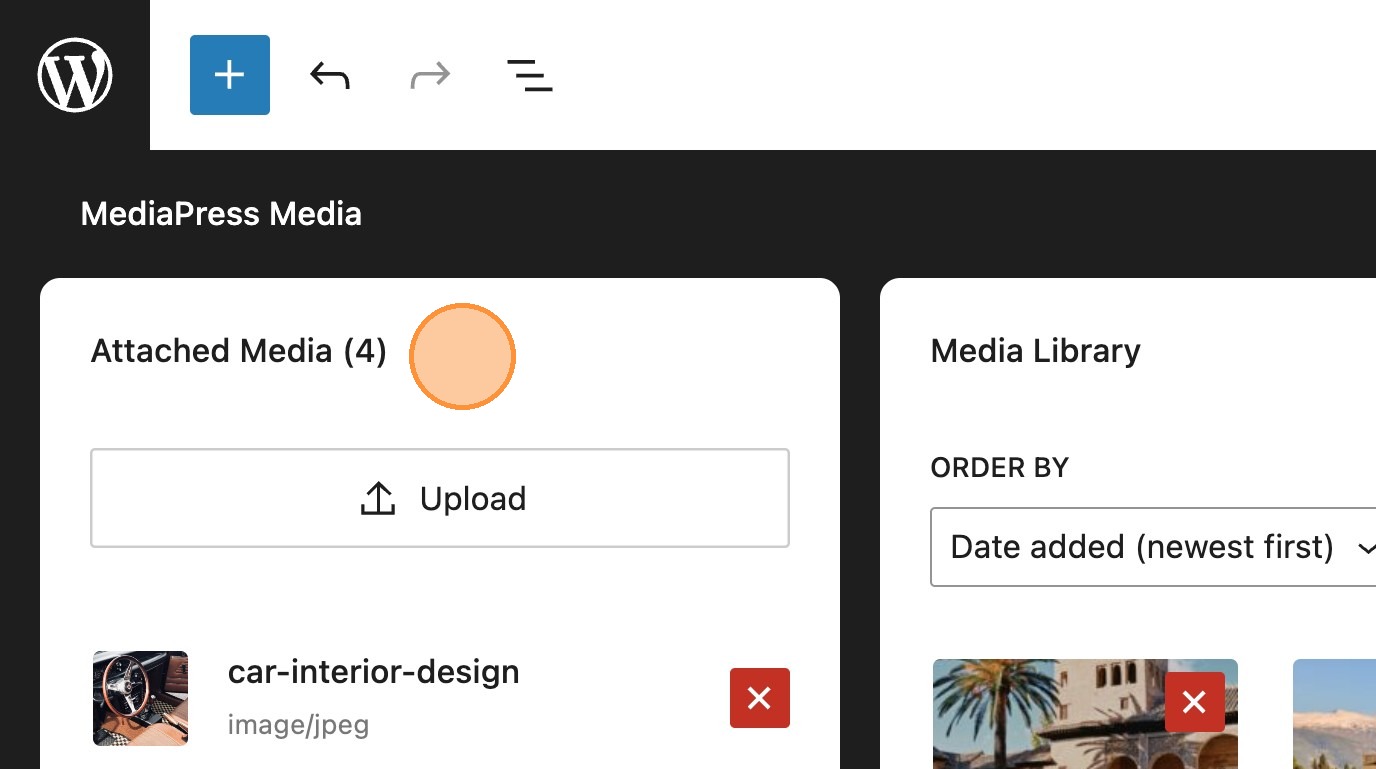
7. You may notice in the example below, that although there are four assets in attached media, it appears as though only three exist within the media library. In some instances it may be that some images within the asset manager already exist within the media library, from previous syncs.
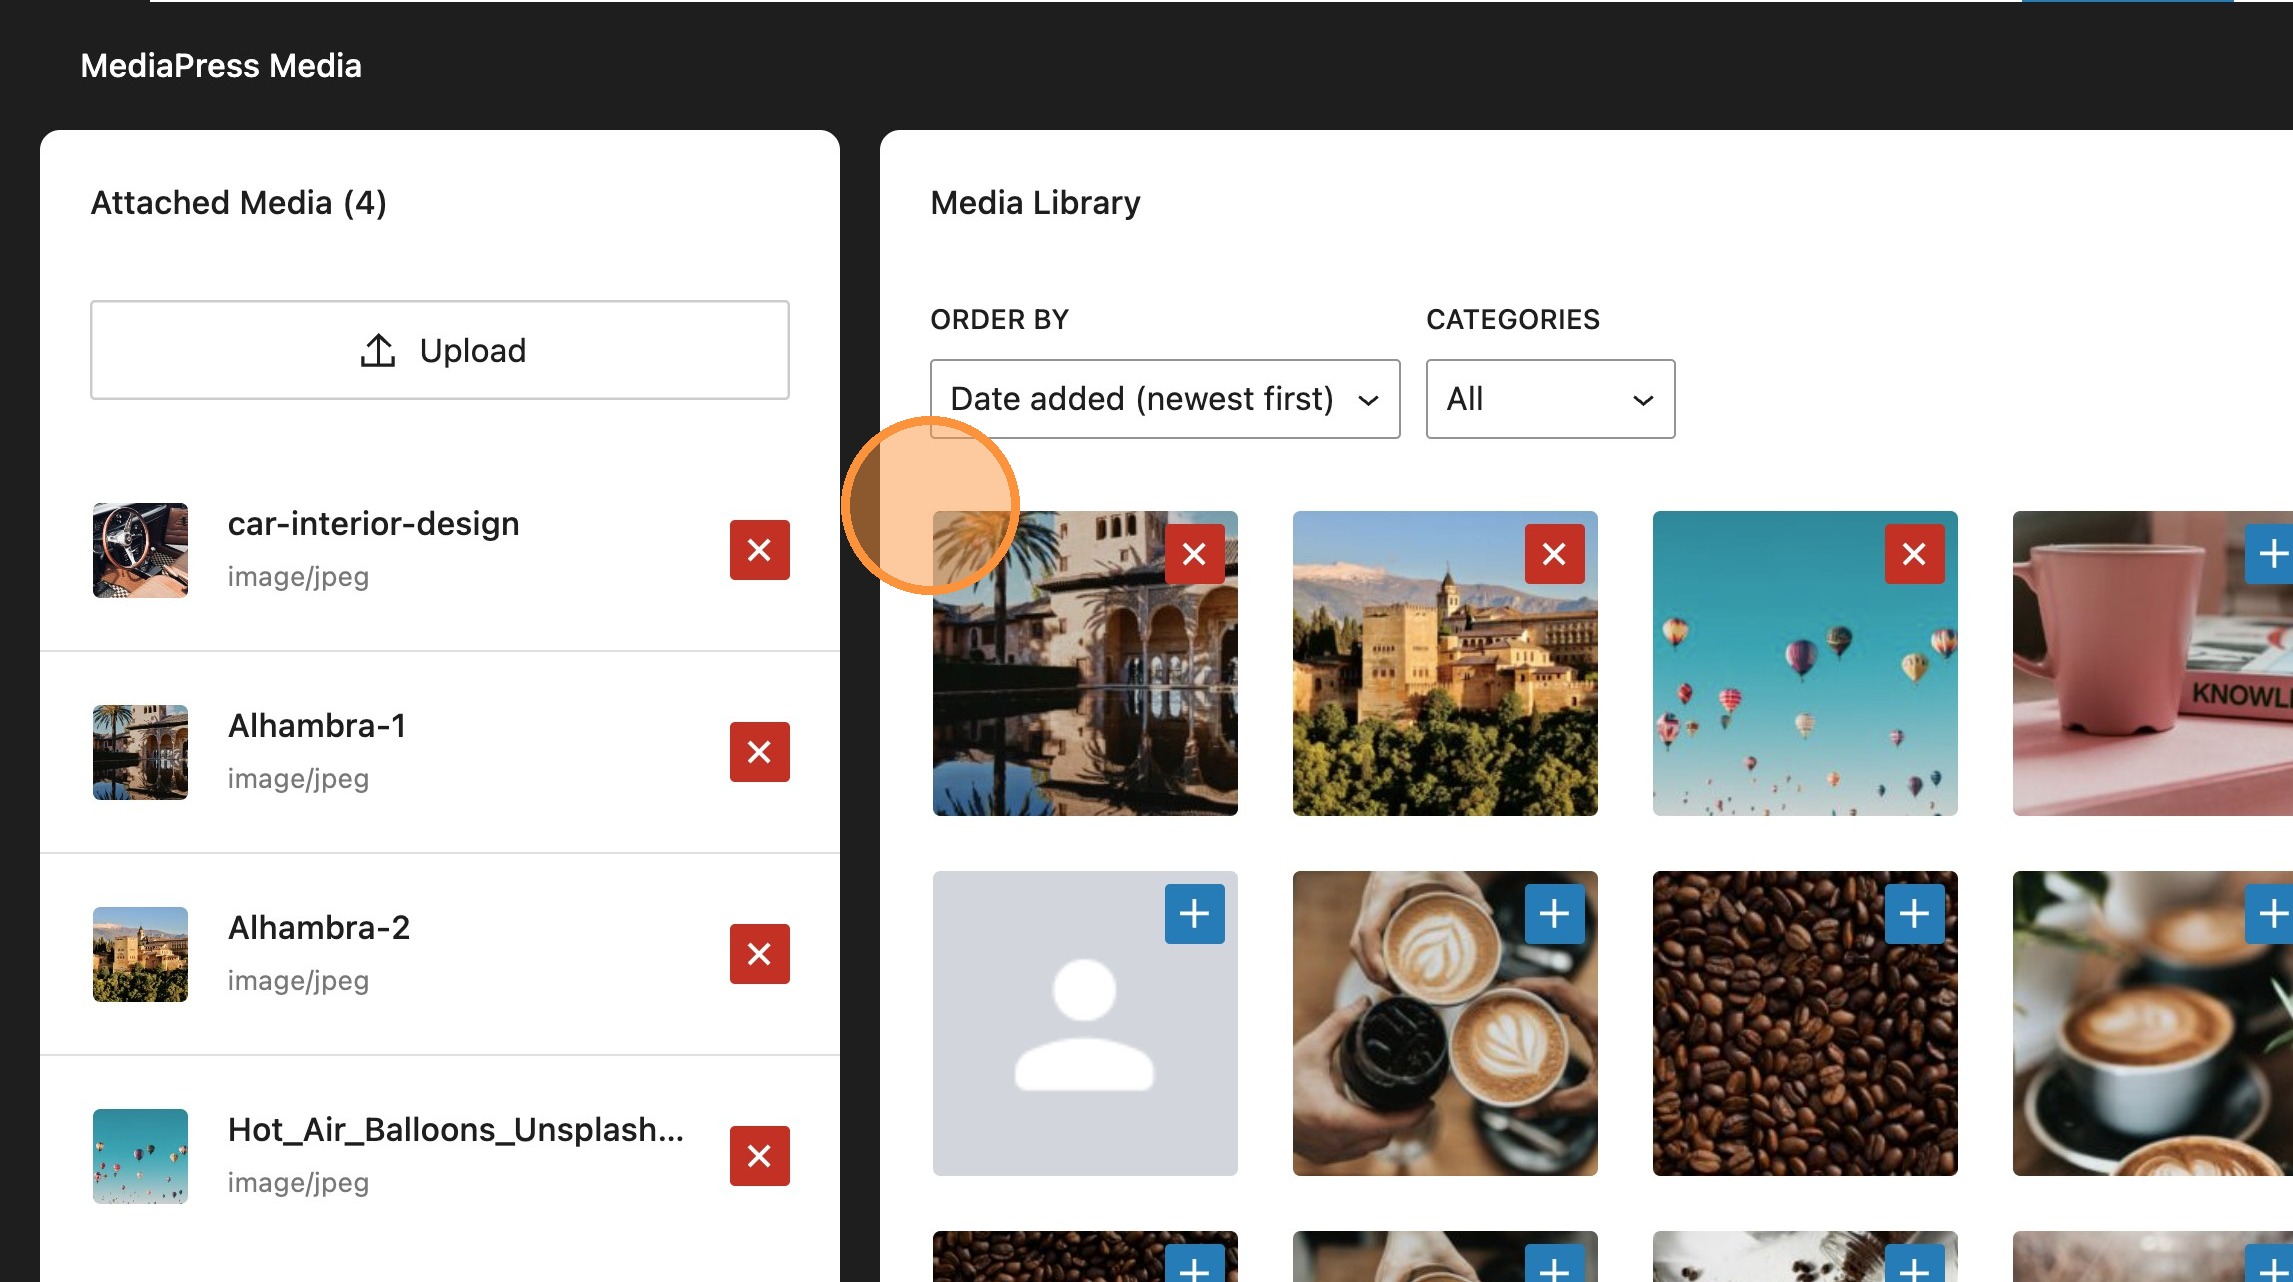
8. Navigating through the list of media in the library, you will see any additional assets that already exist and were not pulled within the latest sync.
9. Now that these assets have been attached to the post, these can be added in the usual way, with only attached media appearing when adding images.

Please note: If new assets are added to the external asset manager and tagged with a label already used in an existing post, they will not update automatically in your media library. To ensure your library includes the latest assets, you’ll need to run the asset sync again to pull in the most recent updates.
Evergreen Tags
What are Evergreen tags?
Evergreen tags are used to categorise assets that remain relevant over time, rather than being tied to a specific campaign or date. These tags help organise long-lasting, reusable content.
When an evergreen tag is applied to assets, it ensures they’re automatically grouped under a DAM Category in the WordPress Media Library, making them easy to find and attach to posts whenever needed.
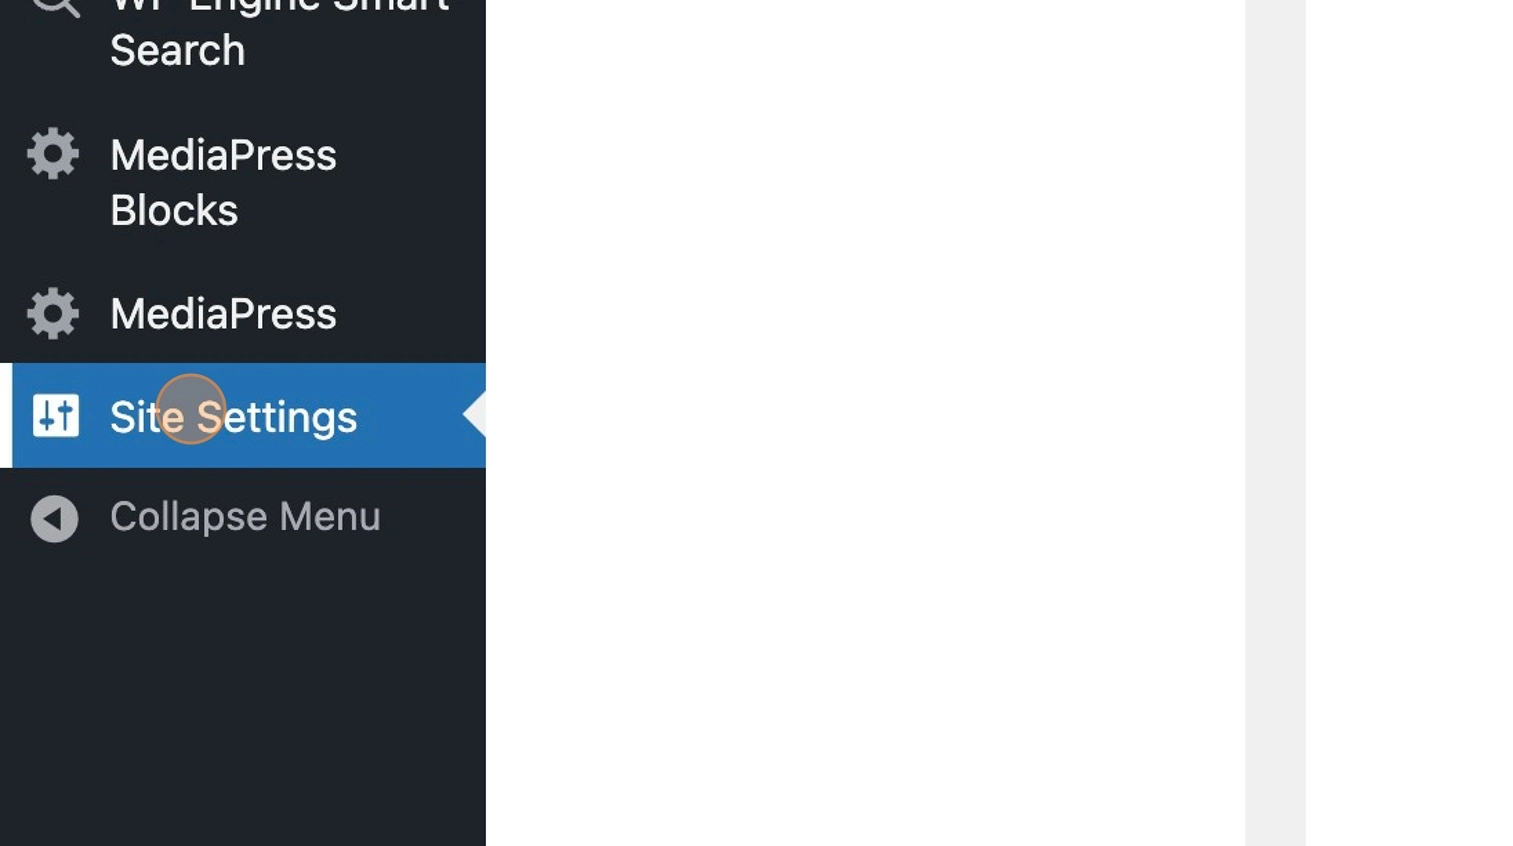
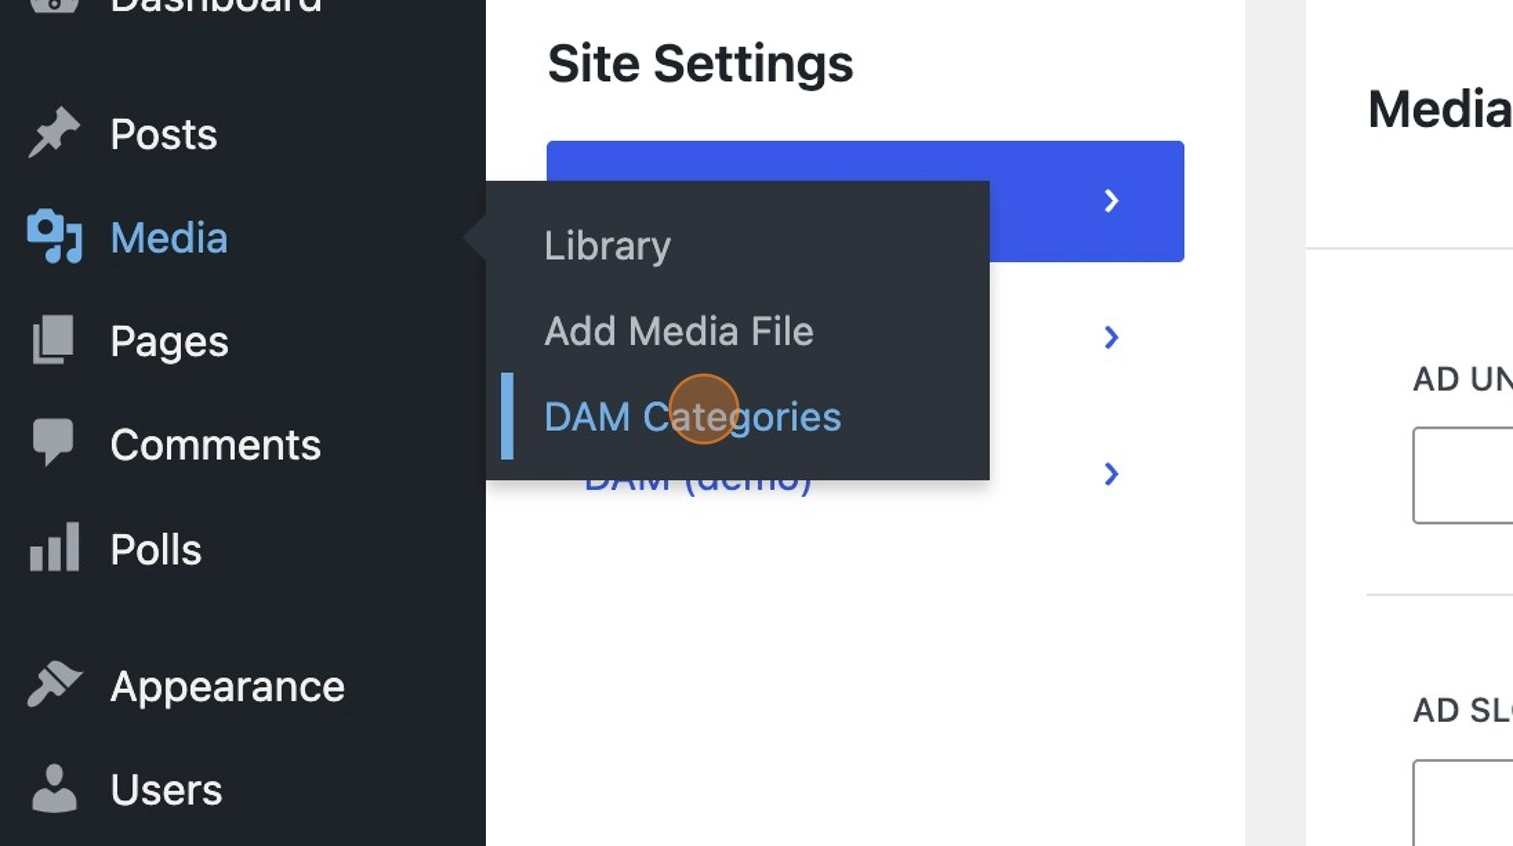
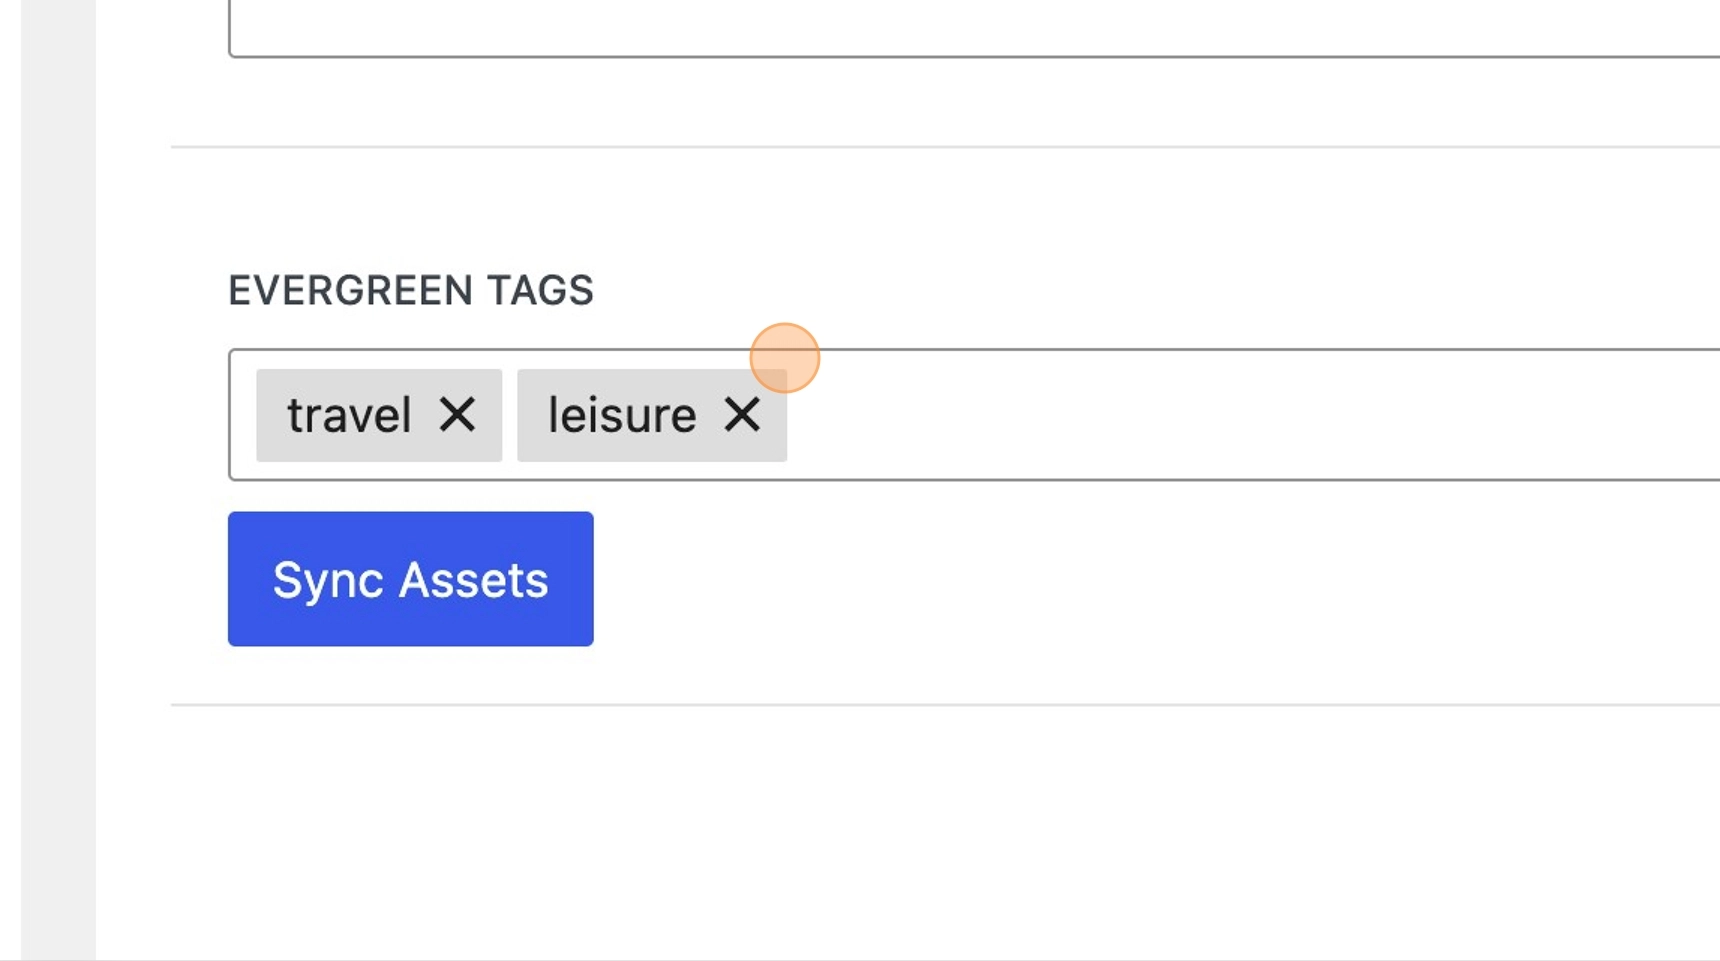
10. Within the WordPress dashboard and site settings, you will see the DAM tab. This is where the URL for your external asset manager is stored. You will also see a field for evergreen tags.
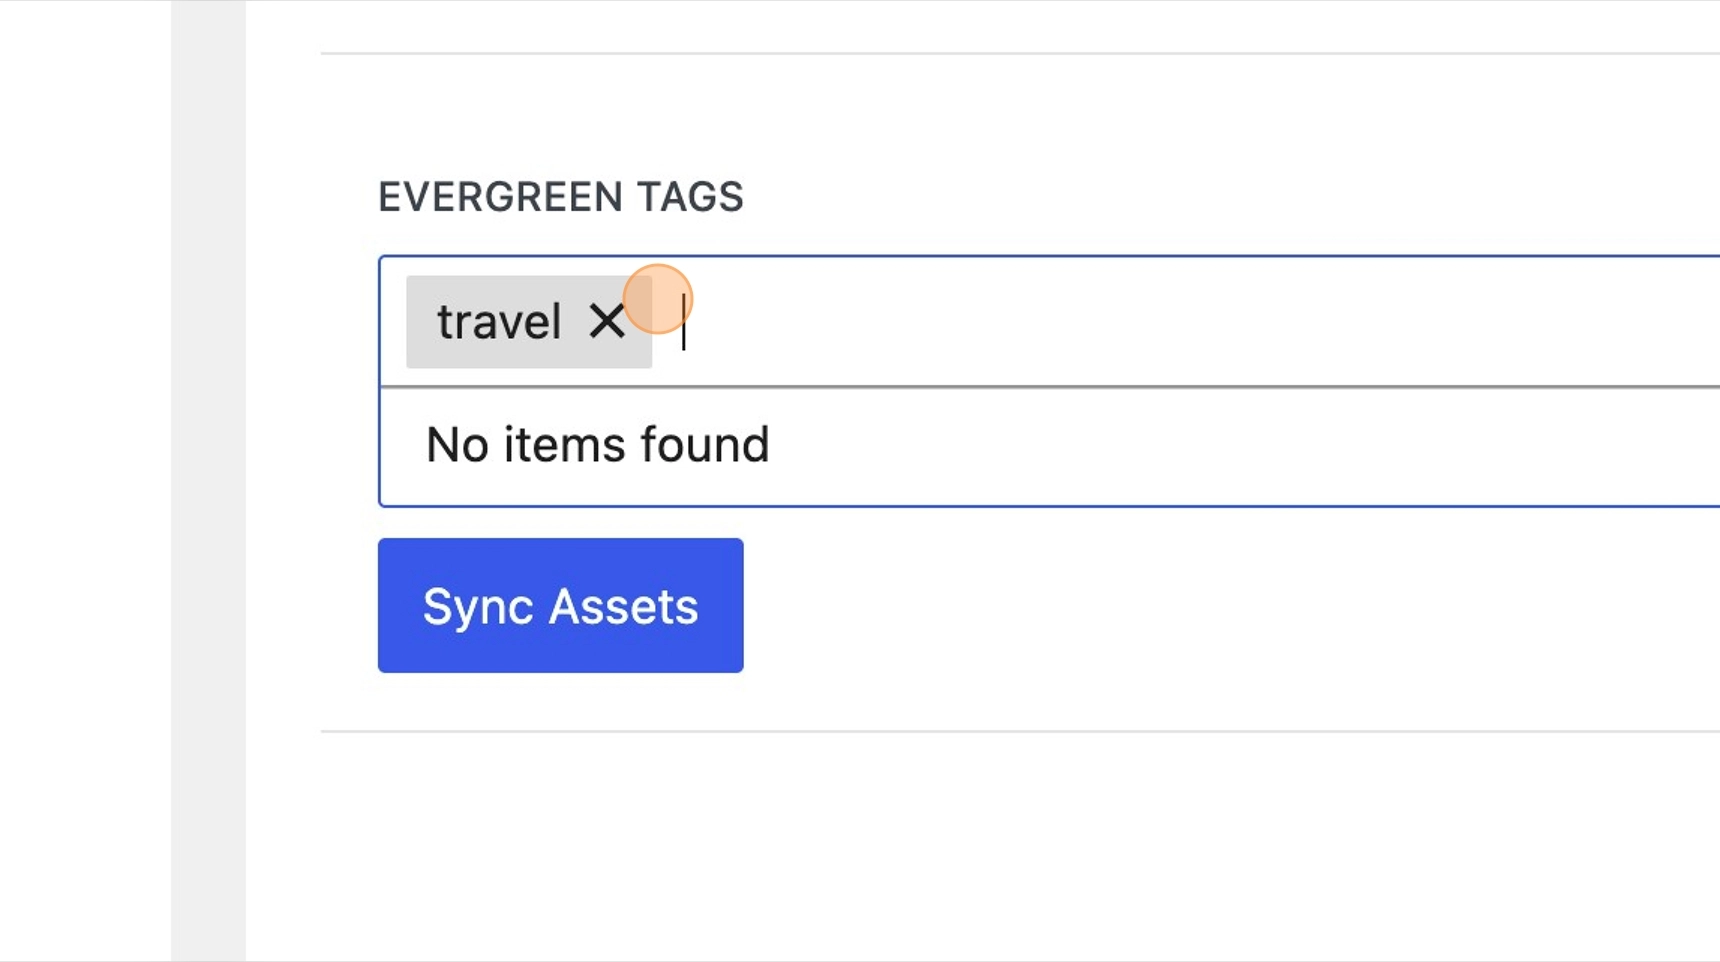
11. Here you can enter any tags you wish to include.
12. In this example we have used Travel, as this is a more global tag relating to our post about Spain, and will retrieve any images that may still be relevant to the post.
13. Selecting Sync Assets and Save, will retrieve any images with your selected tag and add them to your media library.
14. You will now see that any assets retrieved from the sync will appear in the media library.
DAM Categories
15. From the WordPress dashboard, selecting DAM Categories will display a list of categories. These categories are automatically created when assets in the asset manager include the specified evergreen tag.
16. When you add an evergreen tag, if assets with that specific tag already exist in the external asset manager, a corresponding DAM Category will be automatically created.
17. When you add an evergreen tag, if assets with that specific tag already exist in the external asset manager, a corresponding DAM category will be automatically created.
18. You’ll see your newly synced images in the media library within the WordPress dashboard.
19. You’ll also see them at the post level, where you can easily attach the synced images to your post.