Getting Started
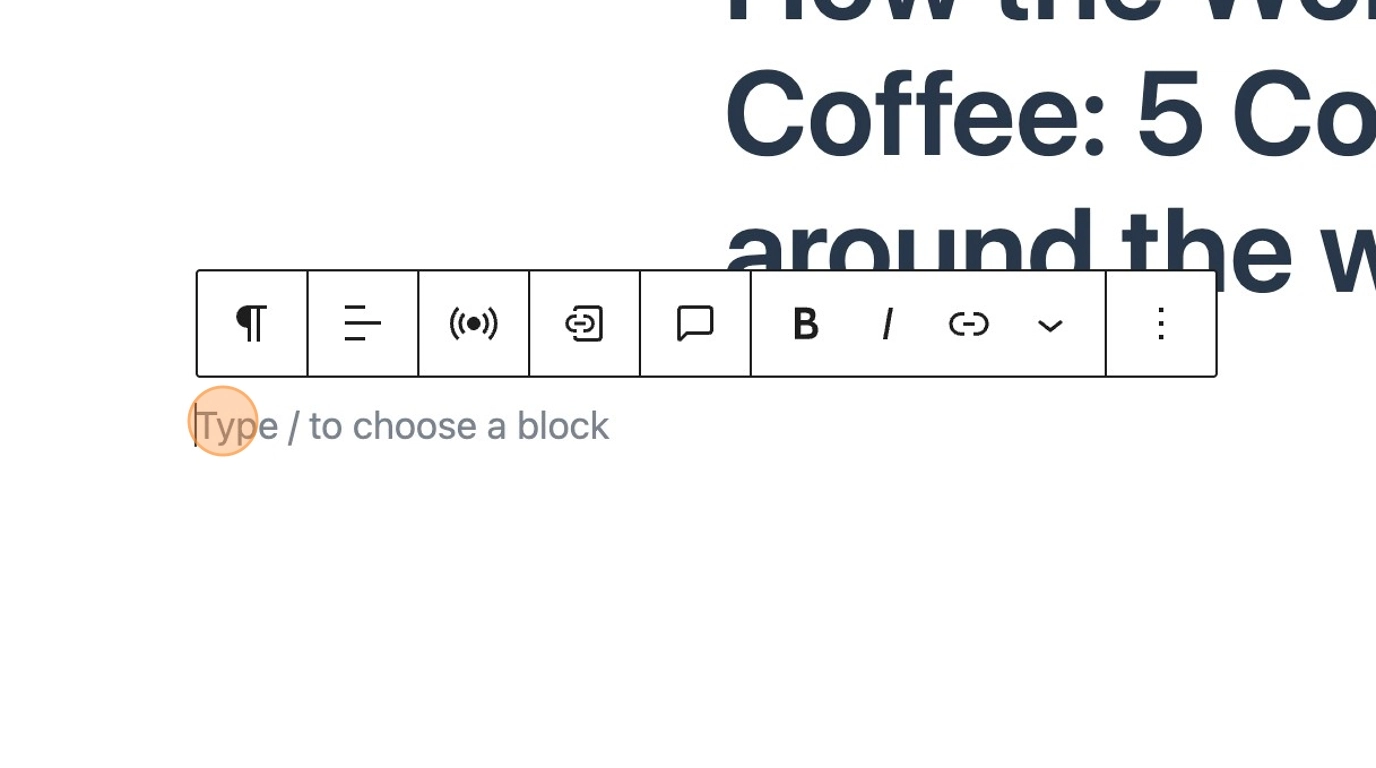
1. Create a new post or page on your WordPress site. Search for listicle . You will see 3 types of listicle block, choose the first option, to add a listicle.
2. You will be prompted to choose your required layout.
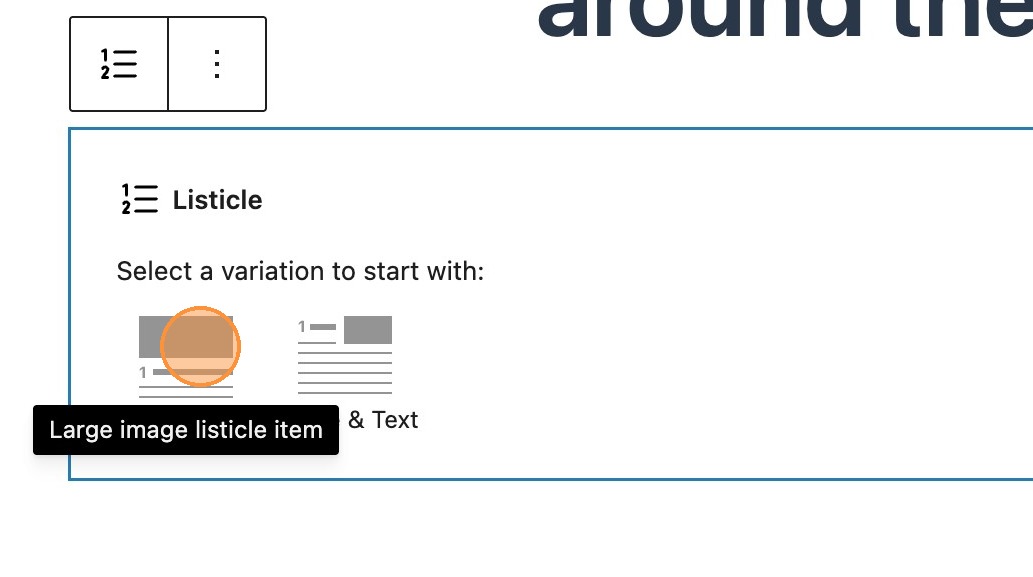

By default, the The listicle block renders 1 Listicle Item. These use inner blocks to render their content, so the layout of these can be changed at any time.
3. Add in the details of your first article, by adding a heading, summary, featured image and description.
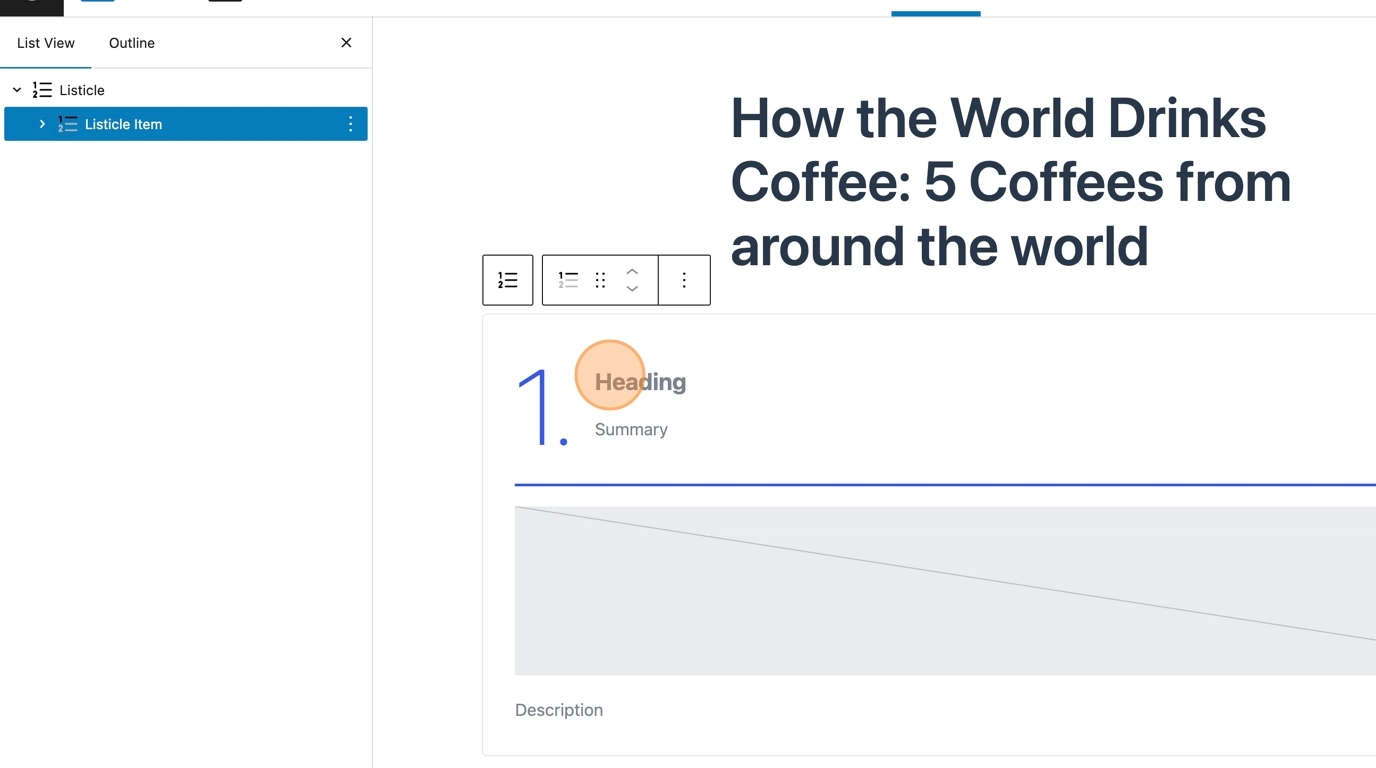

Please Note: If files have not been added to the media library in the media tab, then your media library will appear empty.
Adding the next item
WordPress dynamically handles the numbering along with the slug names.
4. In the side panel you will see that by default each listicle item is allocated a randomly generated 8 digit number as the slug name. If preferable, you can edit the slug name to something which lends more context to each listicle item. Changing the slug will provide an alternative URL handler.
5. Clicking the + button underneath a listicle item, will then allow you to add a new listicle item.
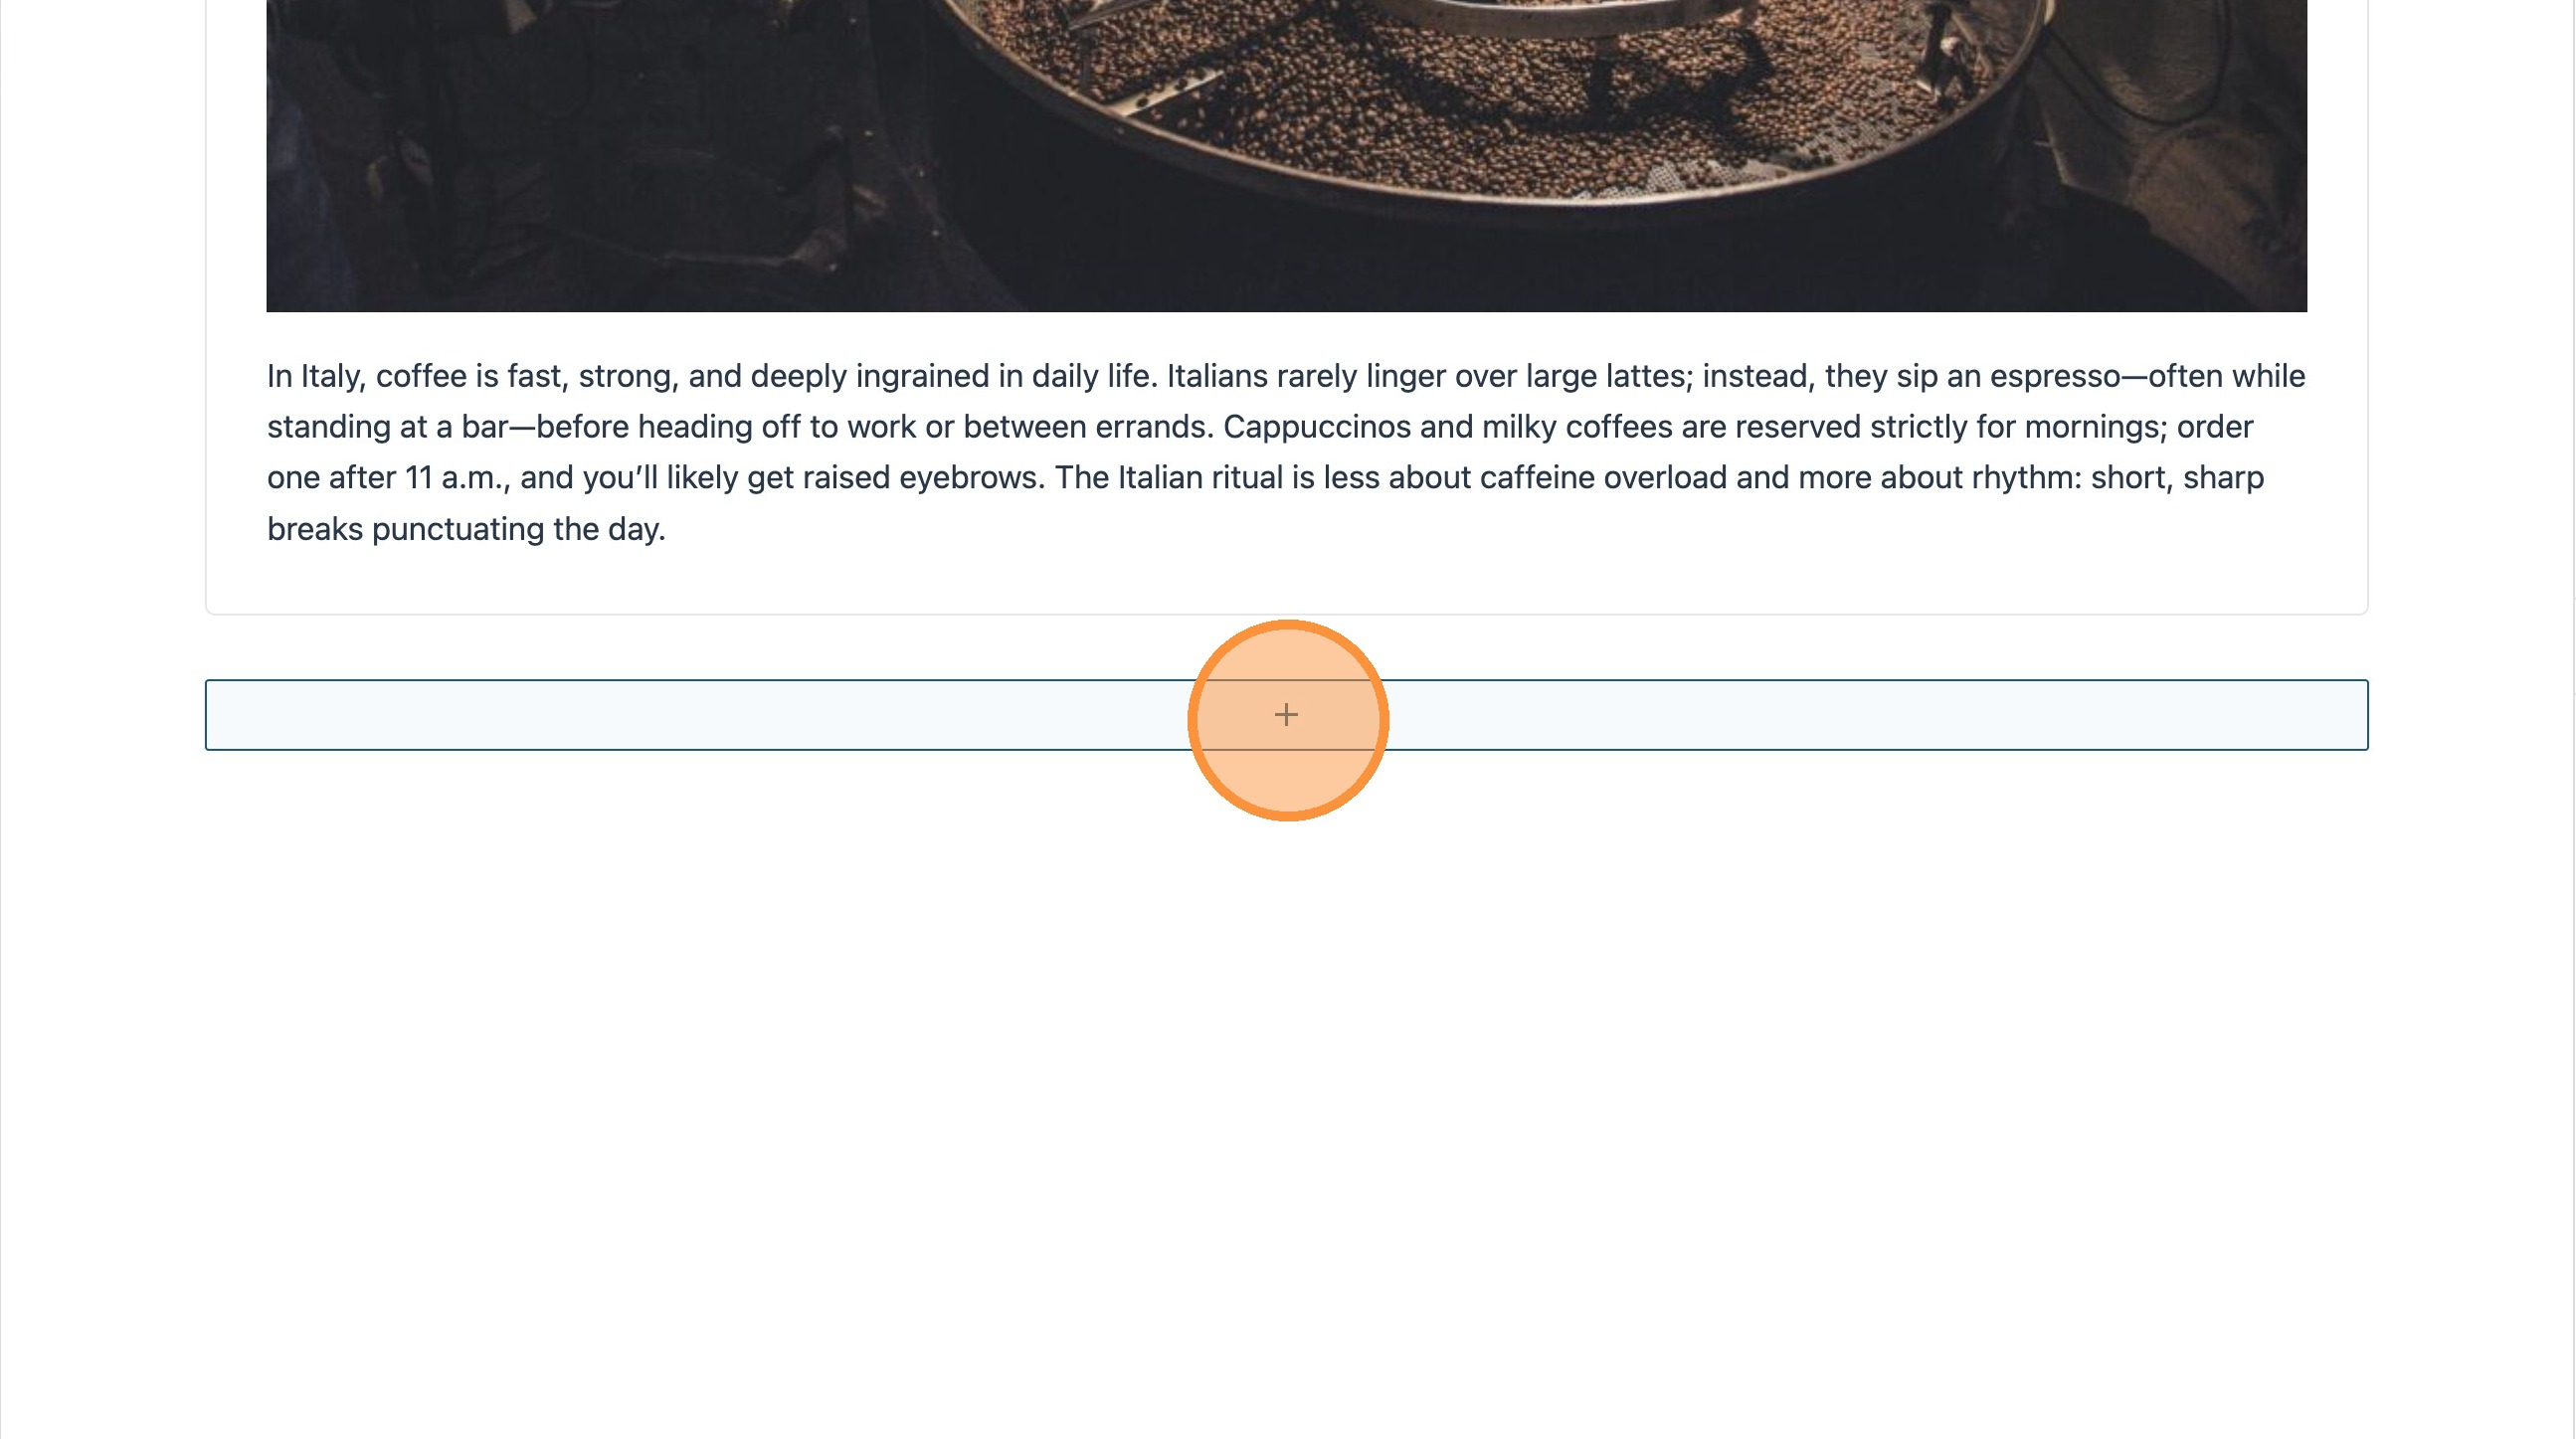
Please Note: Adding a new listicle item will duplicate the content from the previous entry. However, each new listicle item will dynamically inherit the next consecutive number.
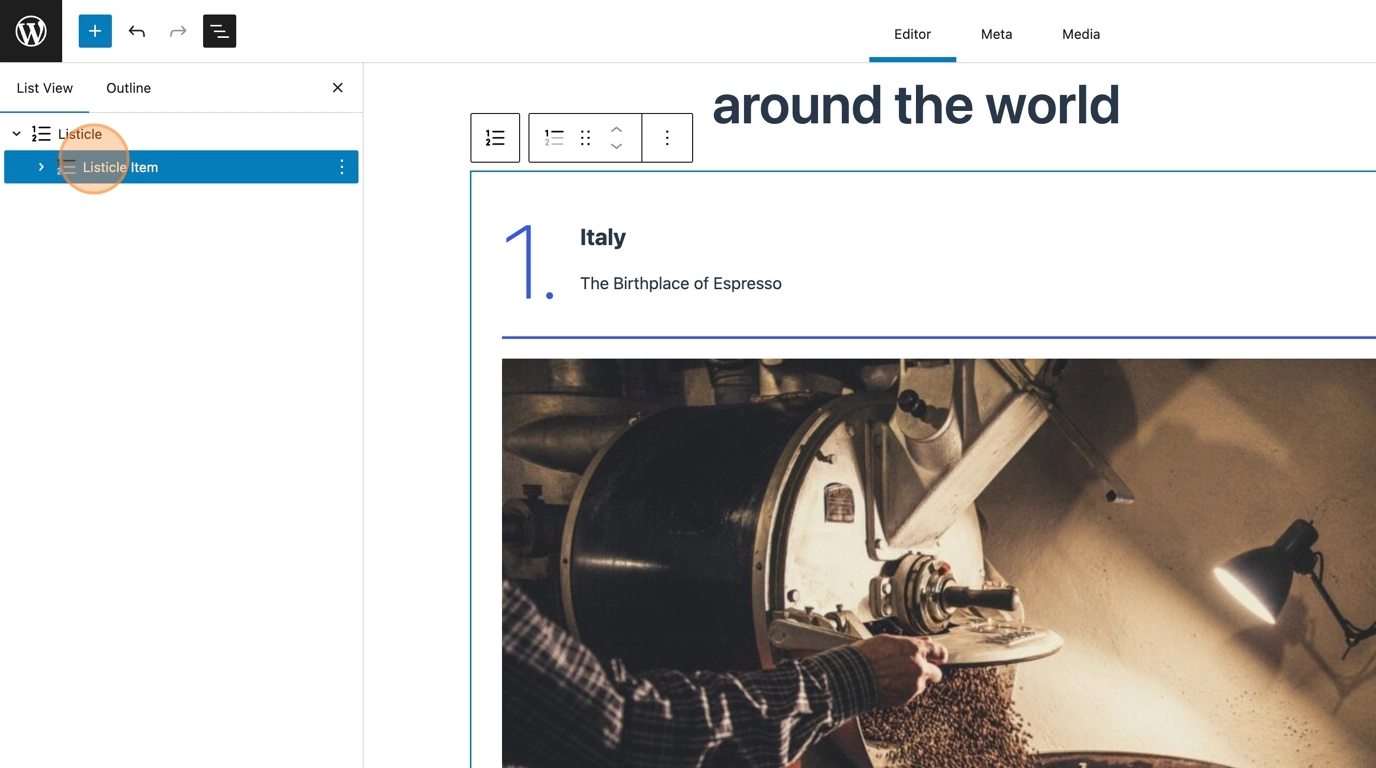
6. You can then go ahead and enter the details for the next item. and change all of the relevant details, including replacing the featured image if necessary.

7. You can then continue to add as many entries as required, repeating the process shown above.

Adding Pagination
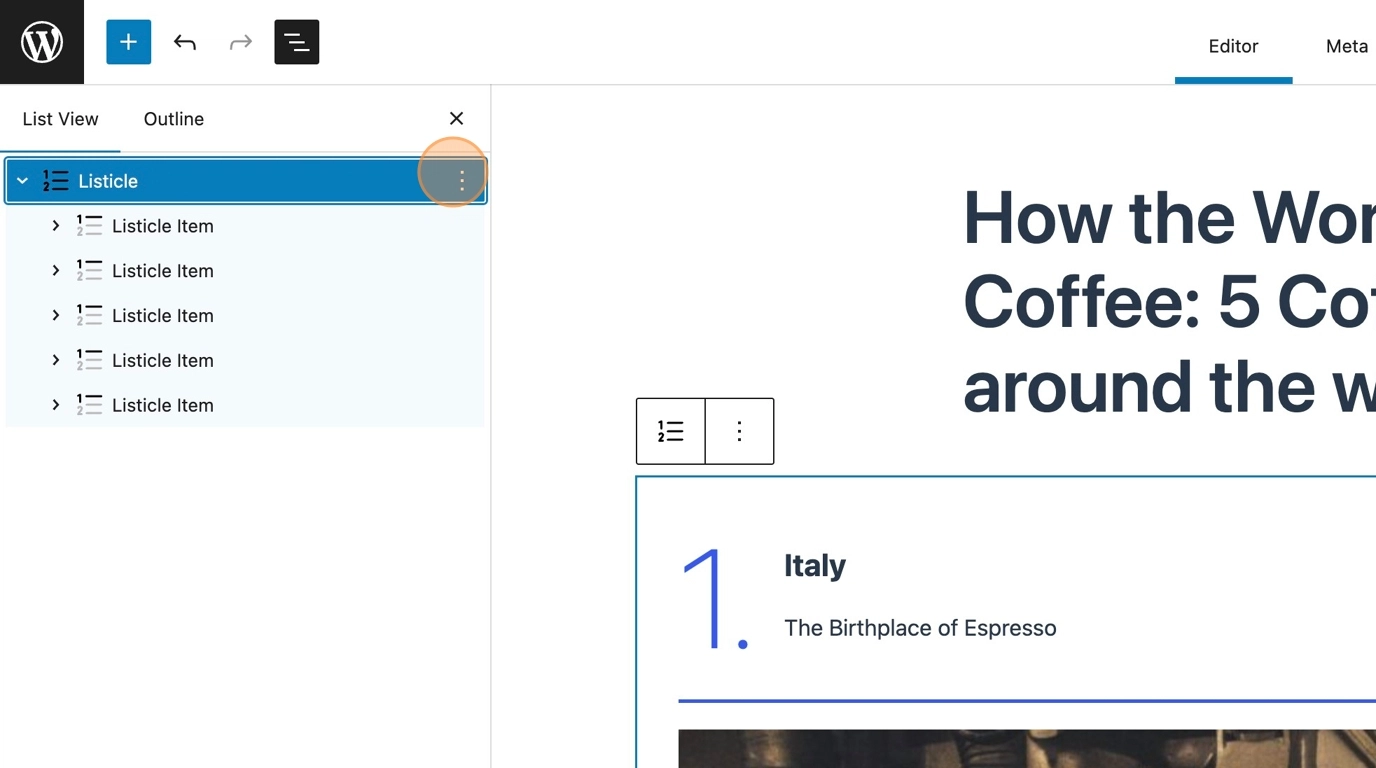
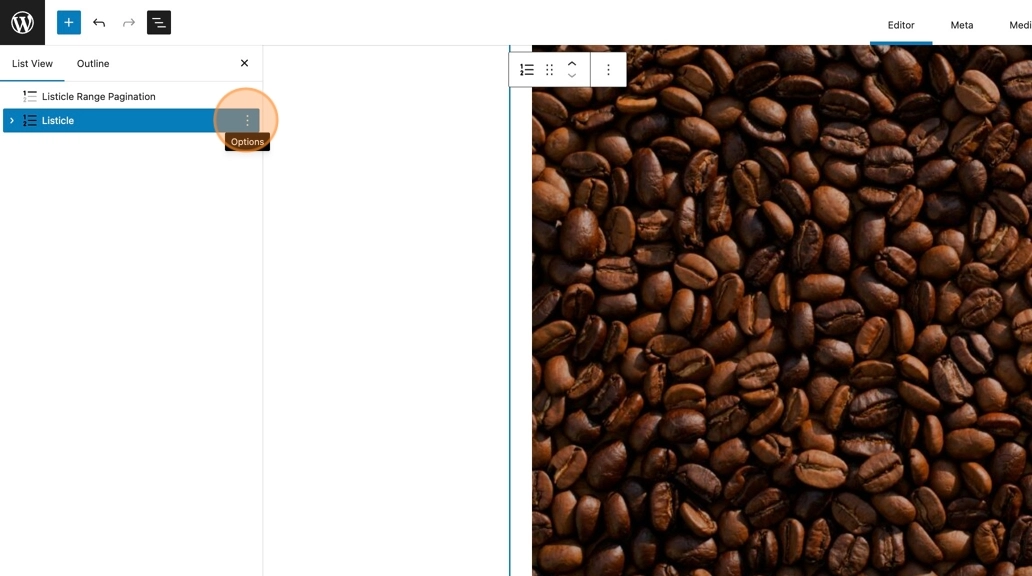
8. On the listicle block select add before
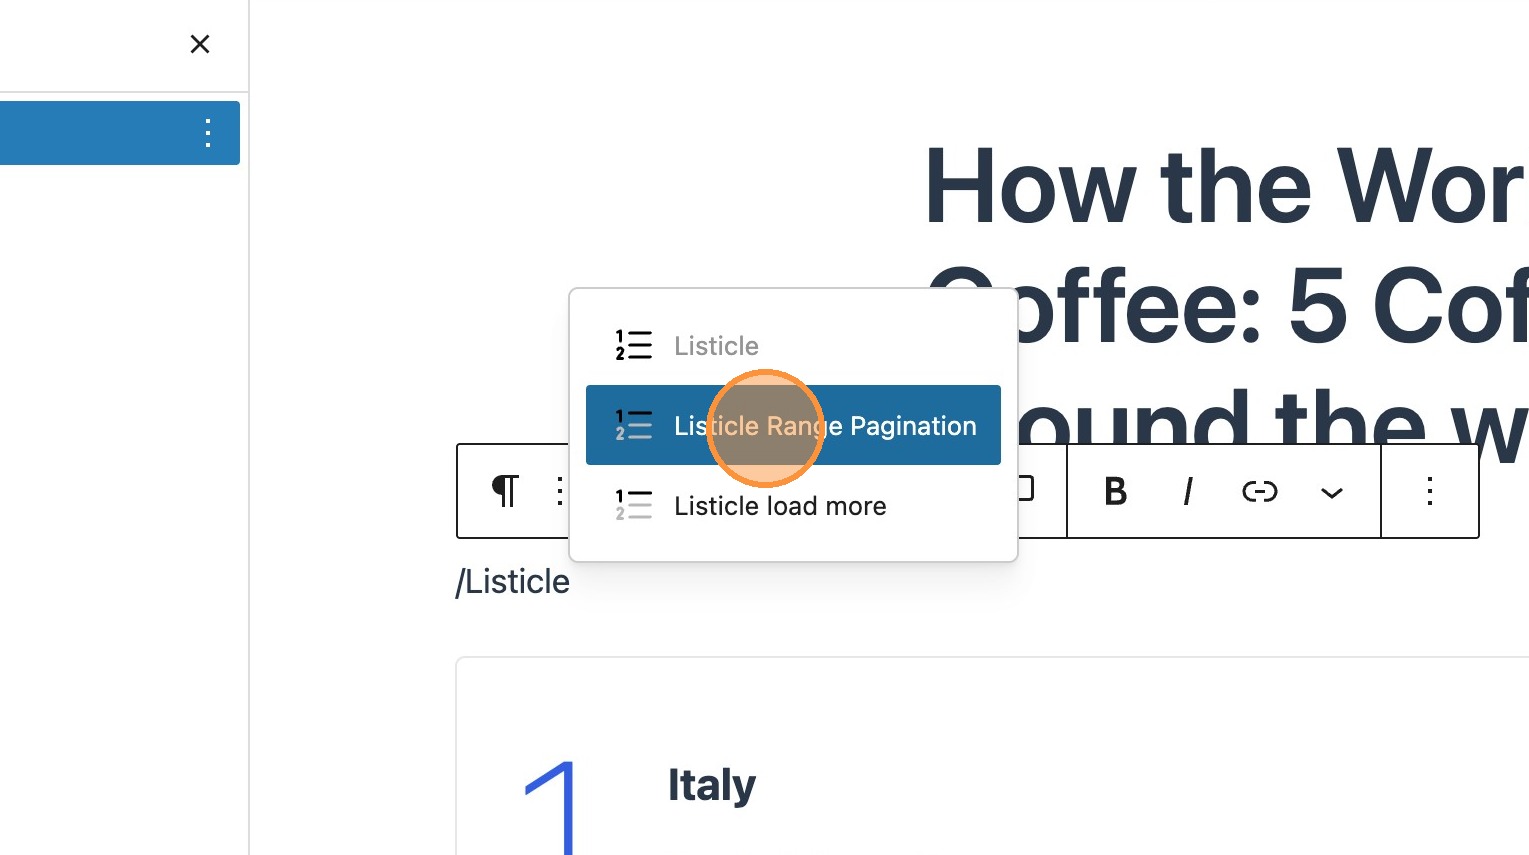
9. Searching listicle will bring up the options again. This time, select listicle range pagination.
10. You should now see your pagination block appear above your first listicle item.

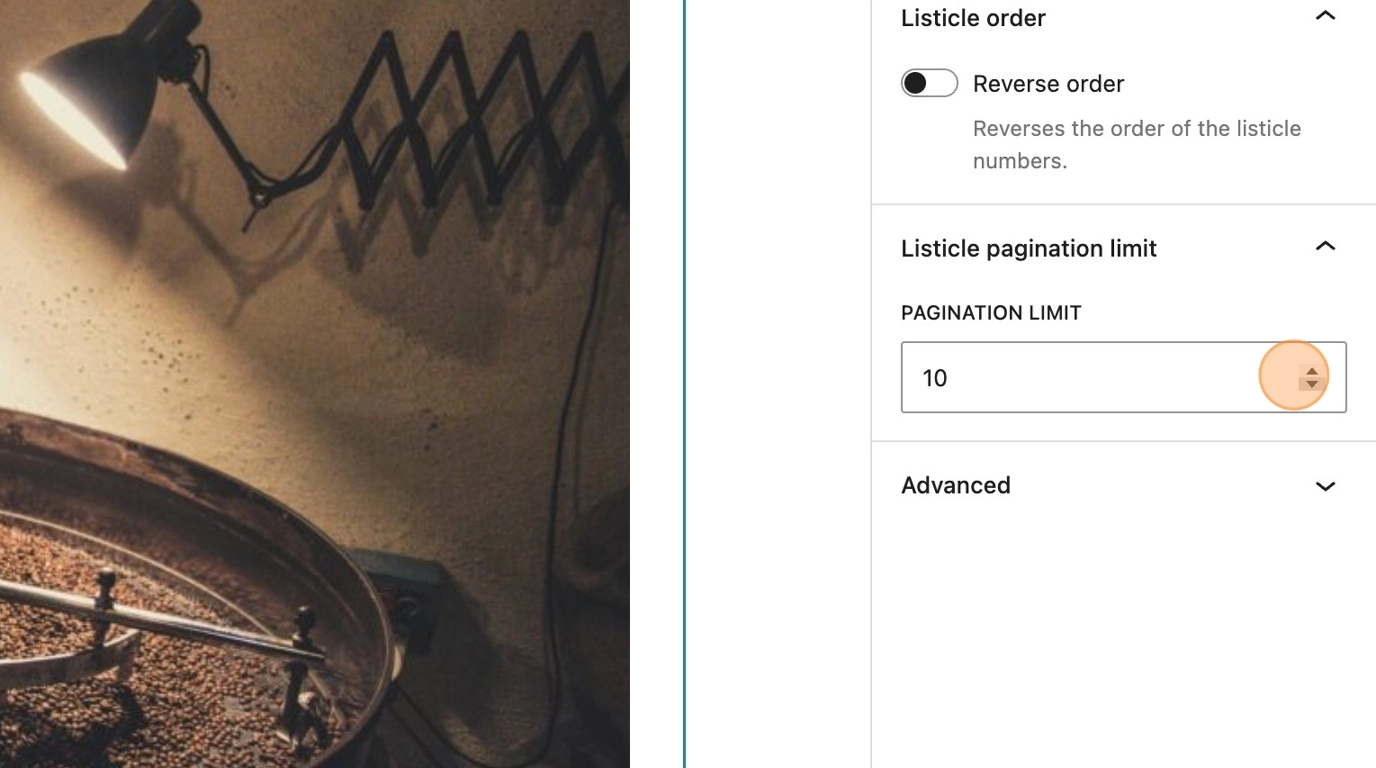
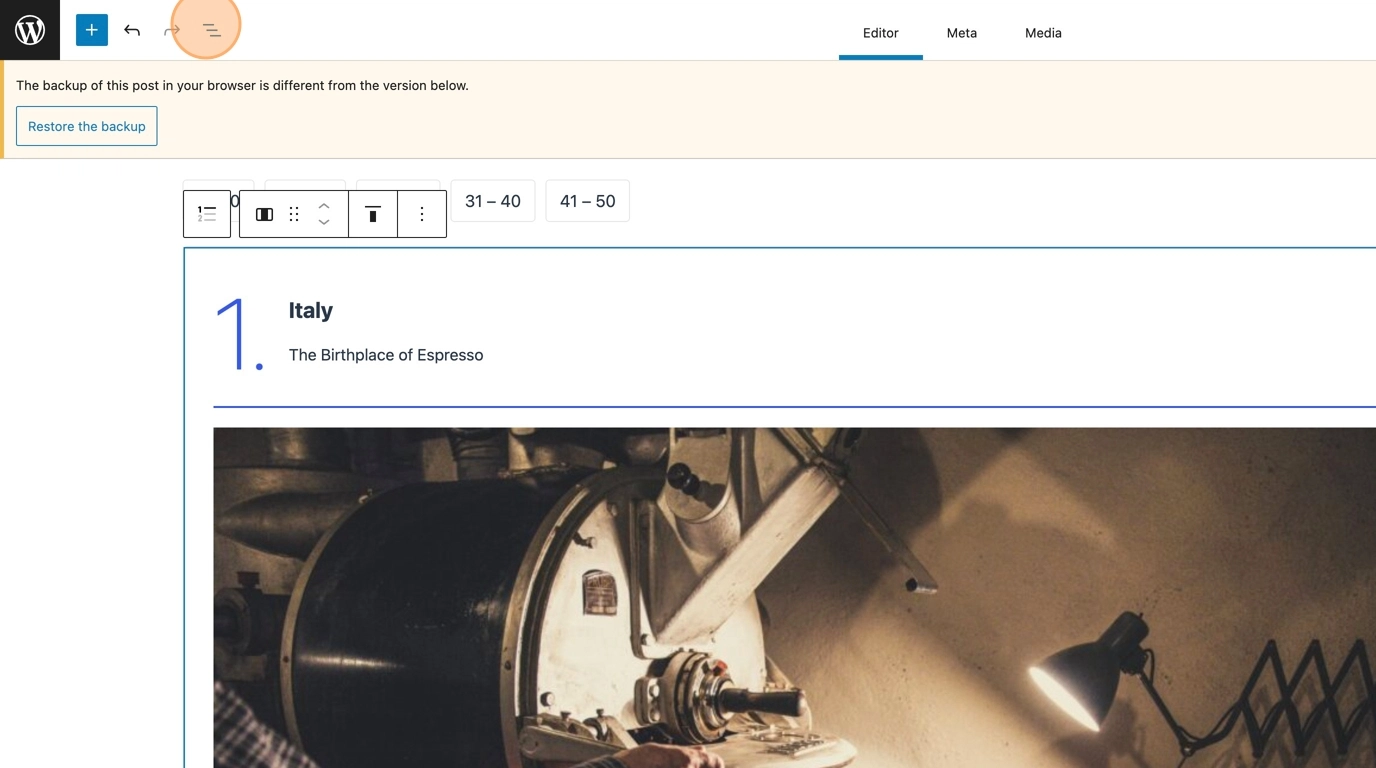
11. 1. Selecting the listicle block again will allow access to the pagination limit controls. This sets the values for your pagination buttons and the increments in which the listicle items will appear on the page.
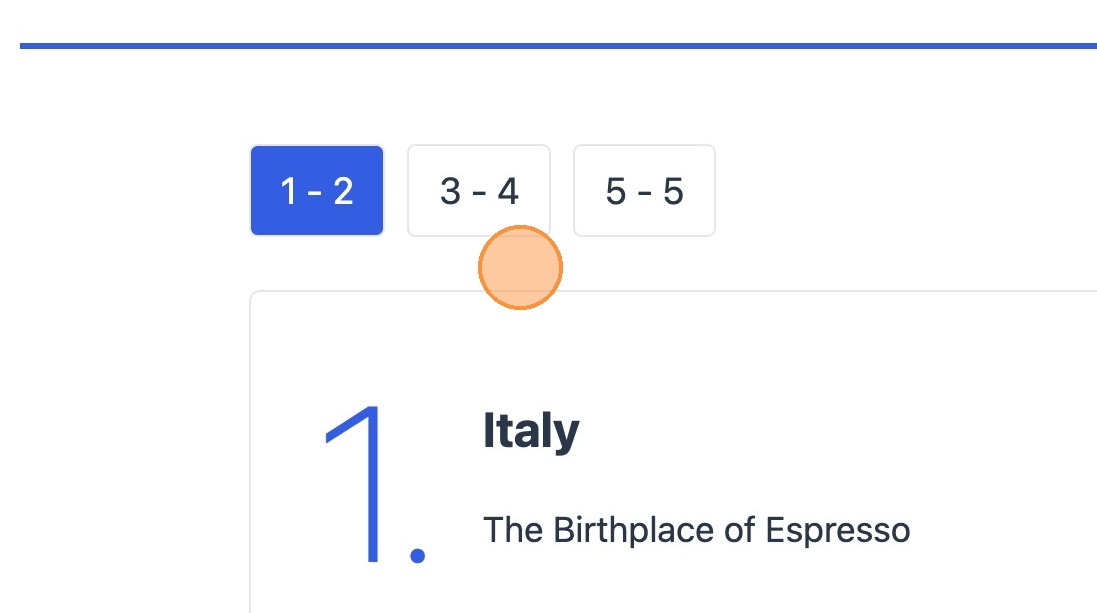
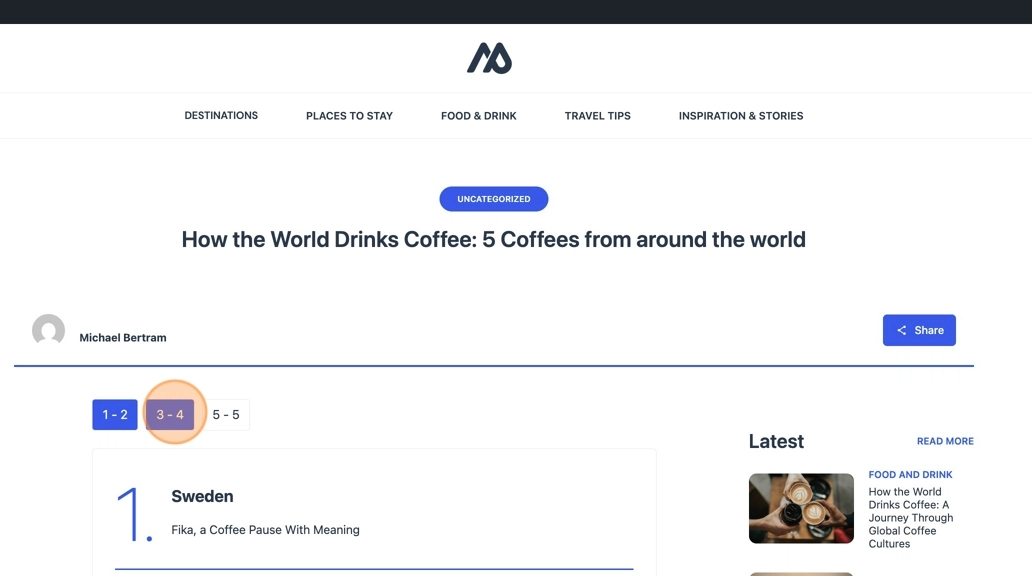
12. When previewing the post you will now see buttons inheriting the value that you have just set.
Adding a Load More button
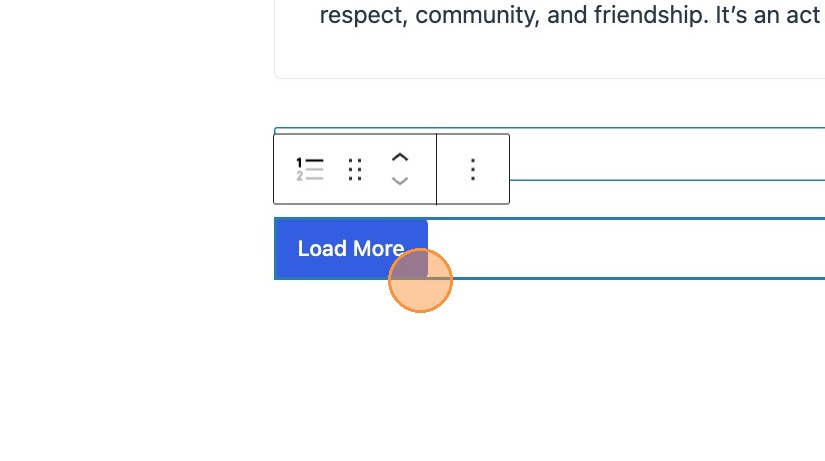
13. Select and add a listicle load more block after the listicle block.
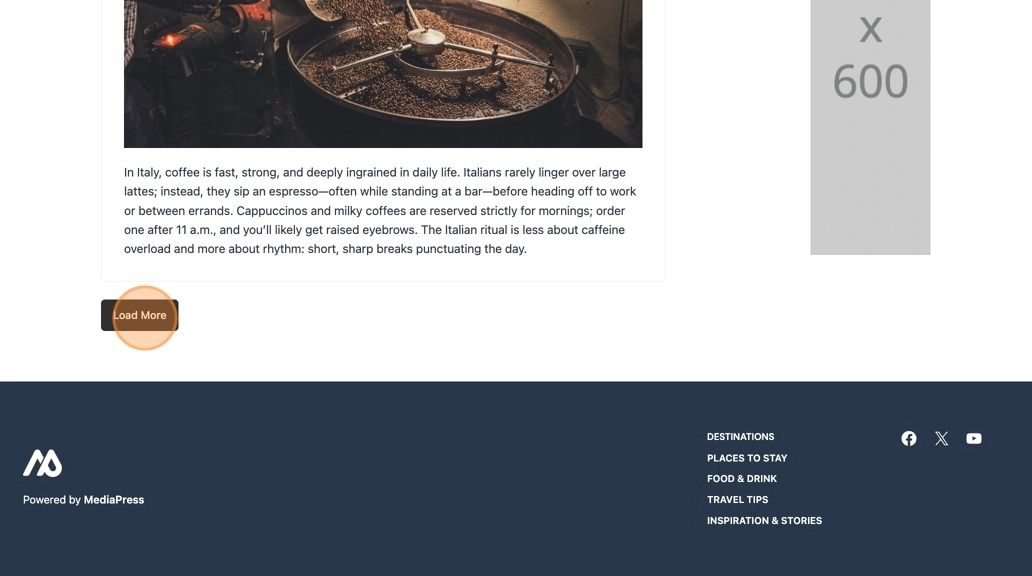
14. Your load more button will now appear after the last listicle item.
Previewing your Listicle
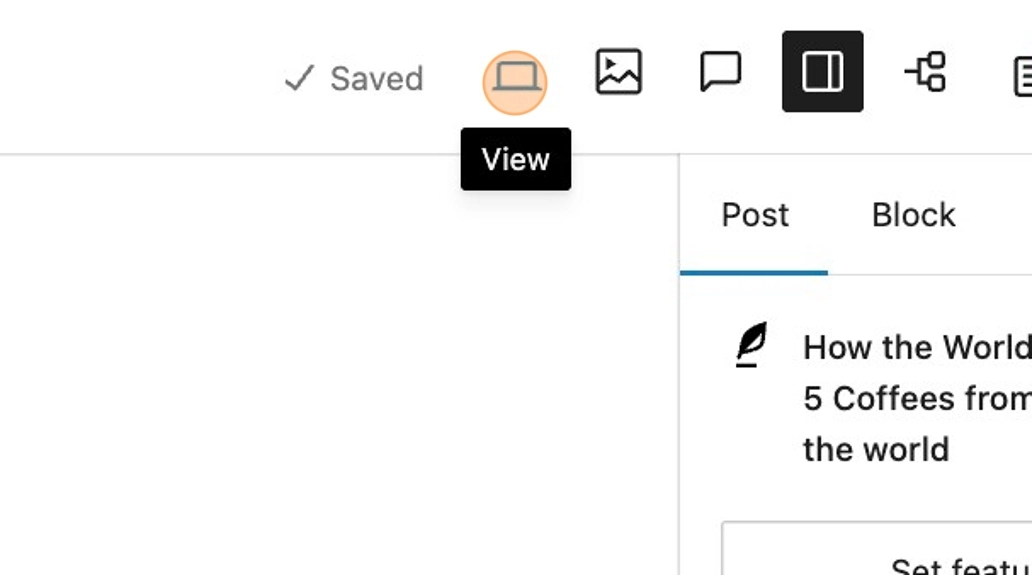
15. Click to preview your post or page in a new tab.
16. Clicking the buttons in the pagination nav bar will scroll the page to those specific items.
17. Selecting the load more button, will load the next listicle items, either in the increments set within the settings panel, or showing any remainder listicle item.
You will notice that the load more button disappears once the final listicle item is in view.
Reordering Listicle items
18. As mentioned previously, WordPress dynamically handles the numbering. This means that your list can be reordered should there be any updates. Simply reorder your Listicle items in the document overview and you will see each item inherits the number of its newest position.
By default, your listicle numbers will show in ascending order. If preferred you can swap your list order to show the listicle numbers in descending order. This works well for countdown lists etc.
19. Select your listicle block, and in the sidebar, select to reverse the order of the listicle numbers, using the toggle.
