Media Panel
Getting started
1. Within the MediaPress settings, ensure that the media module, is enabled and save your changes.
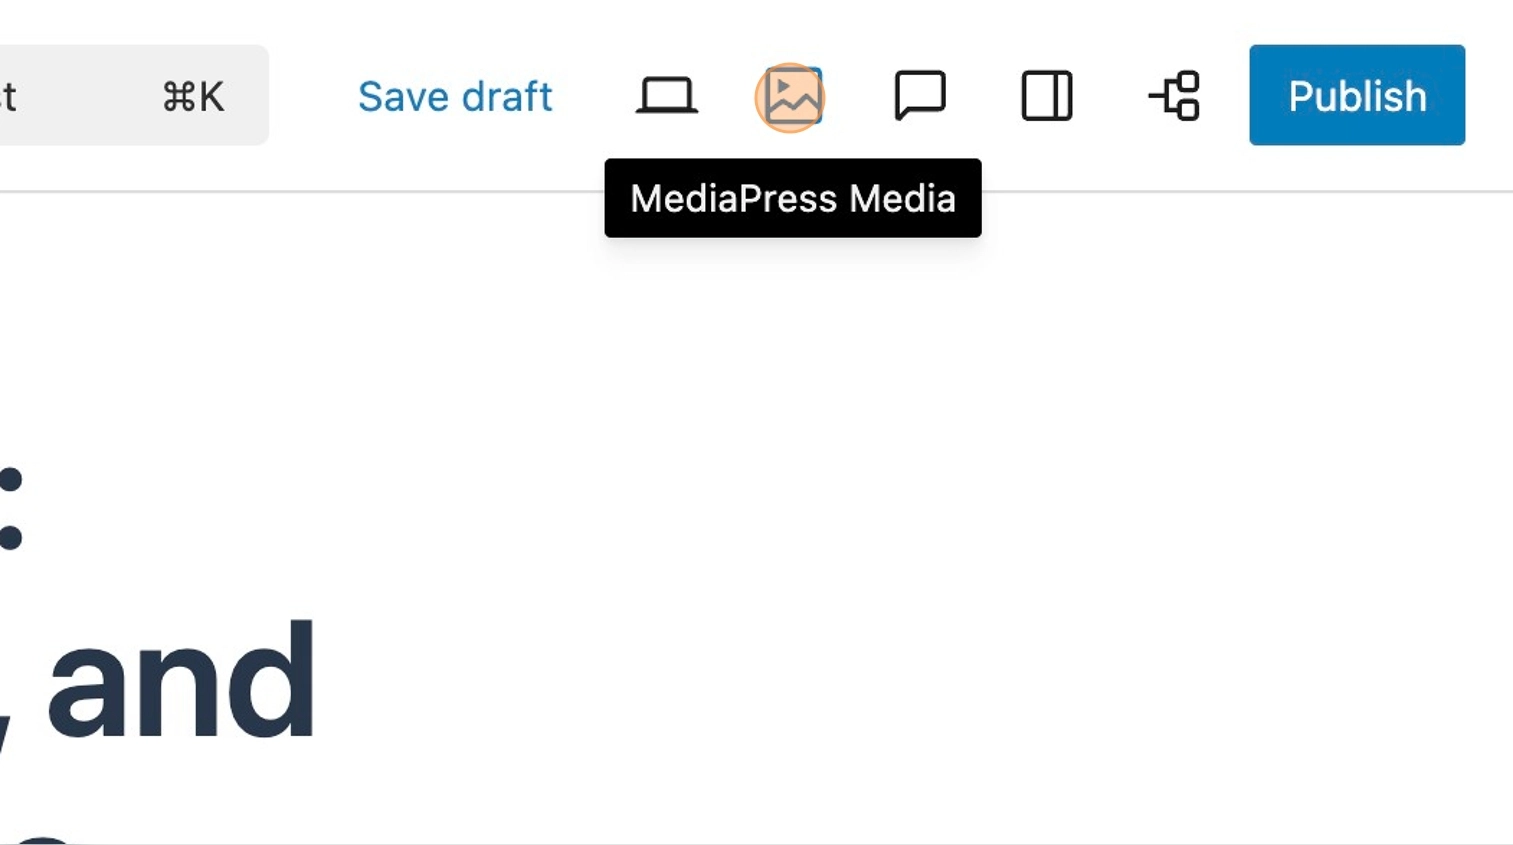
2. Within a post, you will now see an additional icon within the editor navigation bar. Clicking this will open an alternative view of the standard media library.
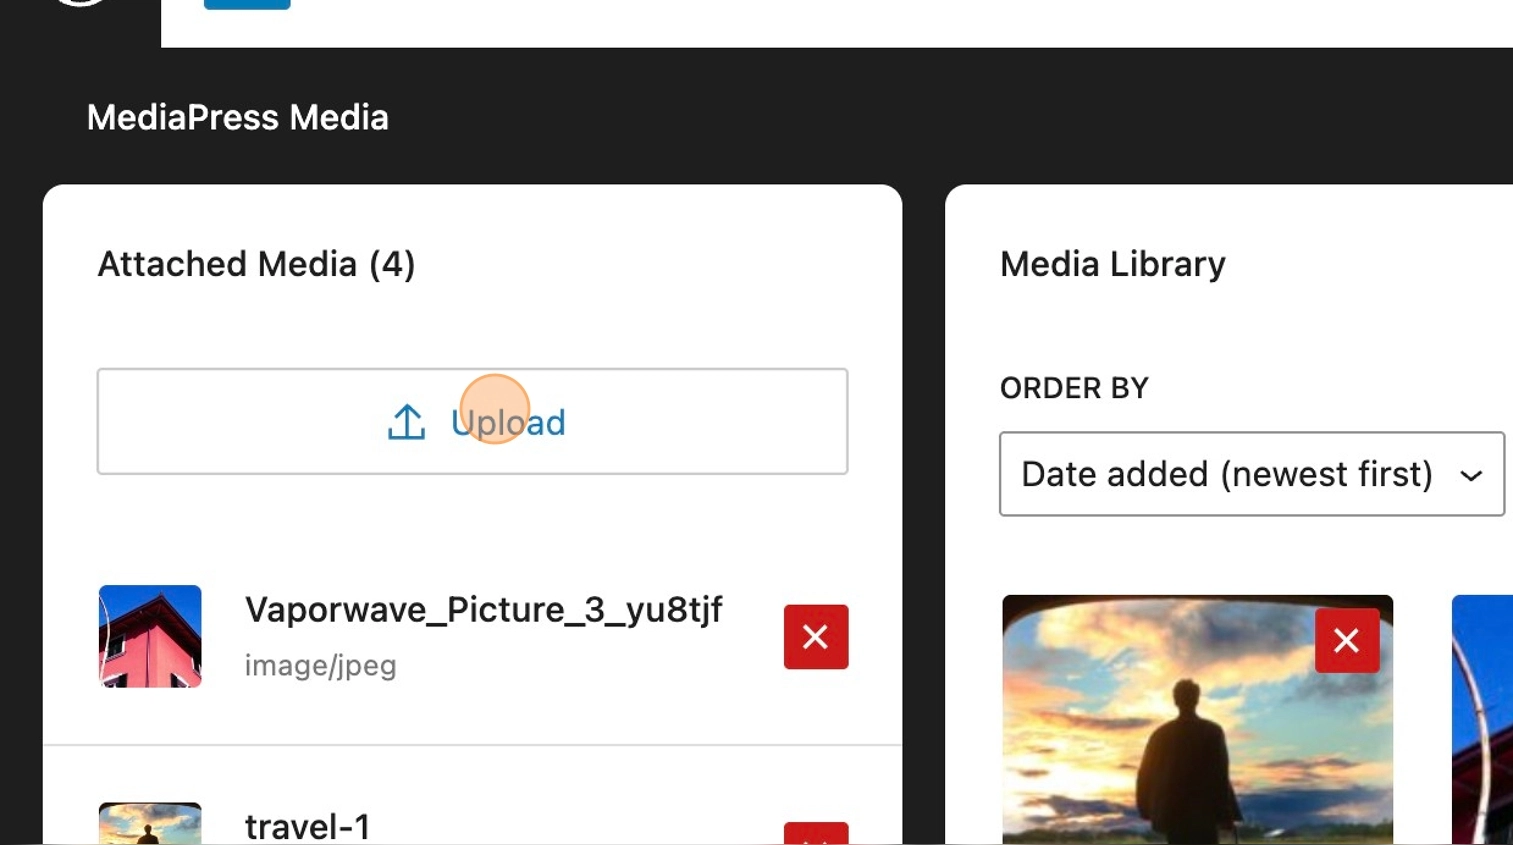
Attaching media to a post
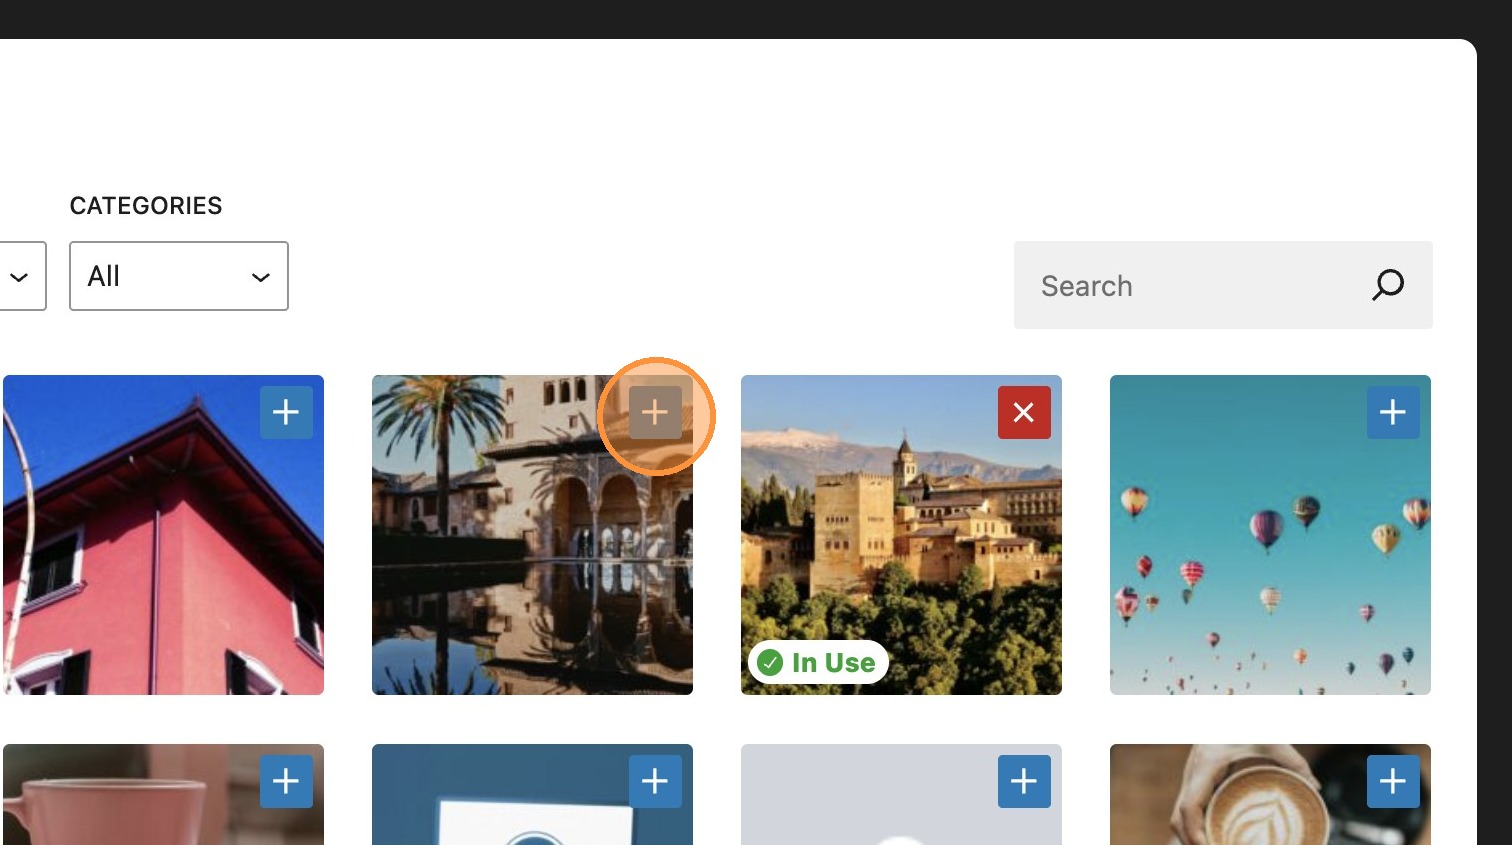
3. You will see that within this view, each asset has a +. This allows you to select the asset and attach it to this specific post. When selected the icon will change to the X, allowing you to un-assign the asset from the post.
4. When selected, the assets will appear in the attached media panel.
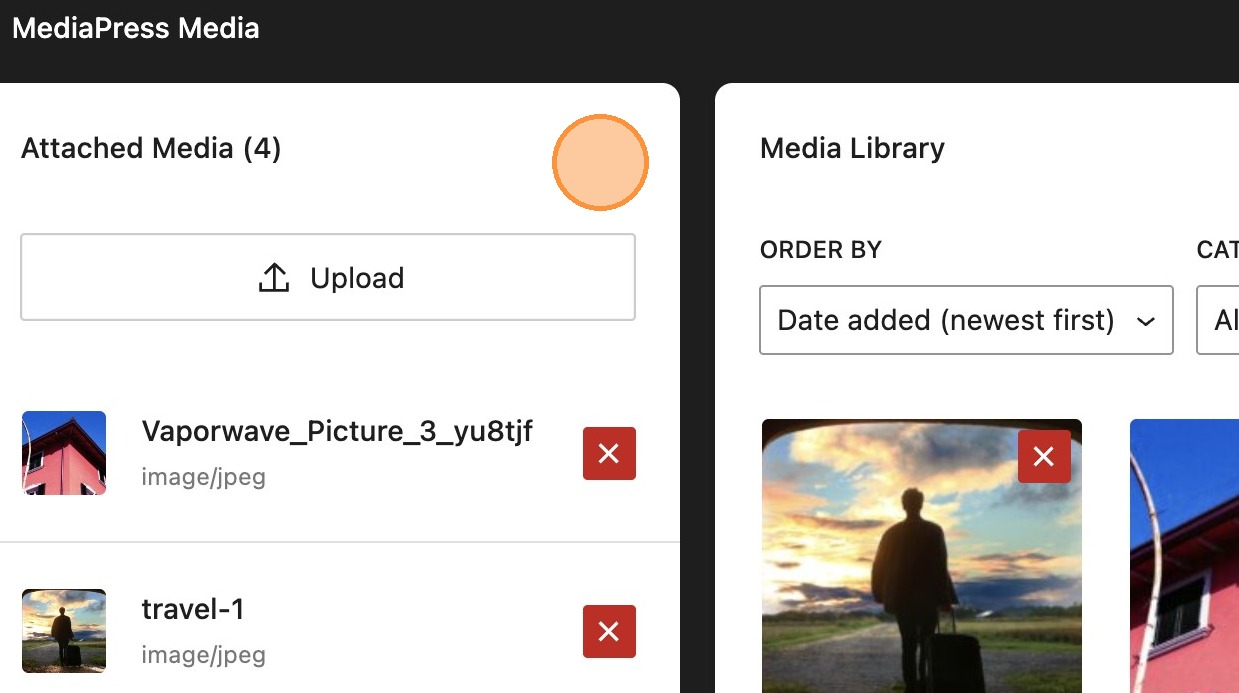
5. Its also possible to upload directly to the attached media panel using the upload button. Selecting your desired asset, will attach to the post. This will appear in the media library as usual.
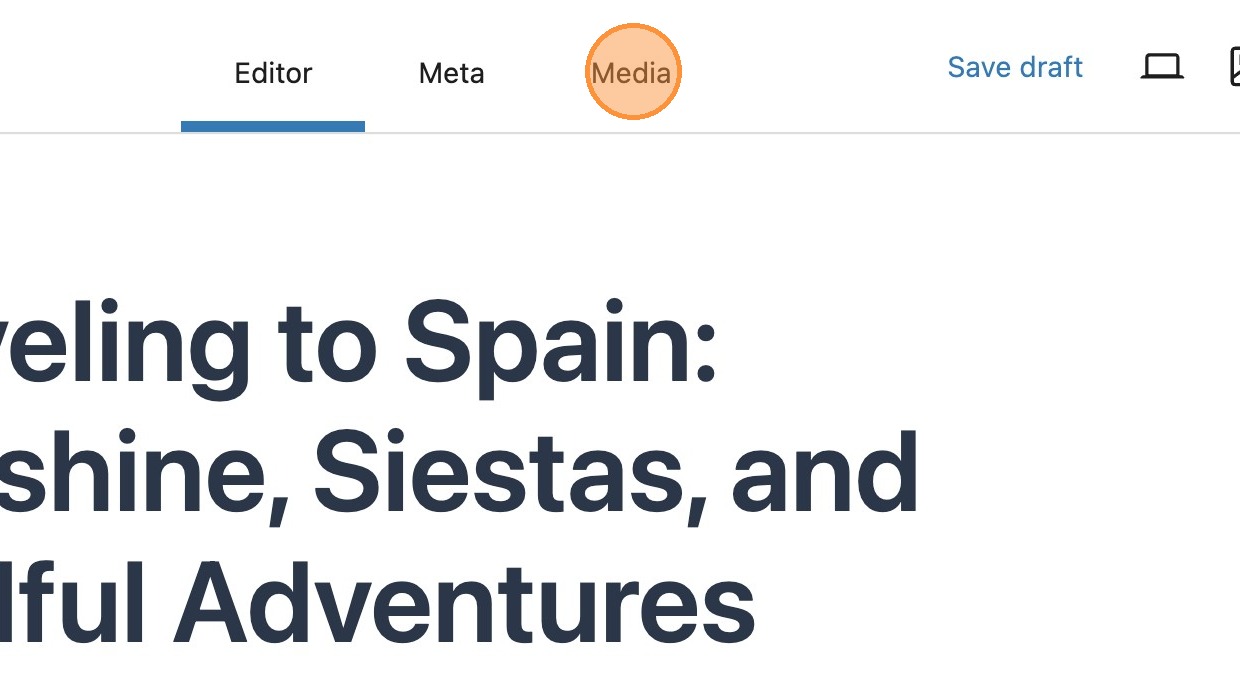
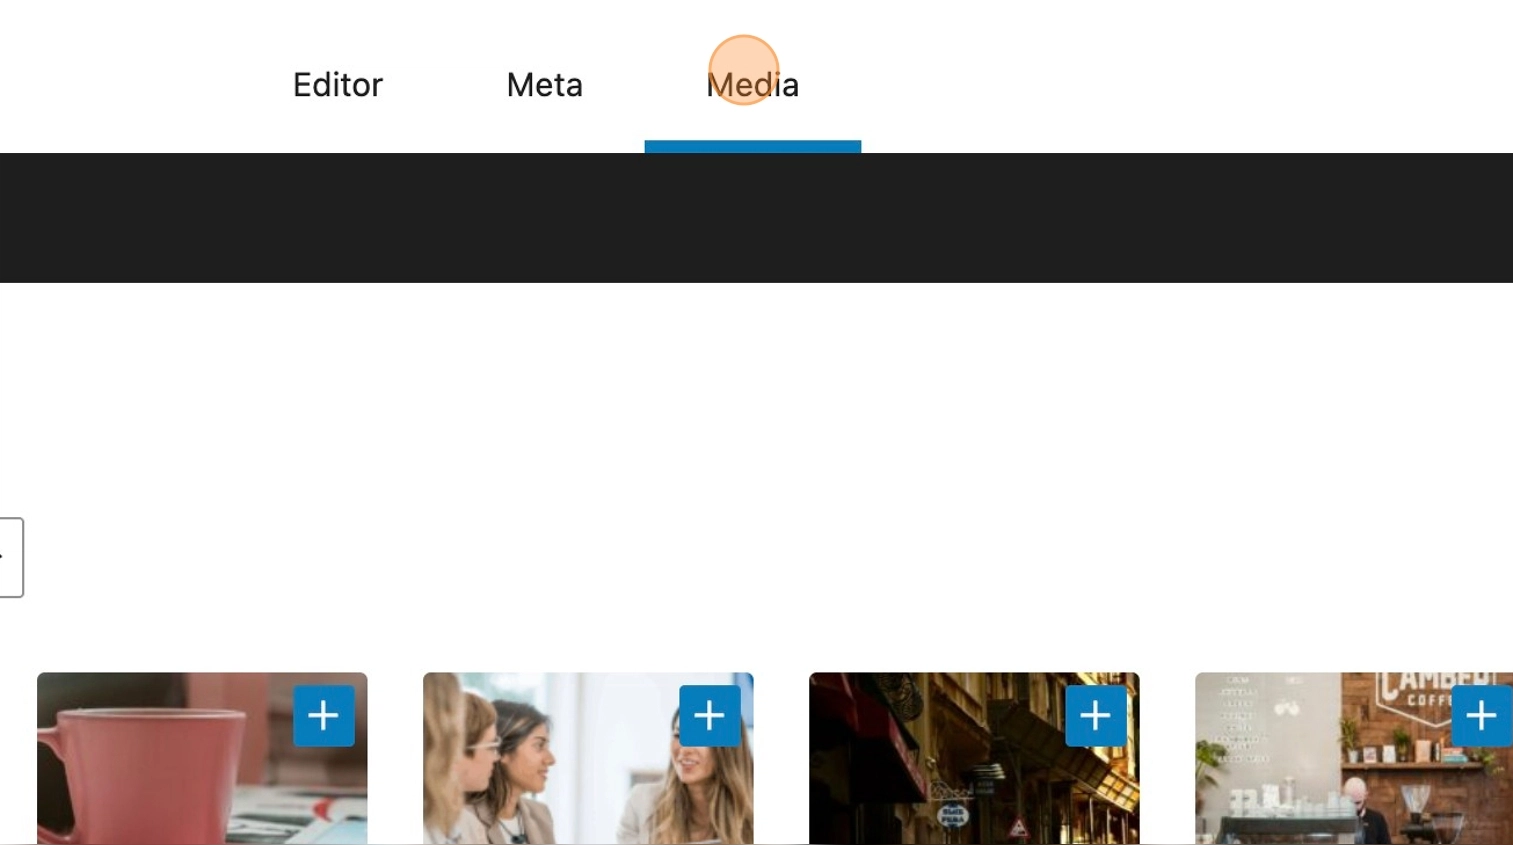
6. You will also notice a media tab in the editor tabs. This button also allows you to navigate to the MediaPress media library.
7. Once you have selected the required assets, you can return to the editor ready to add them to your post.
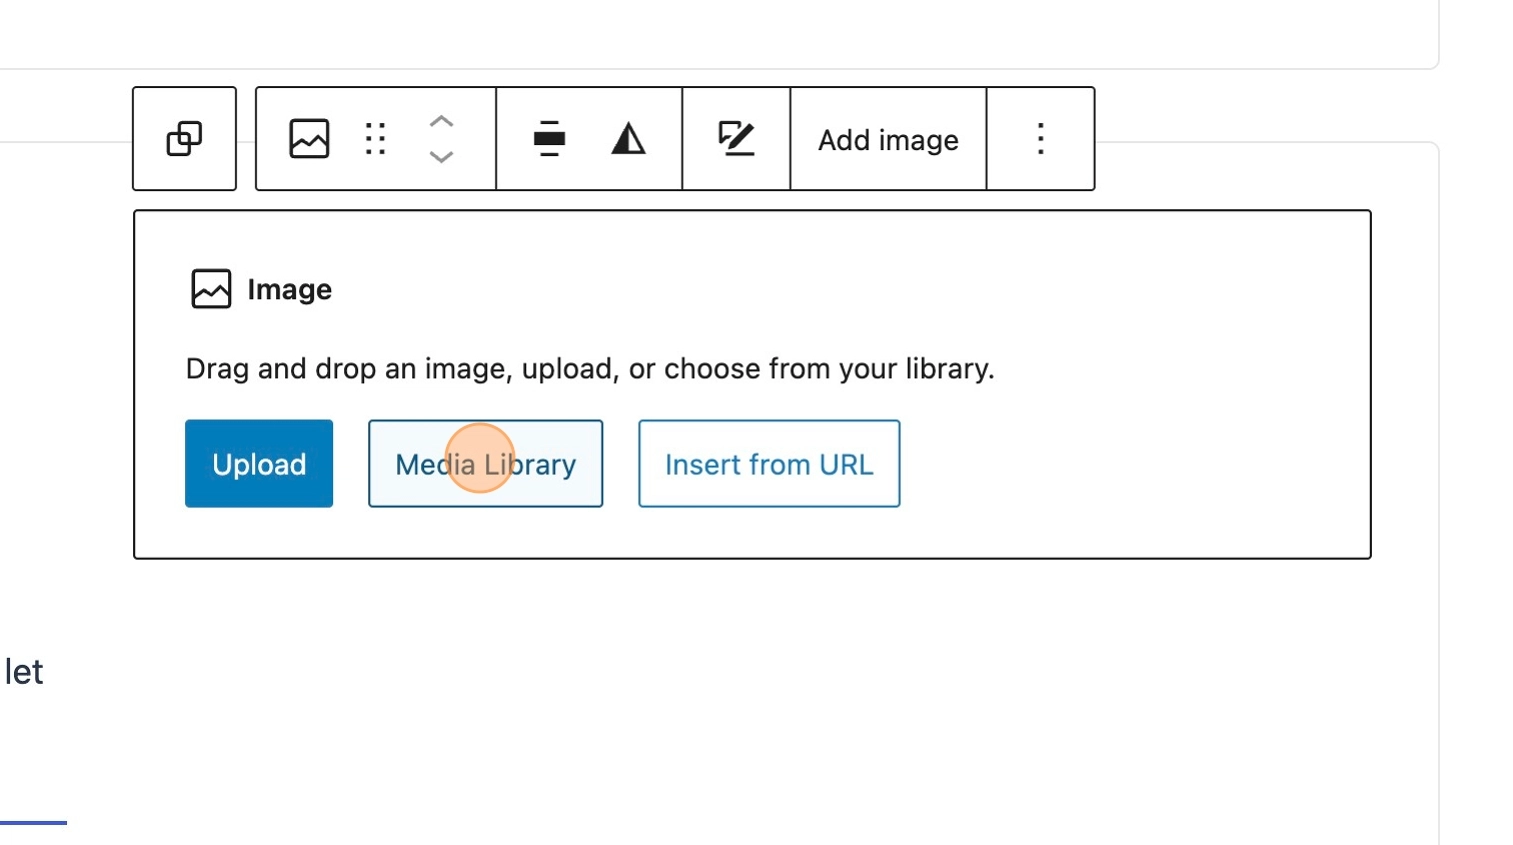
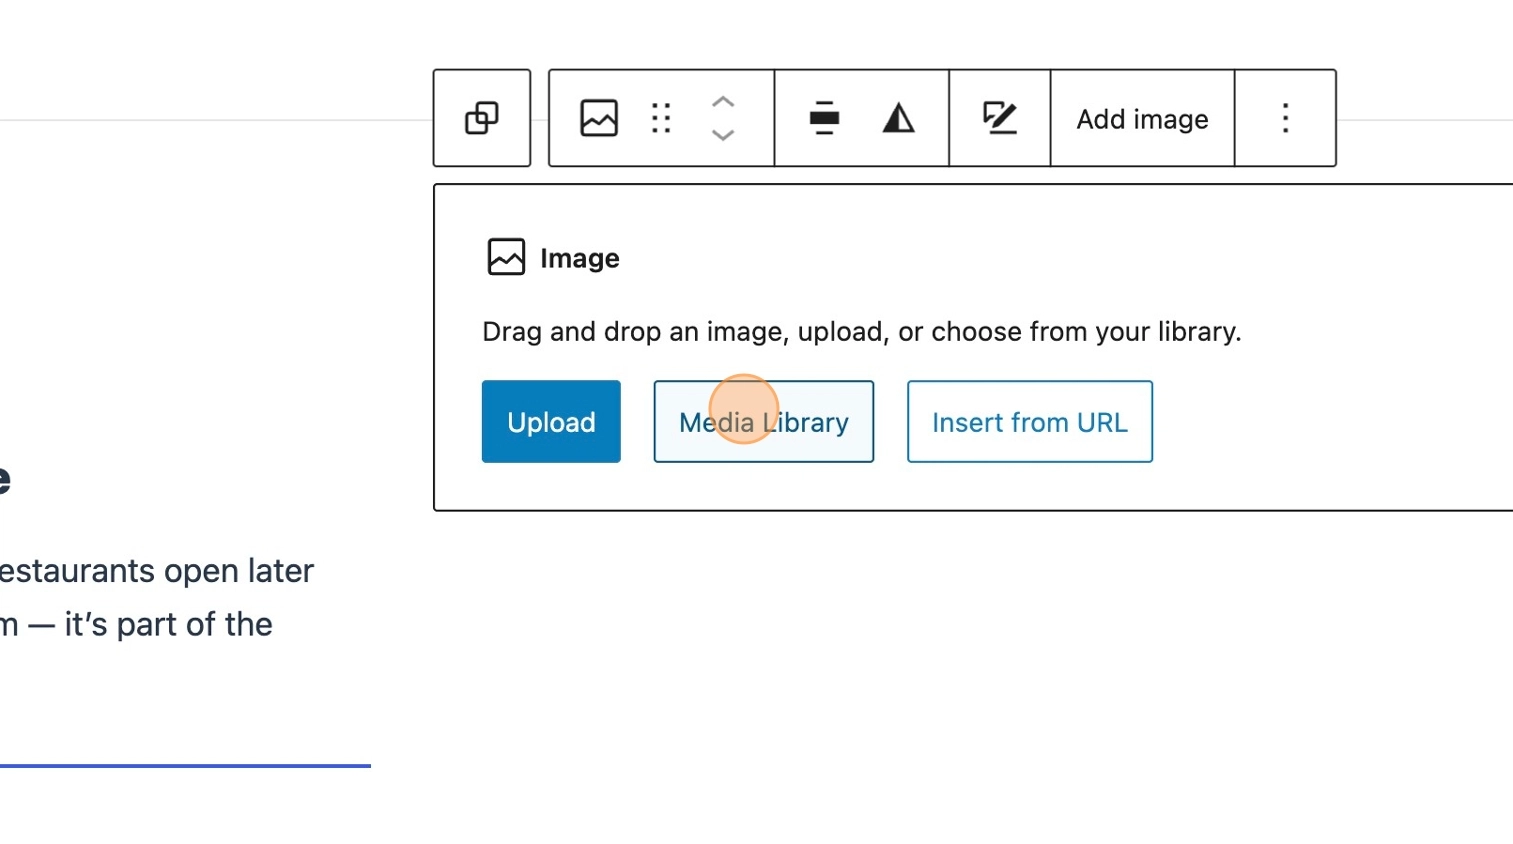
8. Go ahead and add your image. Selecting to choose from the media library, will display a now condensed library of assets, consisting of those you previously attached to the post.
9. When an asset from your library is added to a post, it will display an in use tag, allowing you to easily identify assets currently being used.
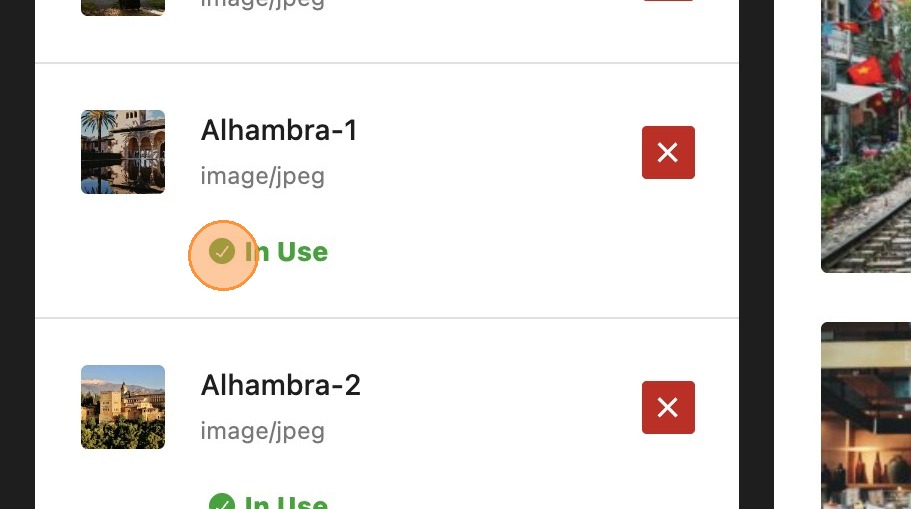

Please note: When an asset is in use, it cannot be removed from the attached media panel. You must first remove the asset from your post content, then you can proceed with removing it from your attached media.
Additional customisations
10. Within the media panel you will see the option to unpin from toolbar. This will remove the icon from the top toolbar in your editor, should this be required, maybe for a more streamlined editor experience.
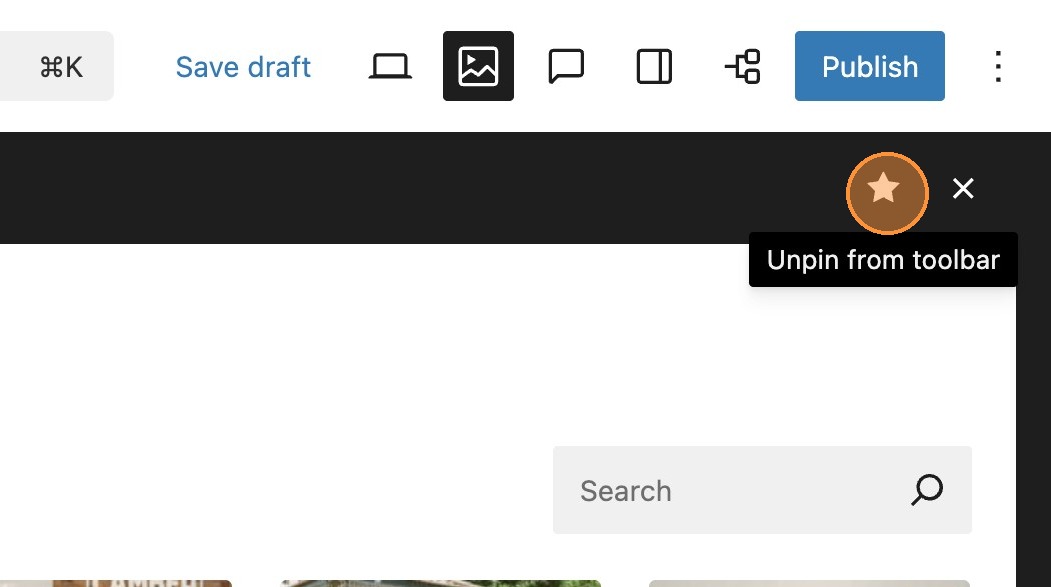
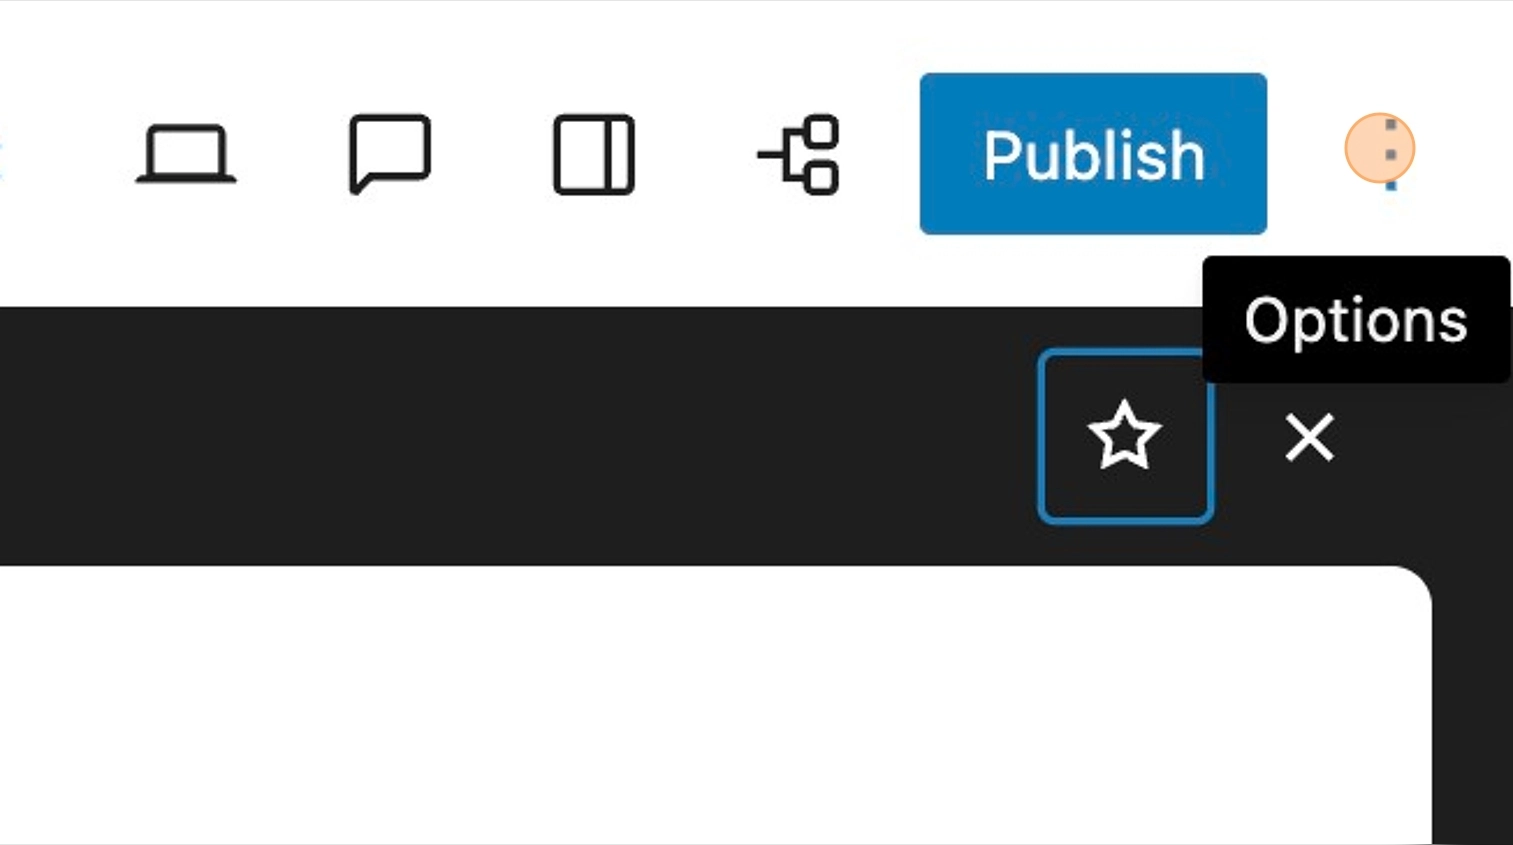
11. If you DO NOT have the MediaPress tabs module enabled, then you can access the media panel through the options in the top right of the toolbar.
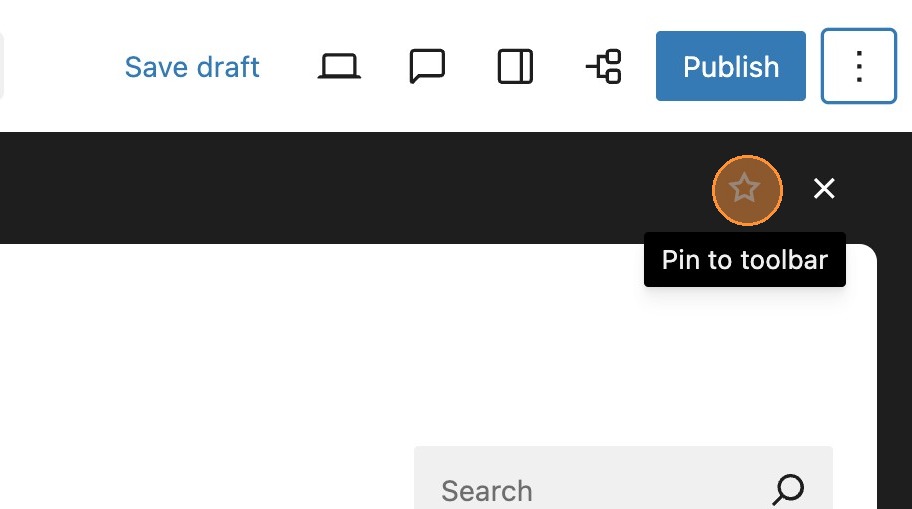
12. It can be added again, by simply selecting to pin to toolbar.
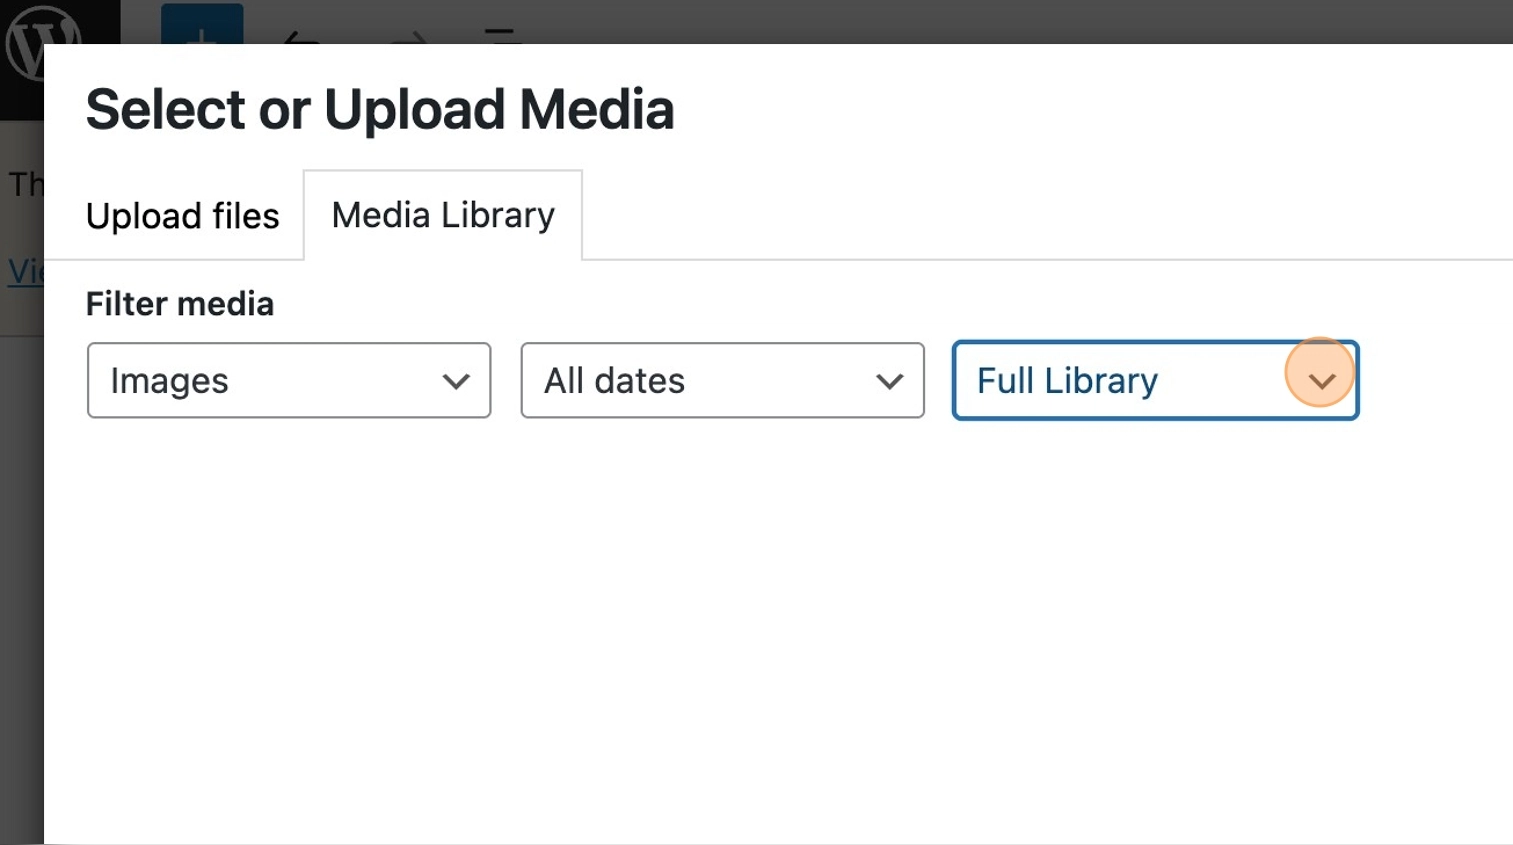
13. When adding media to your post, by default the media library filters the assets by attached media.
14. You can select additional assets by changing the filter to full library. This will show all images in the media library, where you can select your required asset.
15. When returning to the media tab, you will now notice that this newly added image has also been added to your attached media.
Advanced Featured Image
Getting started
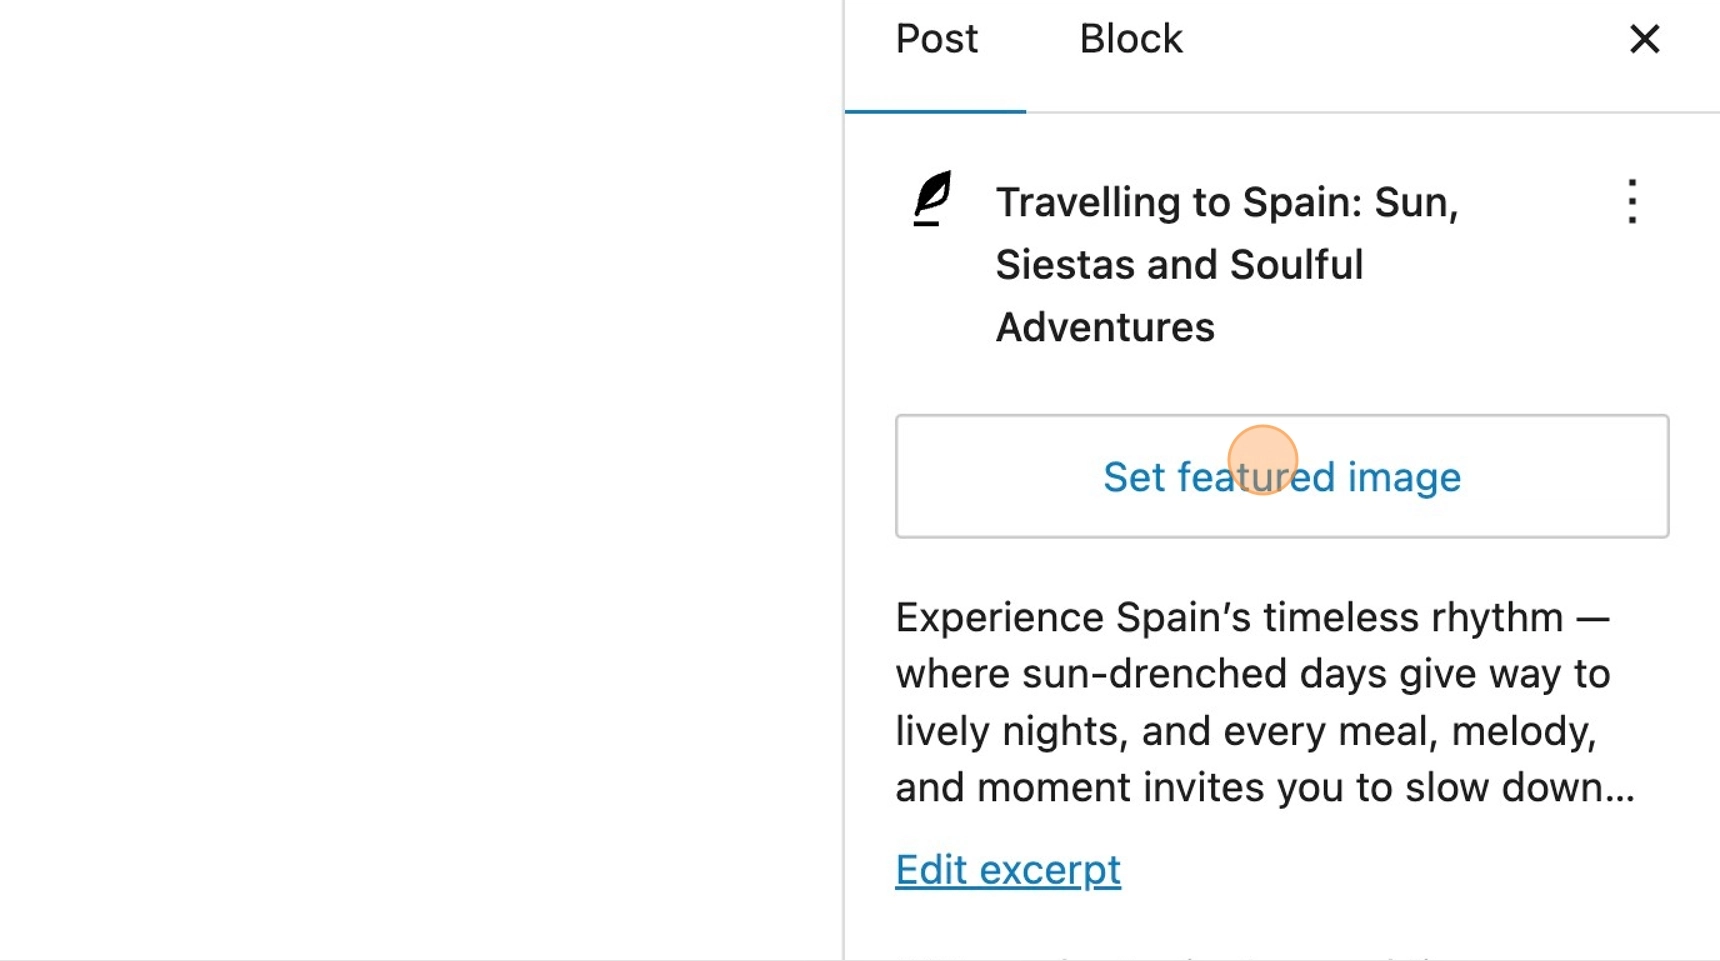
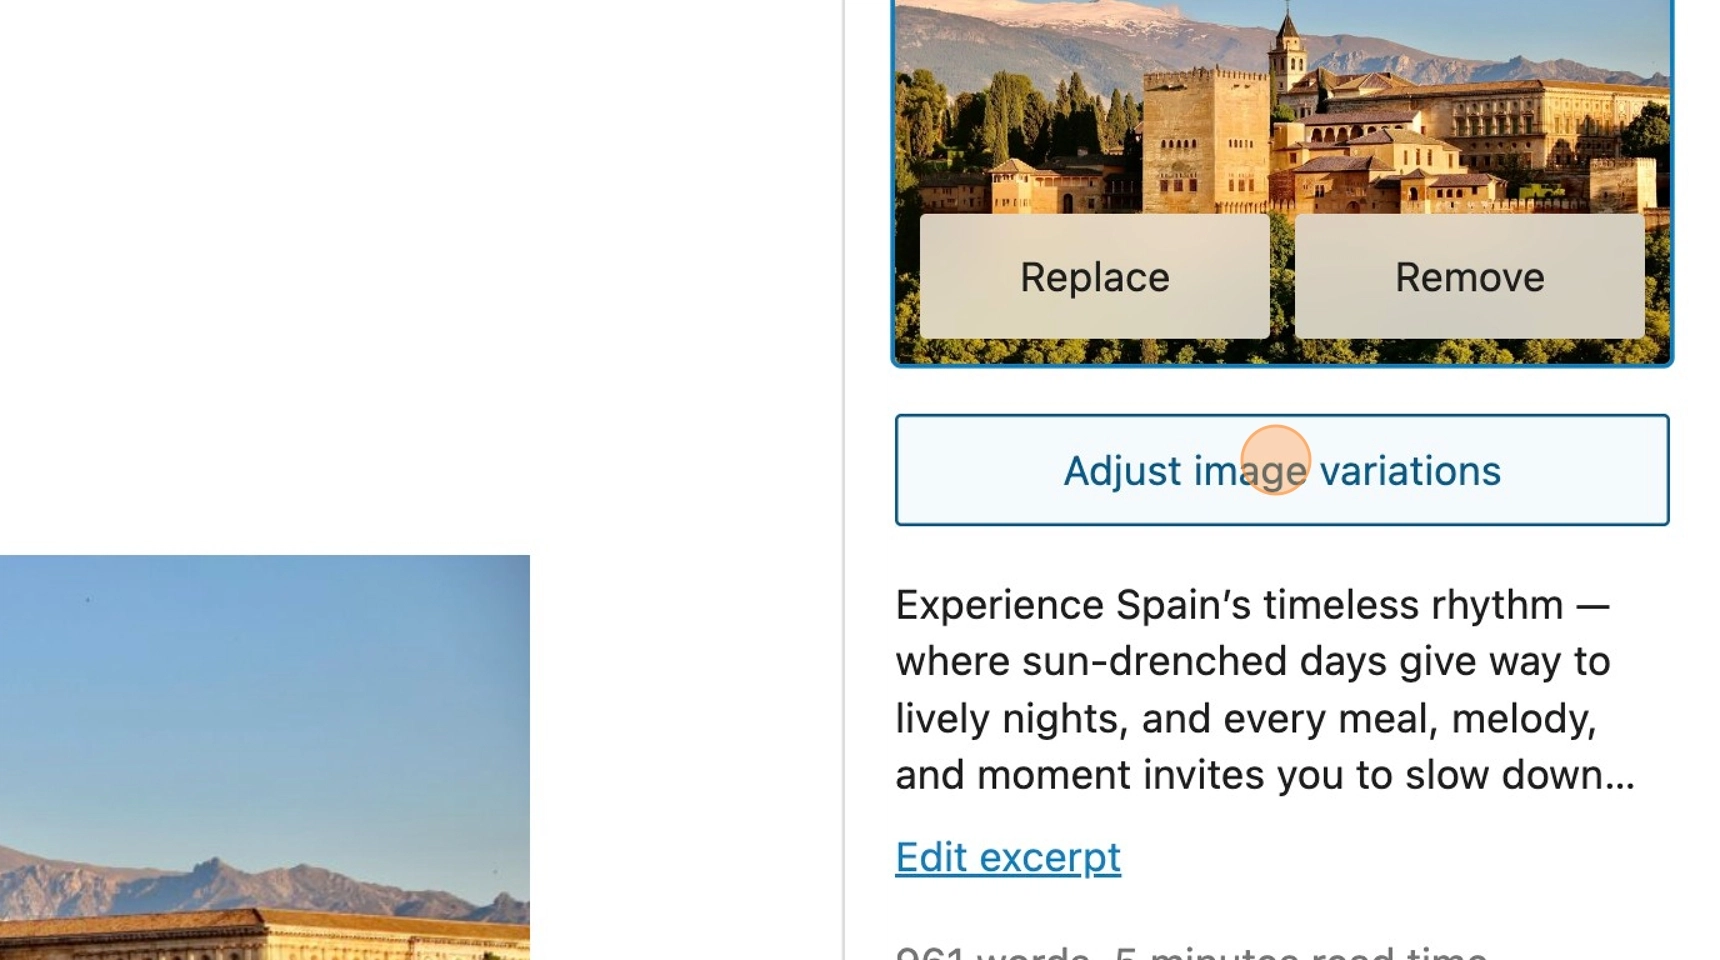
1. Within your post, add your featured image in the standard way.
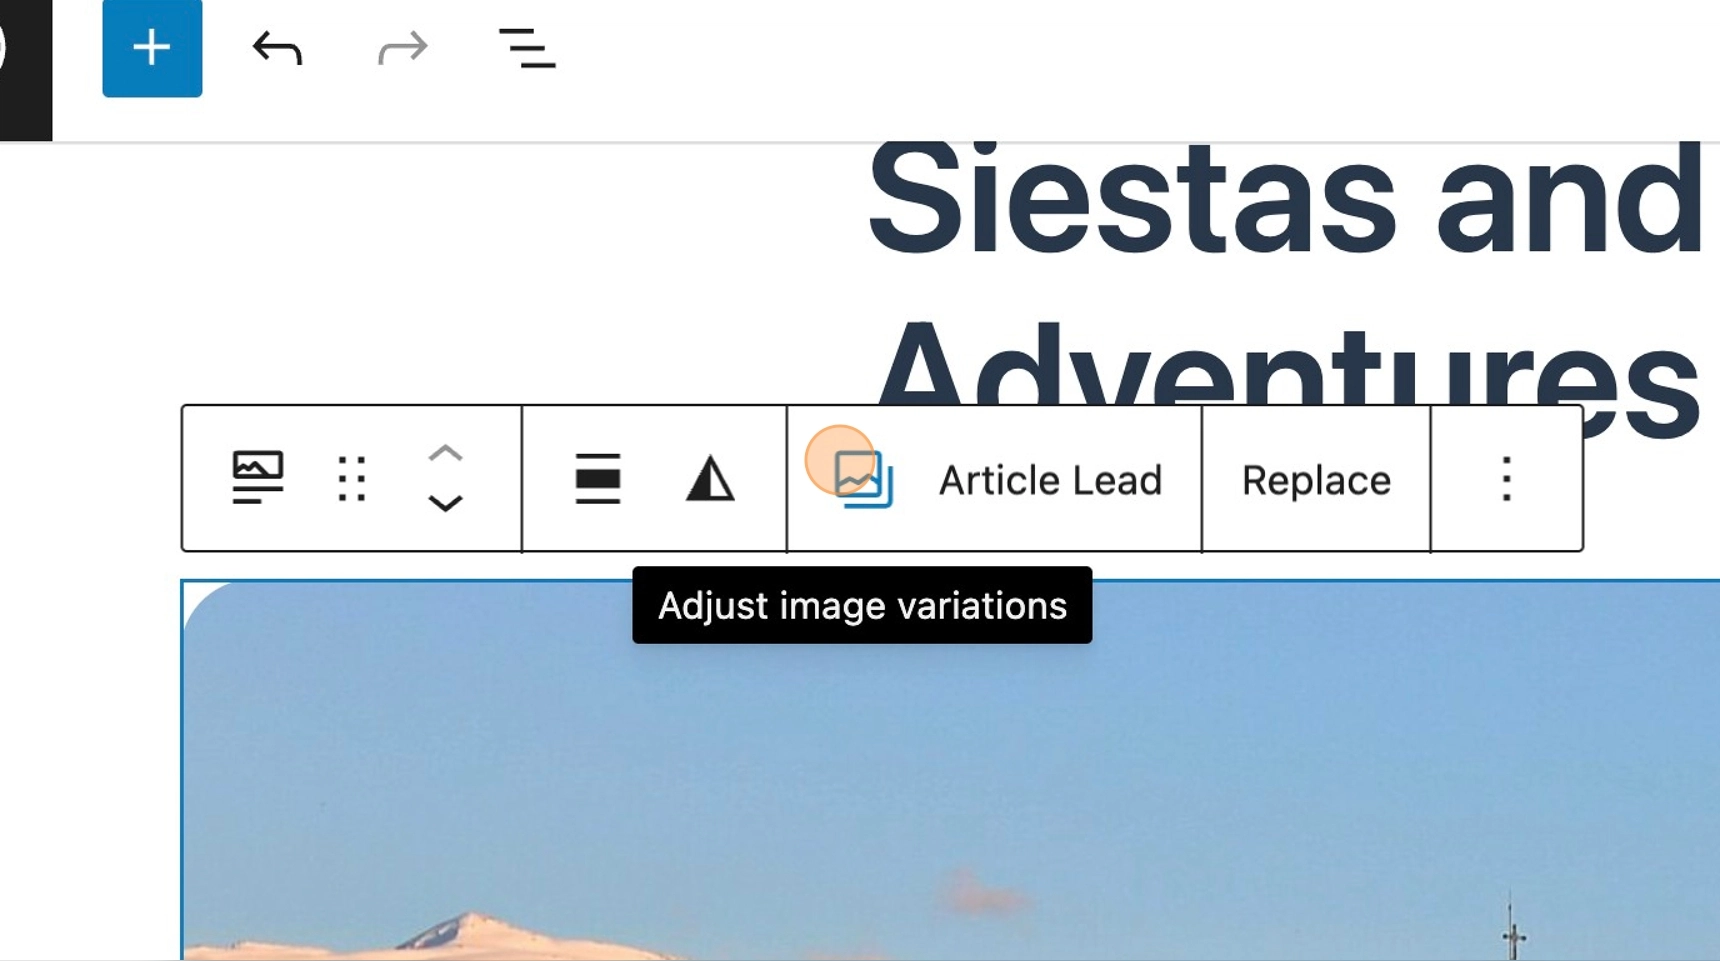
Creating variations
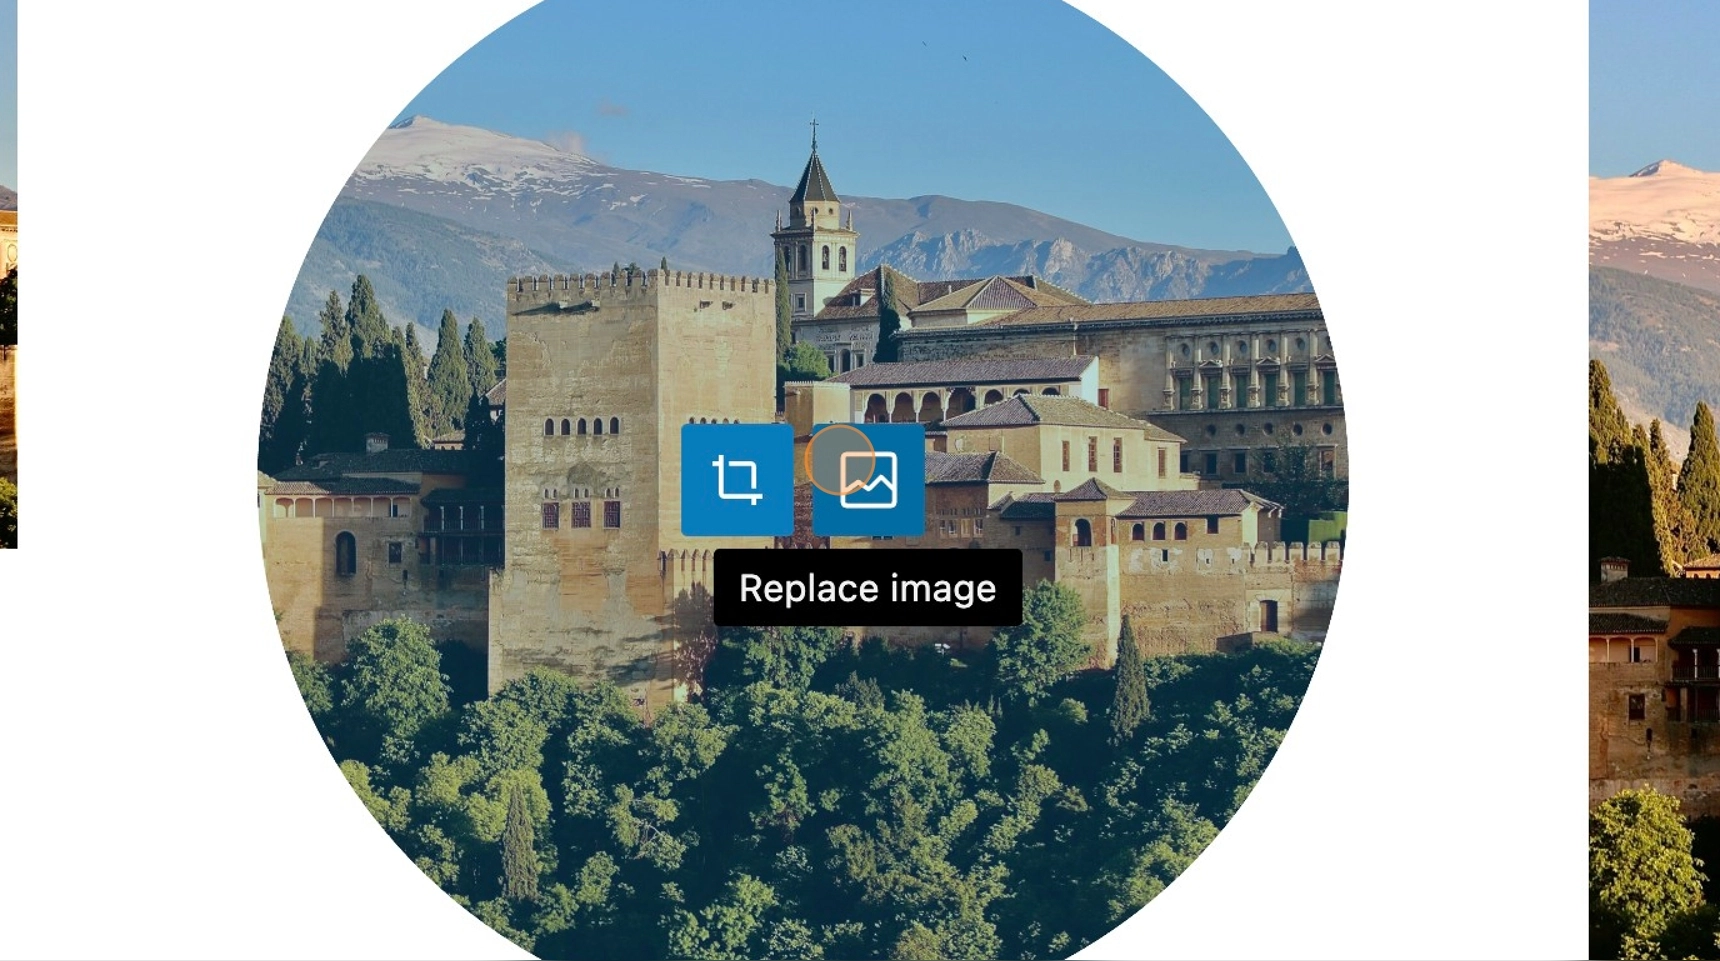
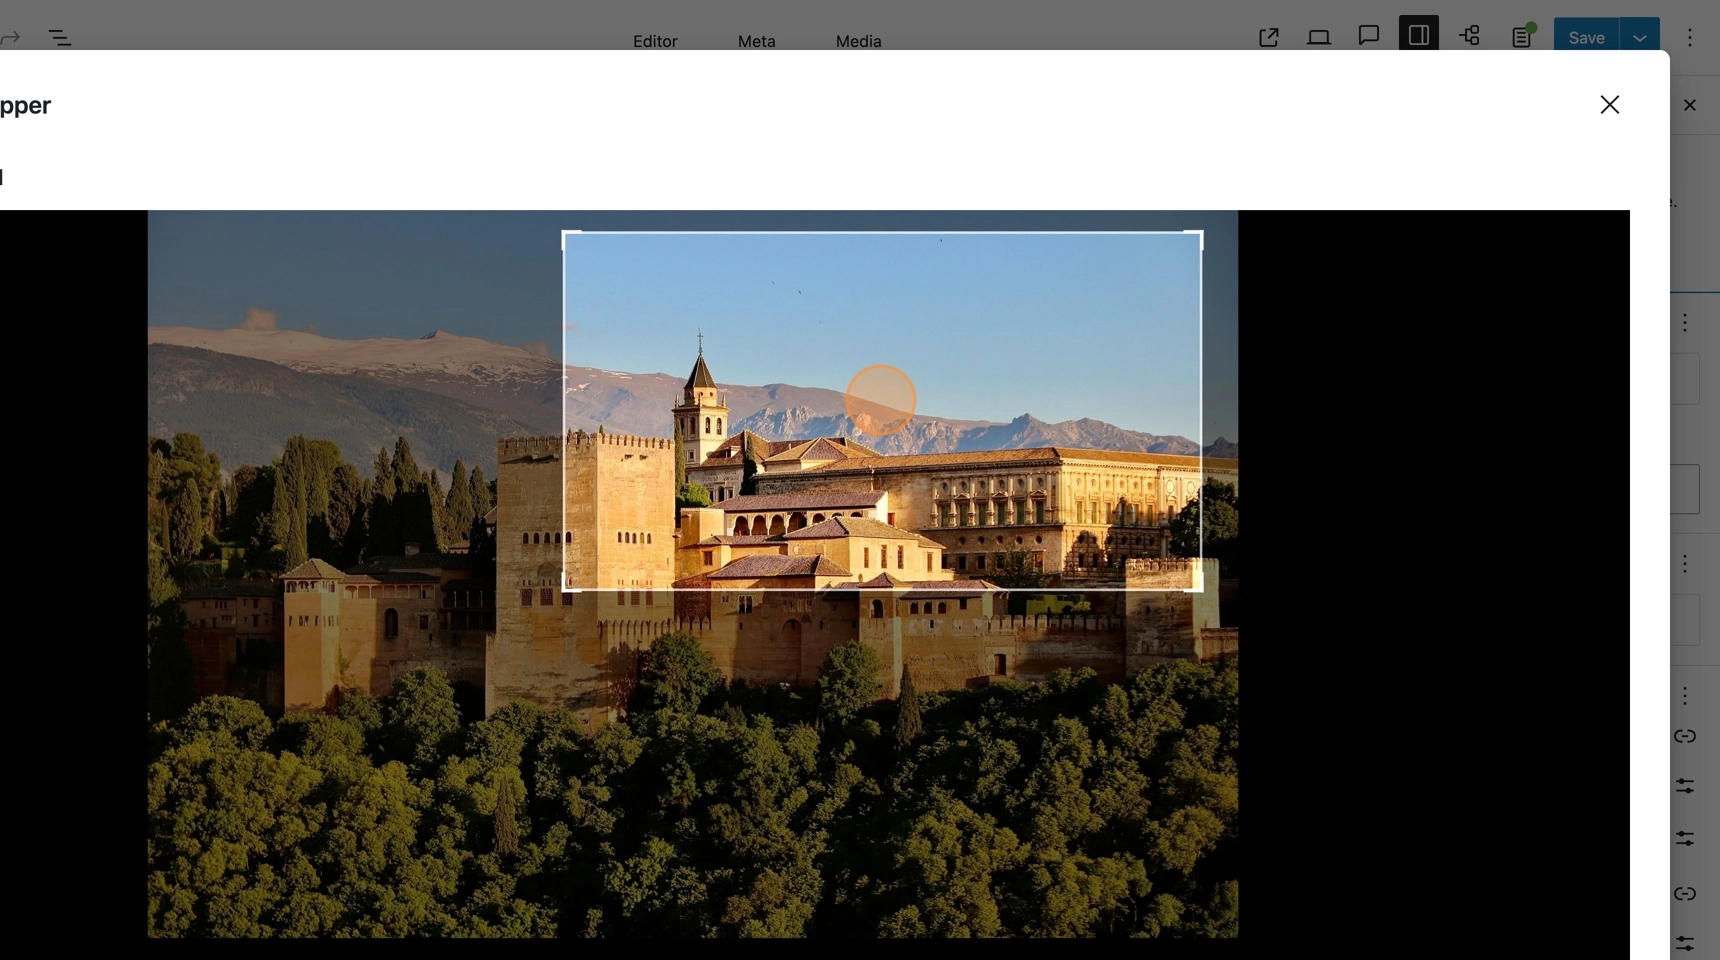
2. You will see below the image the adjust image variations button. This will take you to the image variations window. Here you will see image variations.
3. Selecting the crop icon, will allow you to use the anchors to resize and drag the selected section until you are happy with your selection.
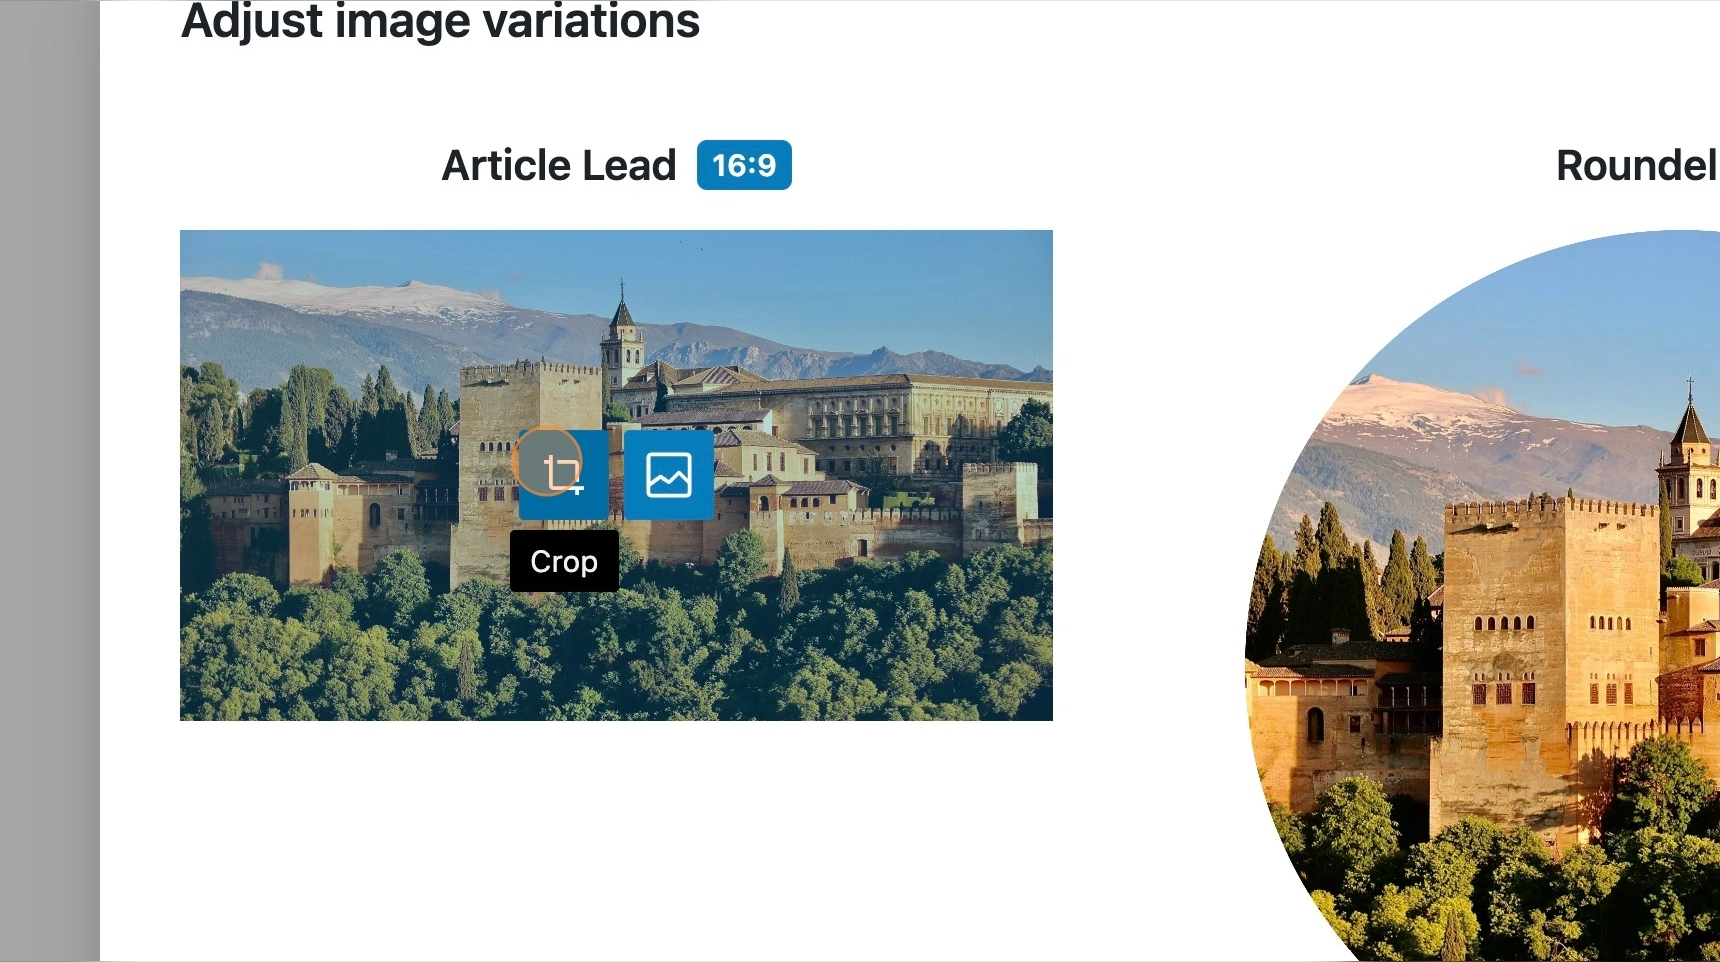
4. It’s also possible to replace the image on any of the variations, this allows you to have multiple featured images for a post.
Selecting a variation
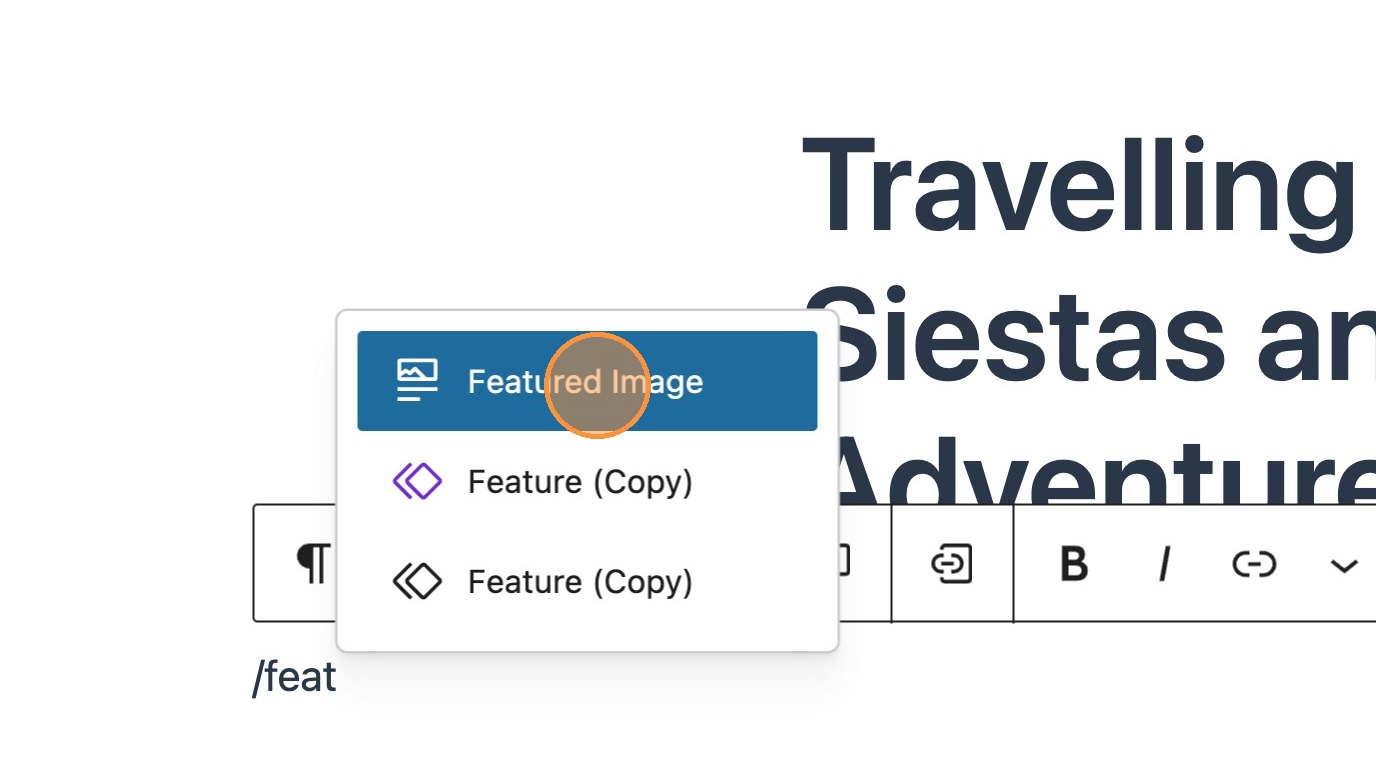
5. Search for and add a featured image block, either in a post or template.
6. In the block toolbar you will now be able to choose the desired variation.
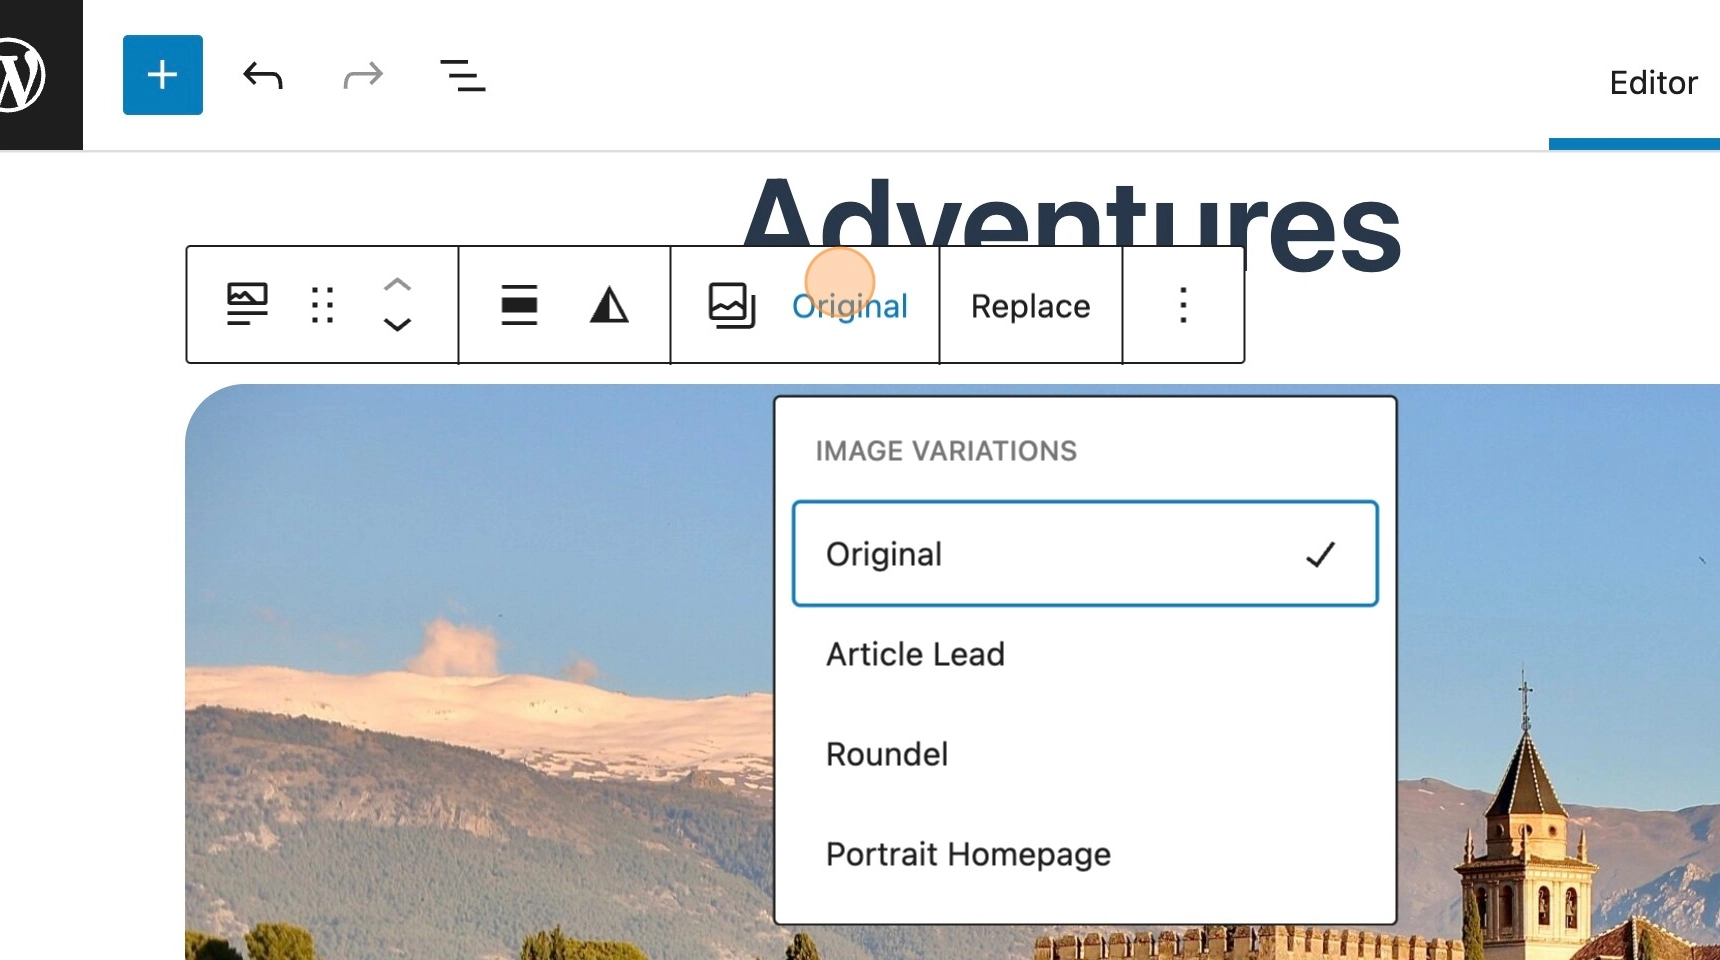
7. You will now see the selected variation of the image in place of the original.
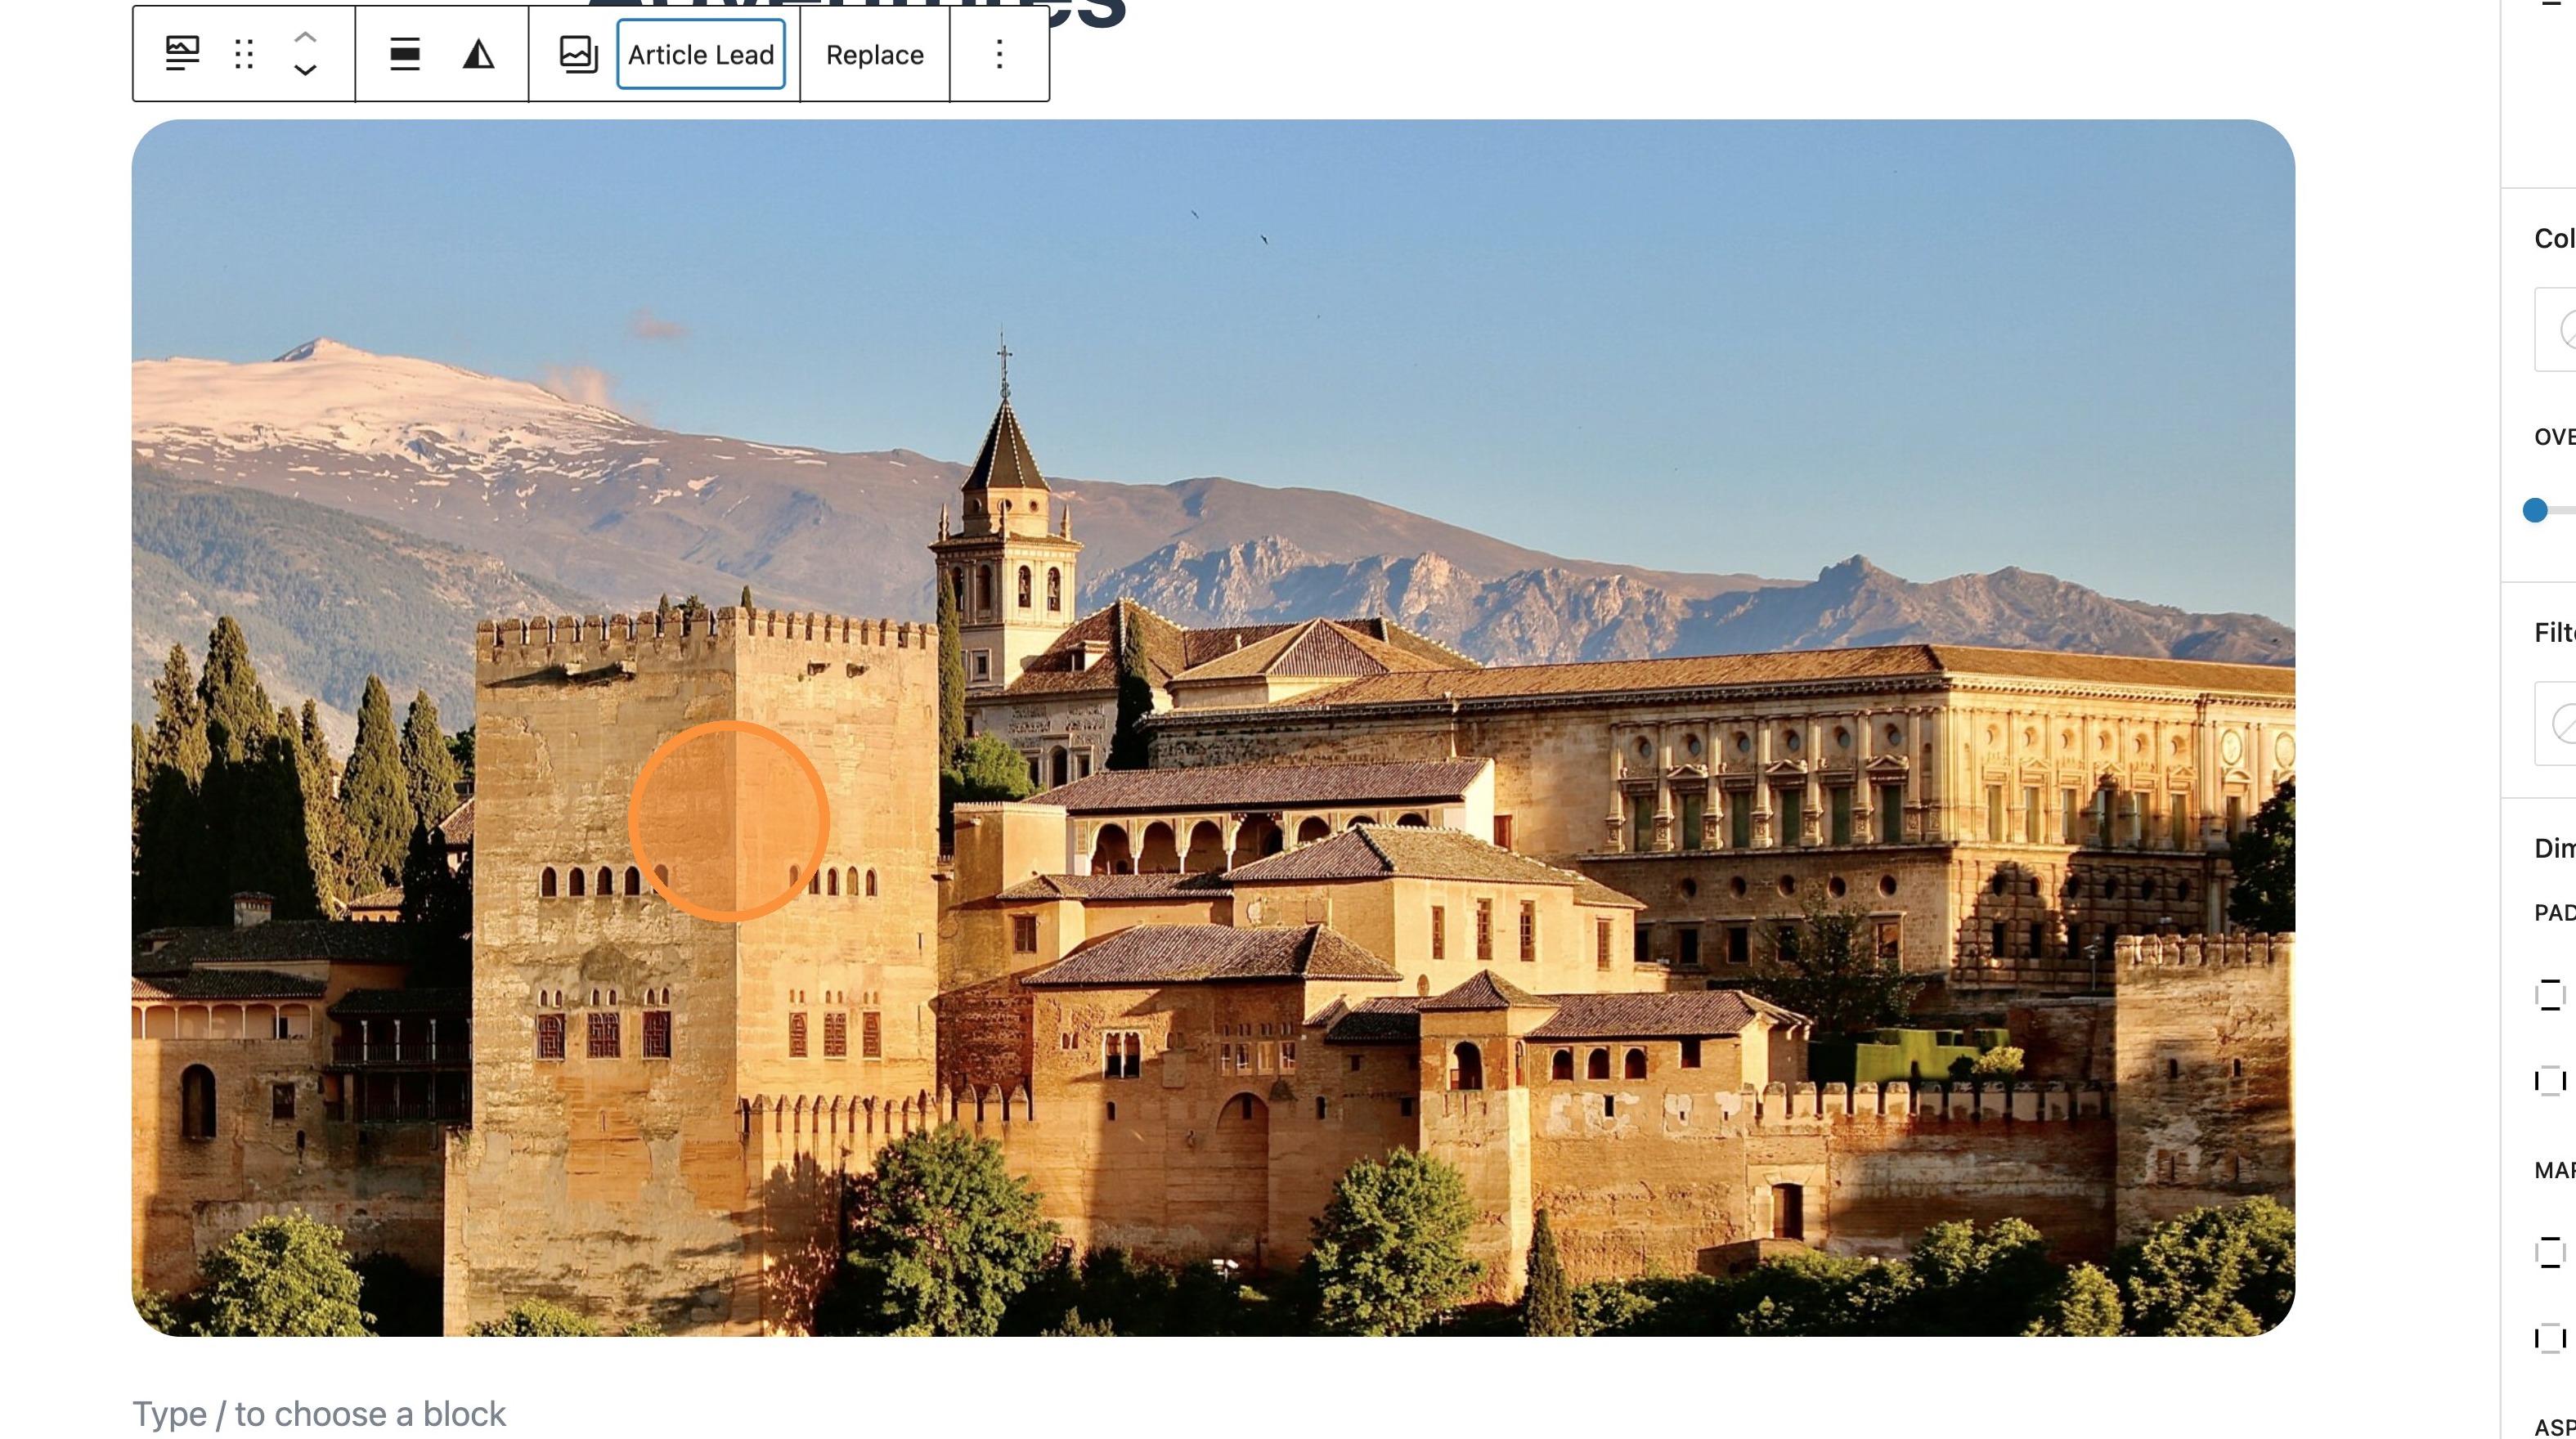
8. It’s also possible to edit the featured image from within the block toolbar. Select the icon and choose to crop the required variation.
9. Crop the image to the desired size.
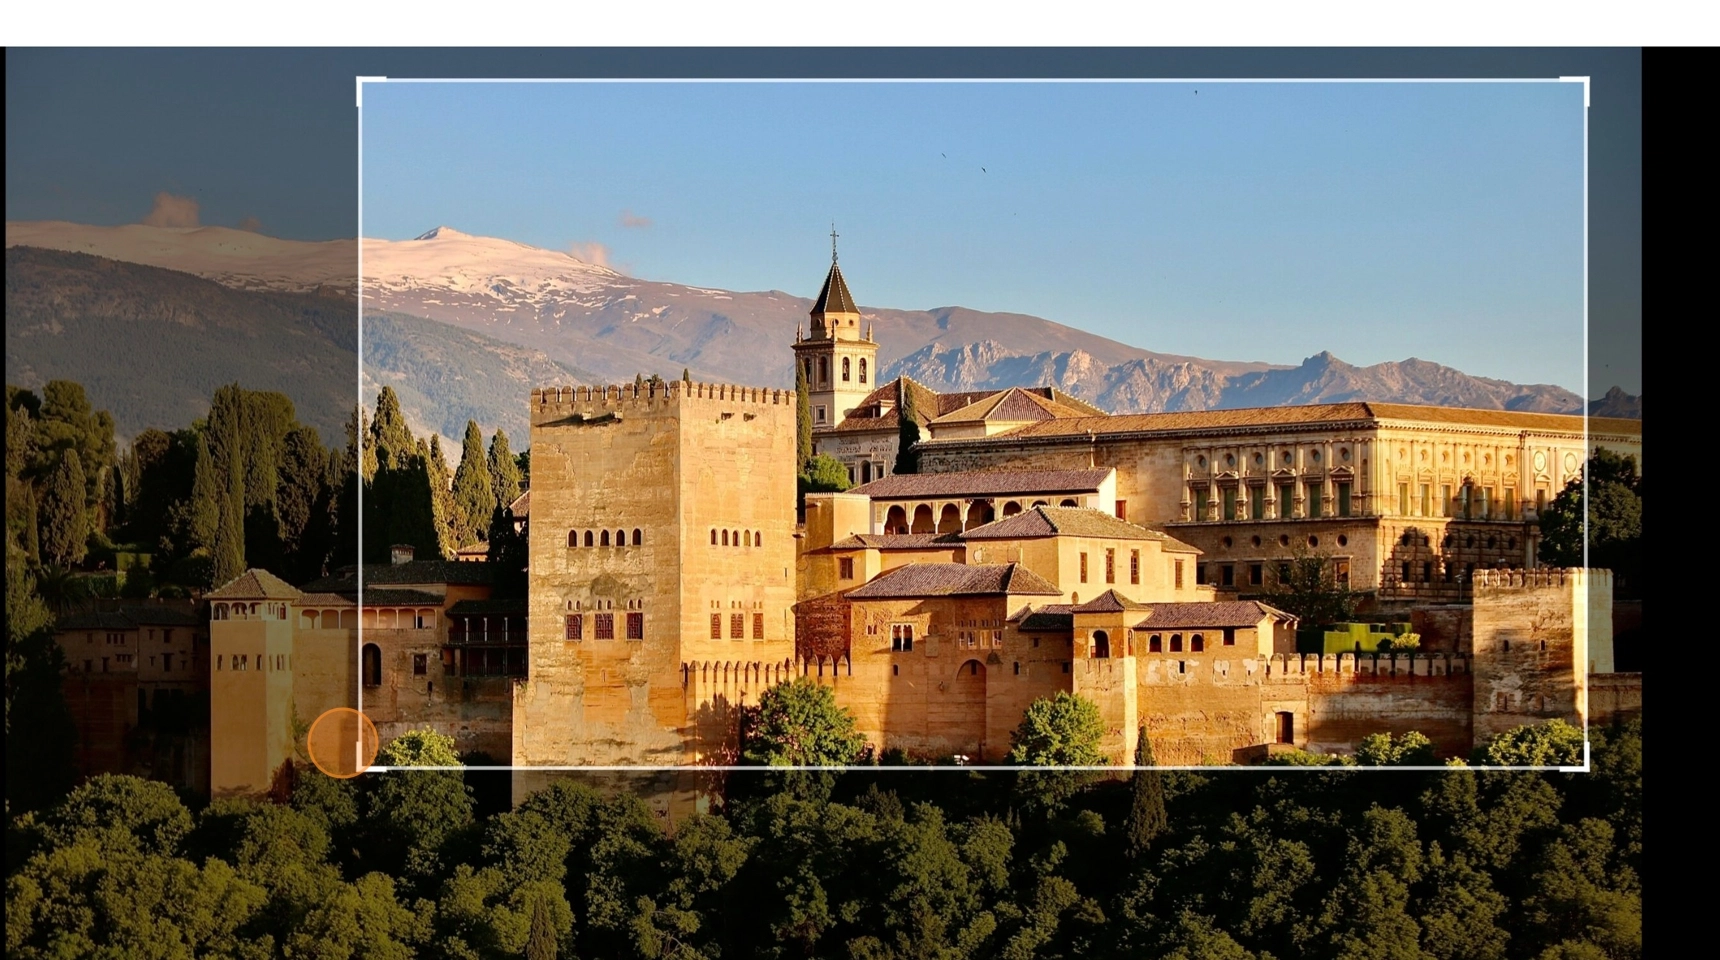
10. Adjust the section of image you wish to use, and select crop.
11. Closing the window, you will see the newest edit of the image.
