Access Workflow Settings
1. Navigate to the MediaPress settings and select Workflow Statuses
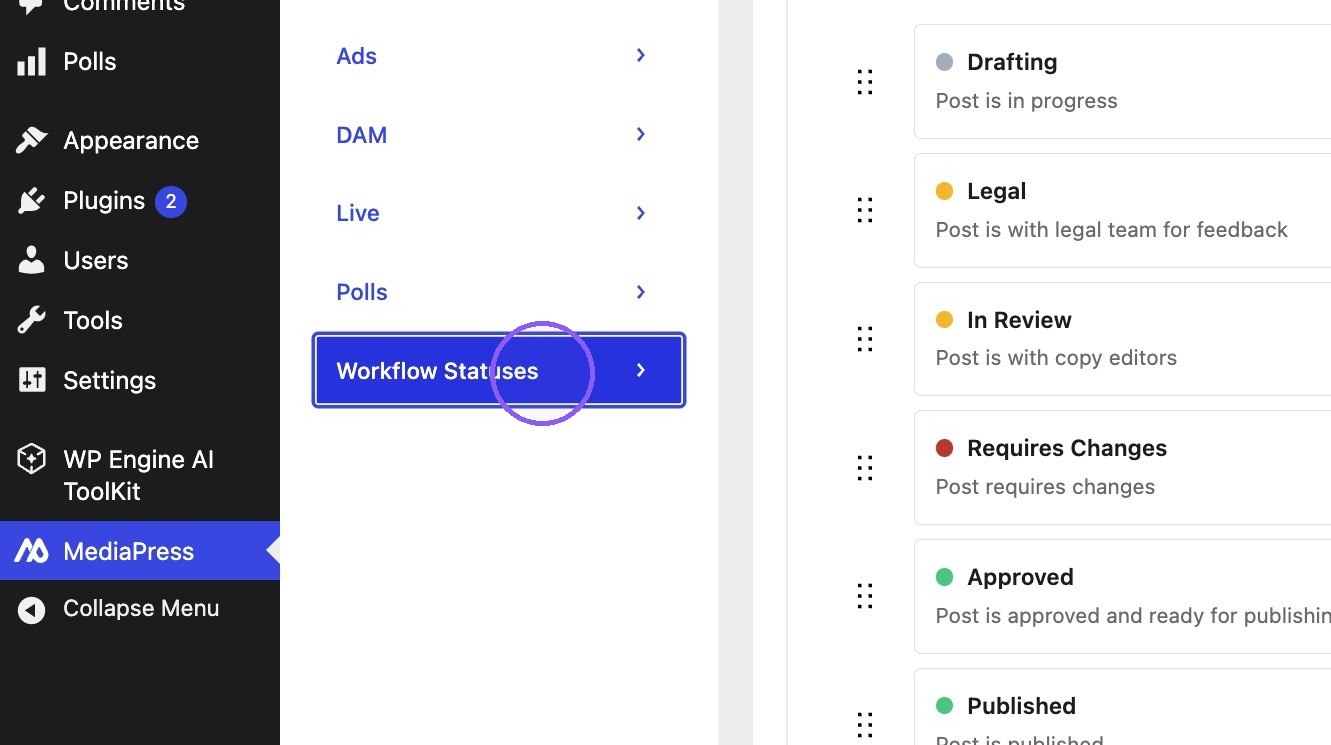

Please Note: The default statuses shown in this tutorial may not be suitable to to all specific use cases or verticals. Users can and should append these status to best suit their current workflow.
Adding a new status
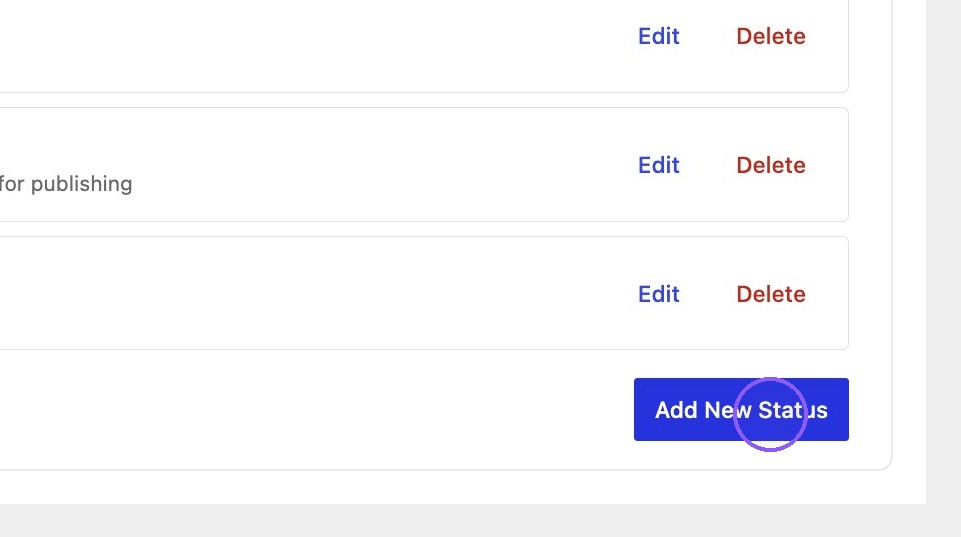
2. To add a new status, click Add New Status within the settings.
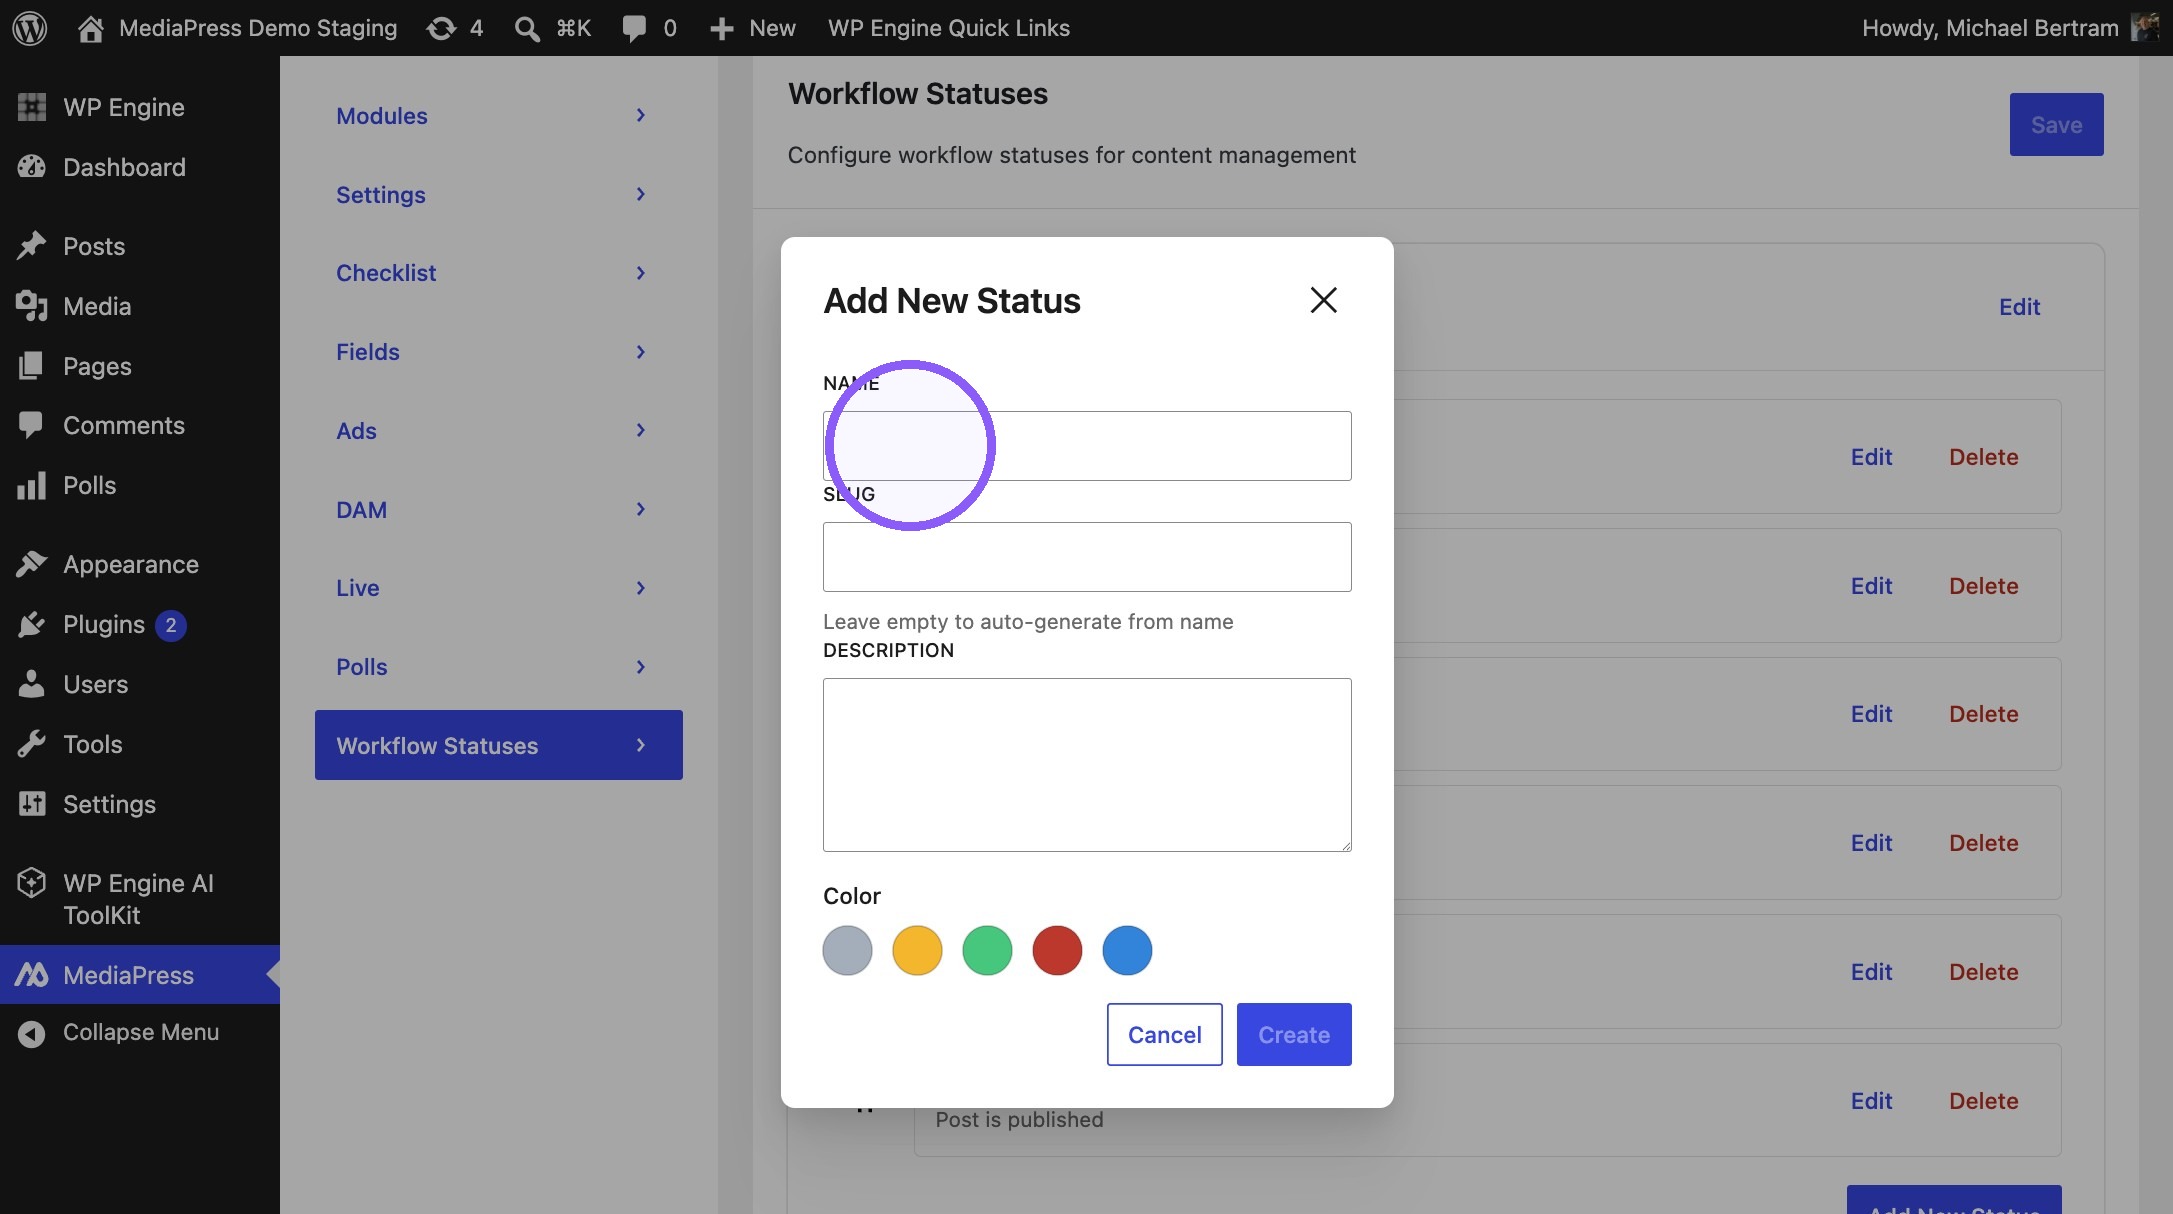
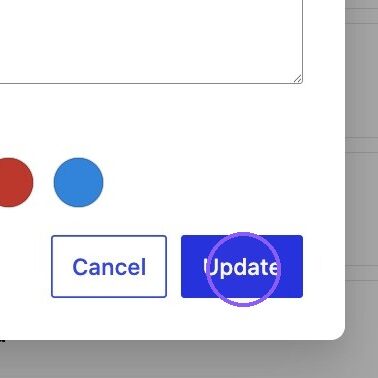
Within the modal, the following metadata should be set:
- Name – The label displayed on the content (e.g., “Requires Changes”).
- Slug – a custom slug, (leave blank to auto-generate).
- Description – a brief summary of when to use this status.
- Colour – assign a colour for visual tracking.
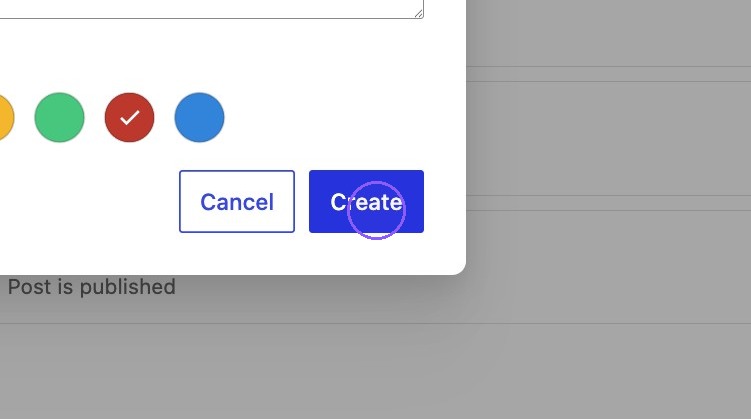
3. Once added, click create to add your new status to the dashboard.
Managing Workflow Statuses
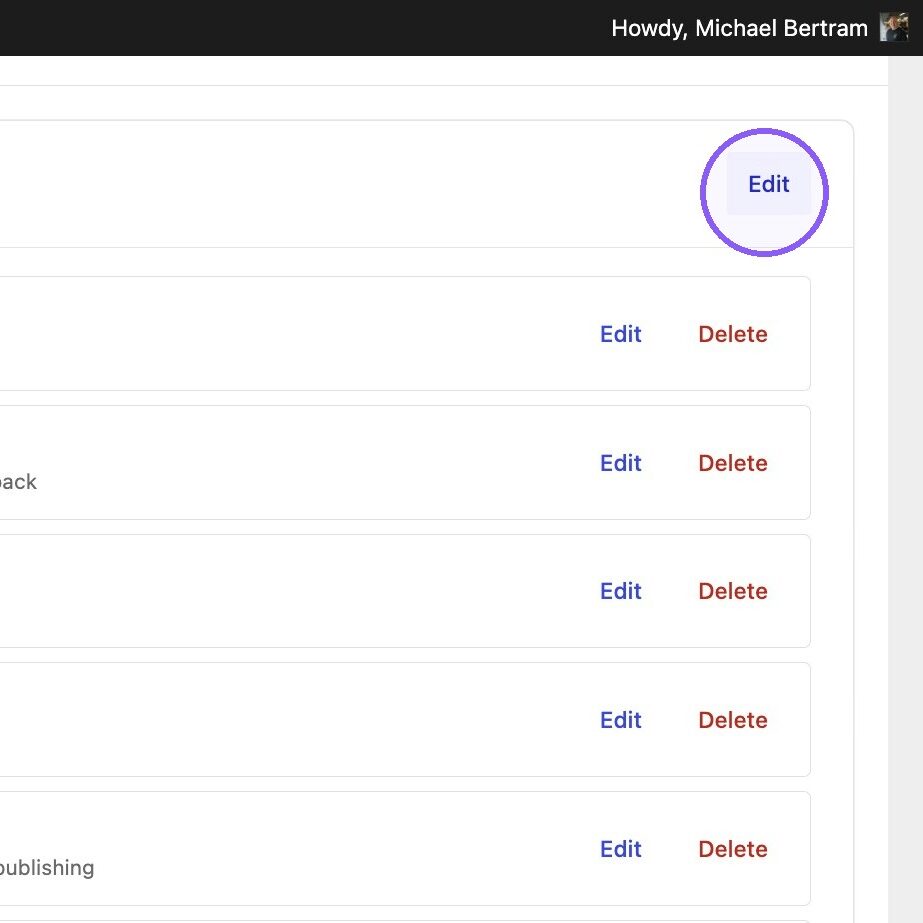
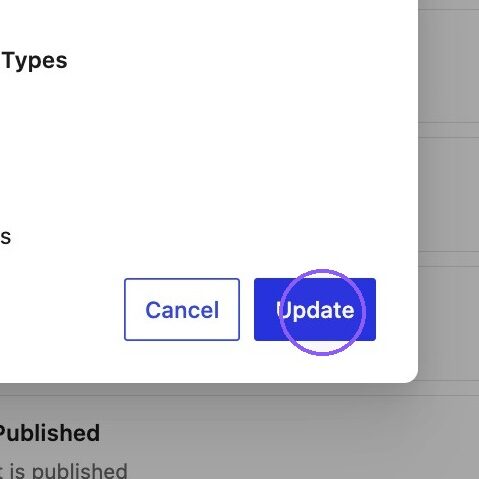
4. Using the Edit option beside within Manage Workflow Statuses banner, allows you to determine which post types should support these custom statuses
5. Its also possible to edit or delete specific statuses, using the relevant options.
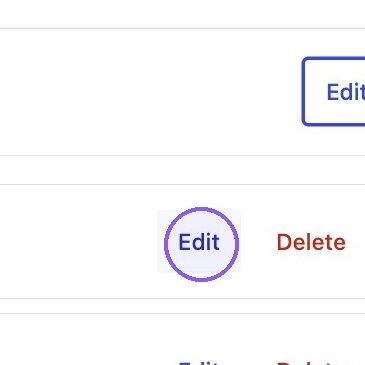

Please Note: Before deleting, check if content currently assigned to that status needs to be reassigned.
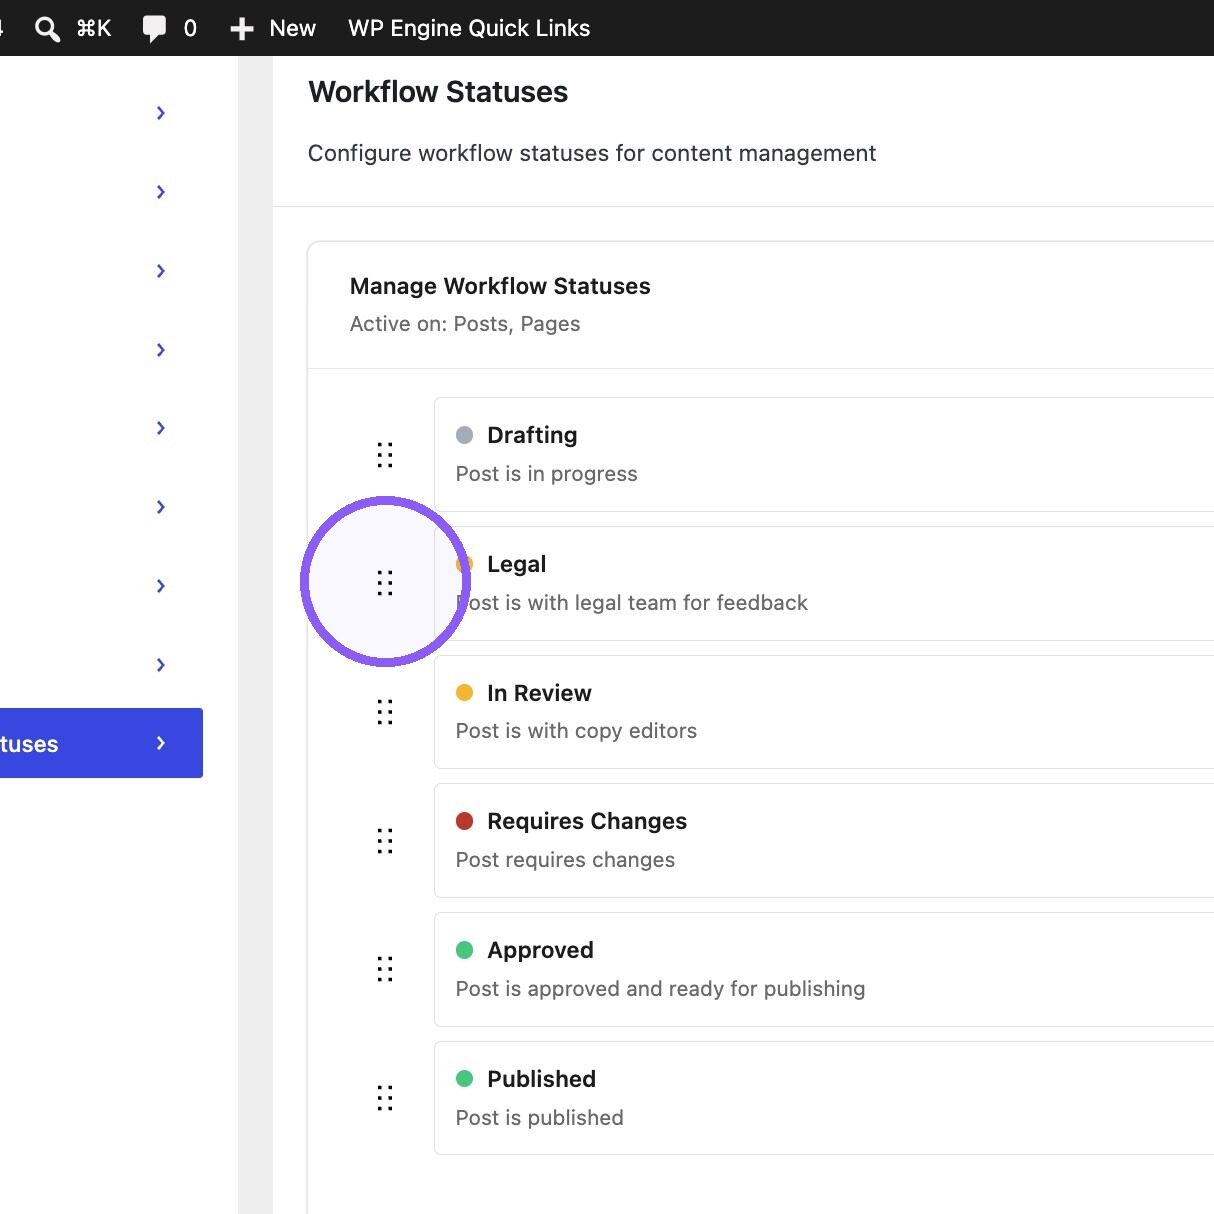
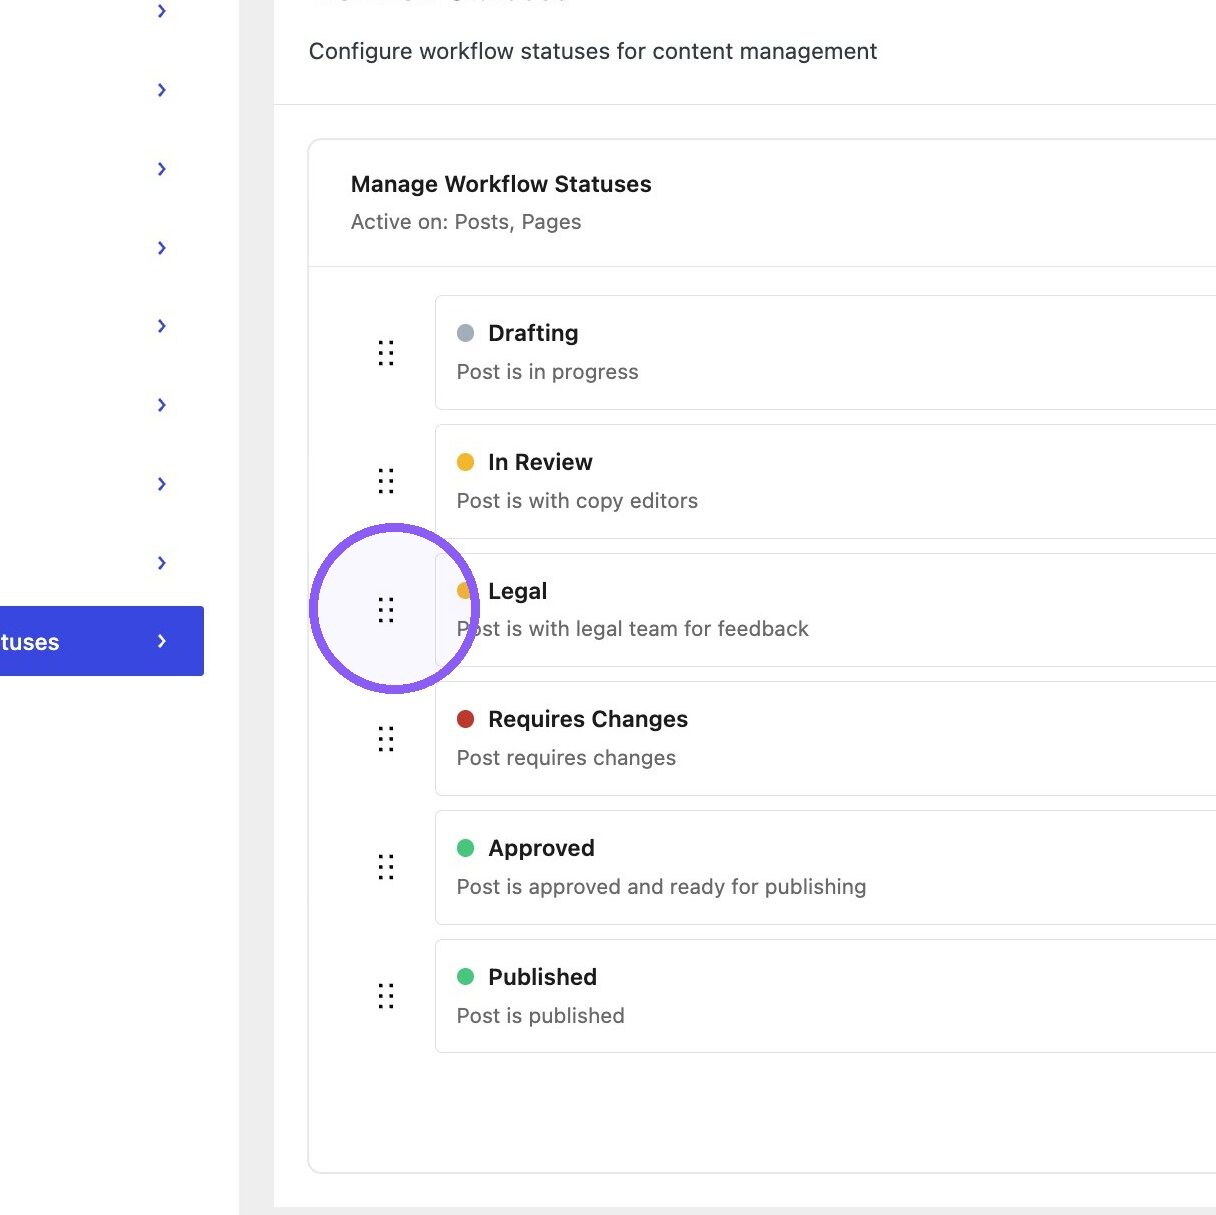
6. Drag the handle icons to reorder statuses in the list
Changing a status
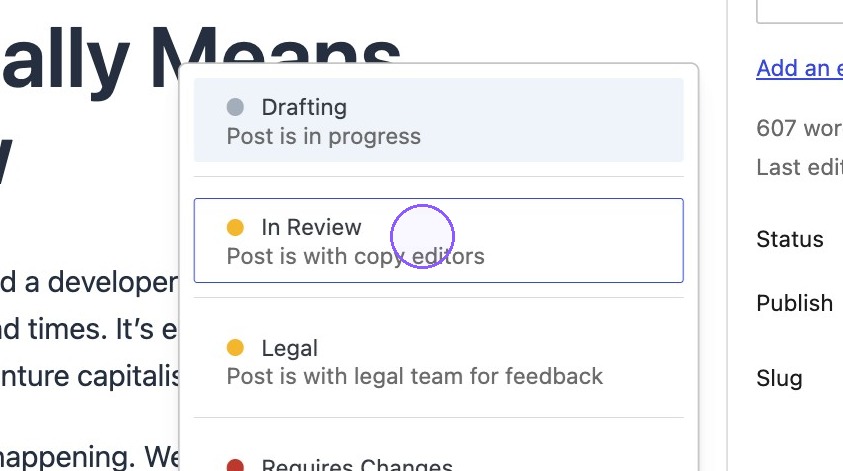
7. Within a post, the status can be set from within the sidebar.
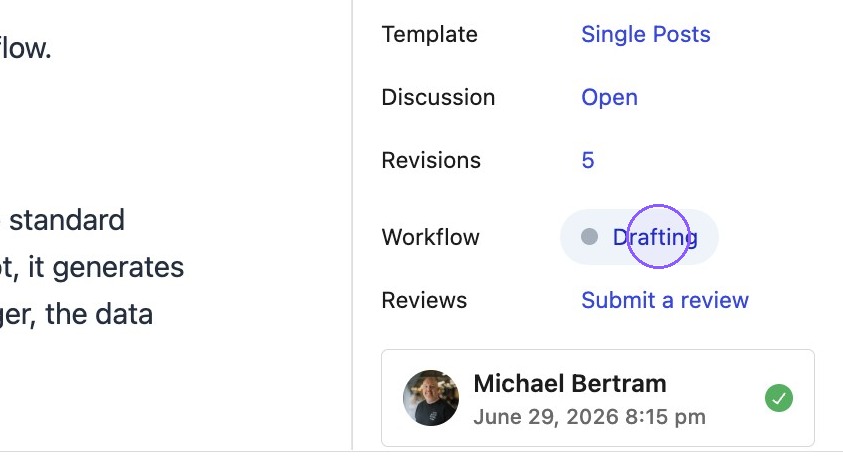
8. Selecting the status will show all status allowing it to be changed and reflected in the sidebar.
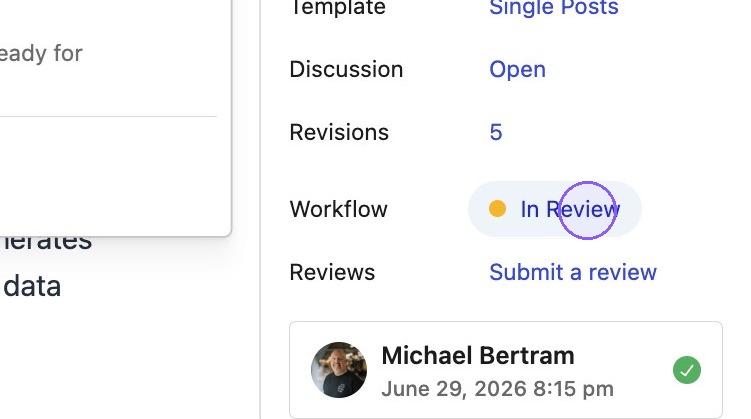
Workflow Statuses in post list screen
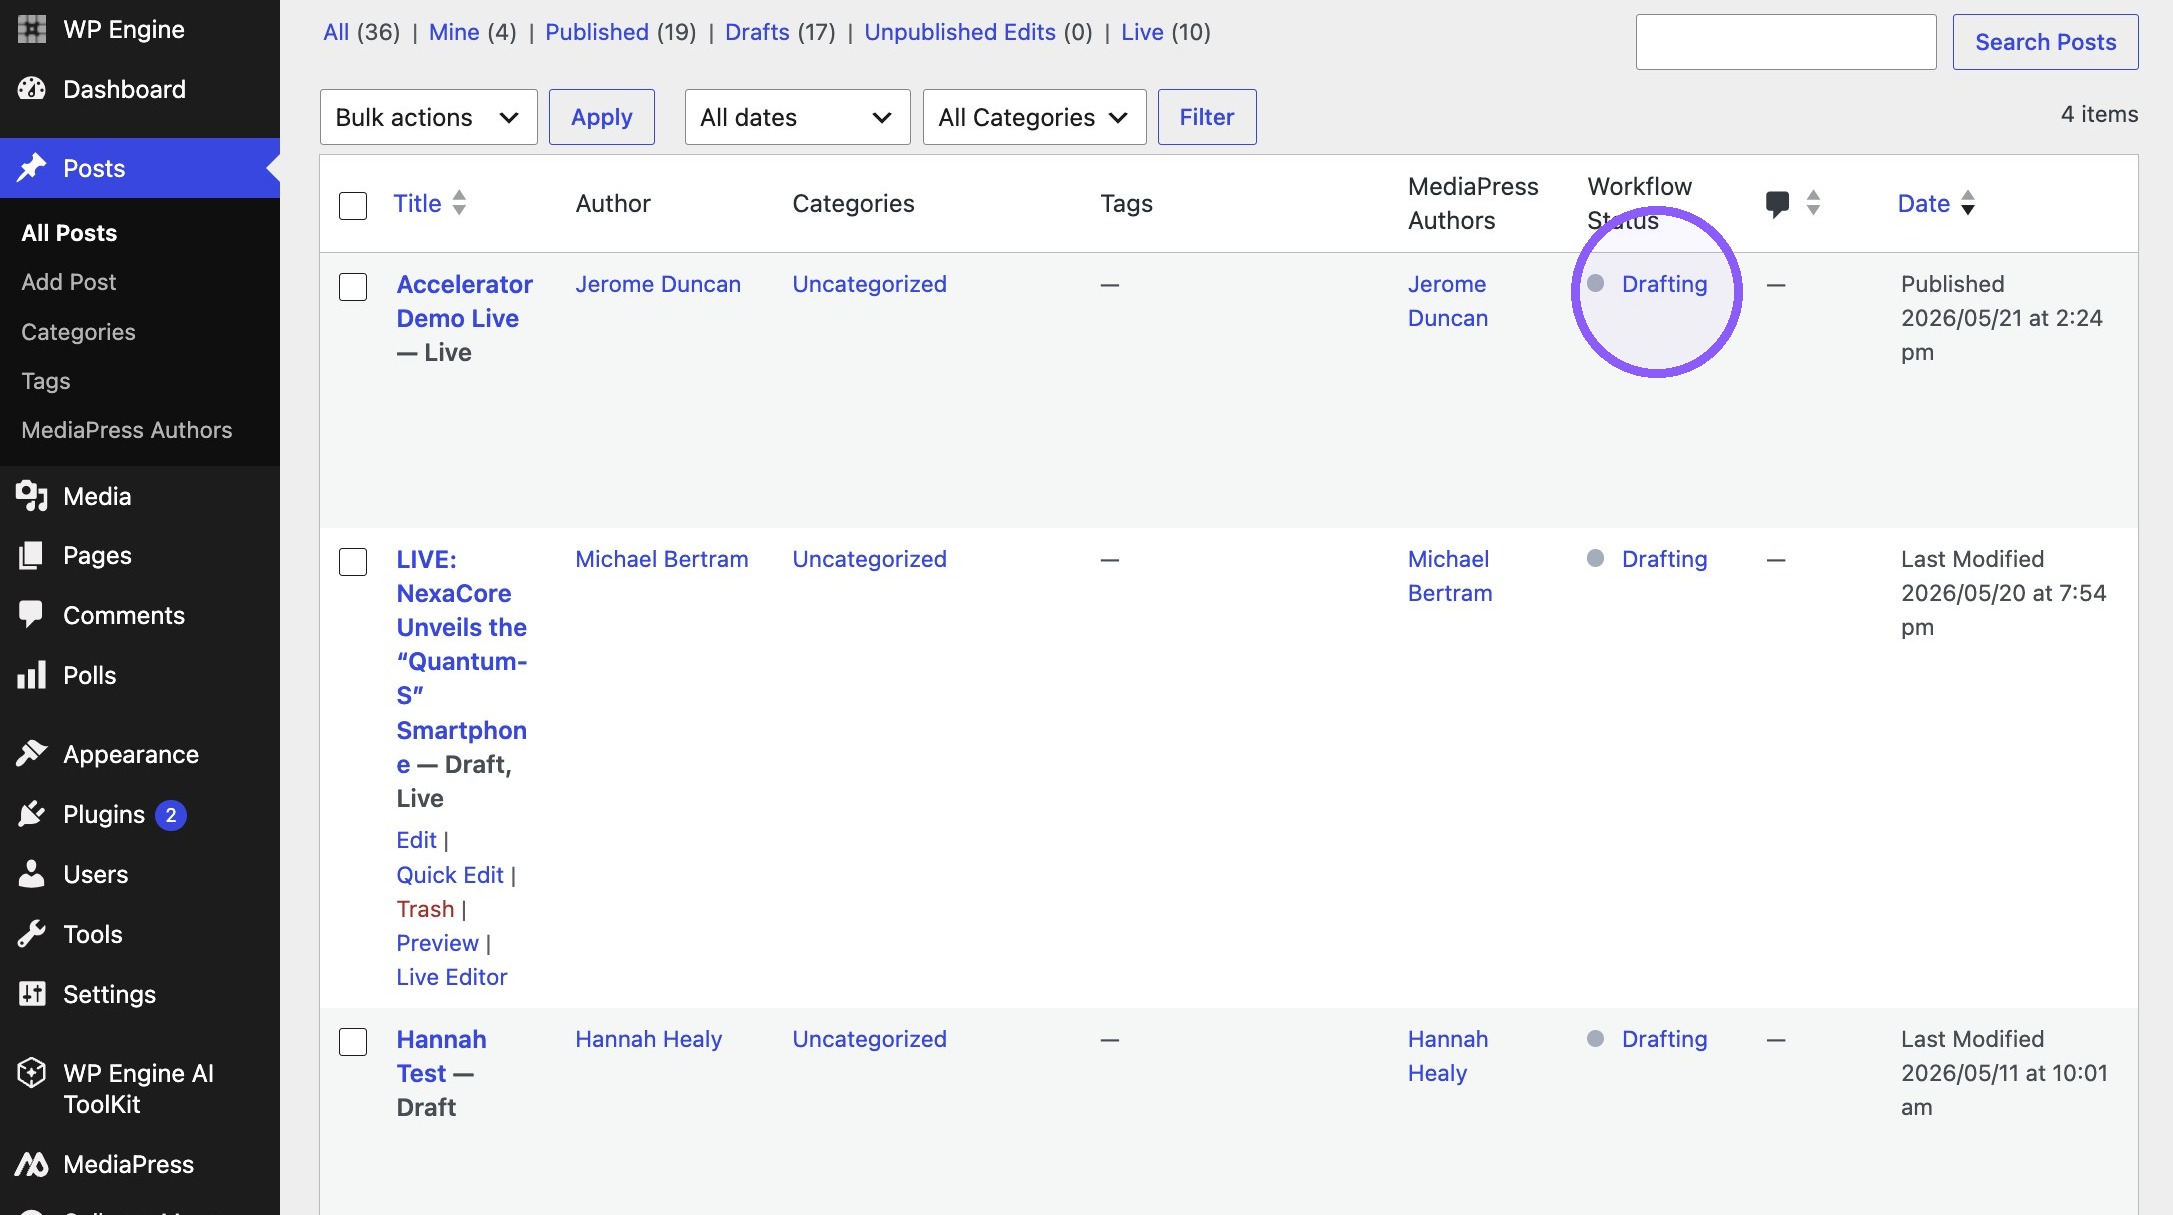
8. Once applied, Workflow Statuses are also shown on the post list screens.
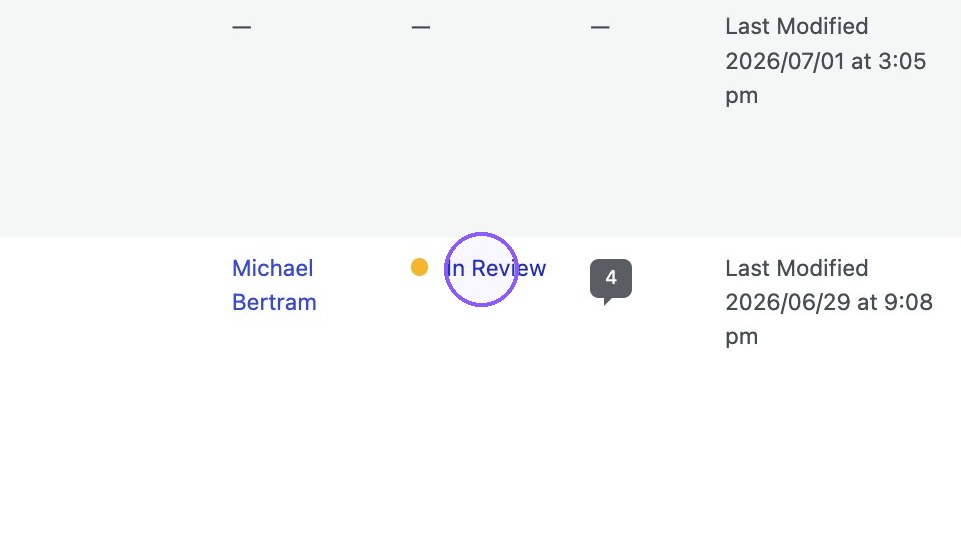
9. Selecting a status, will apply a filter and show all posts with that same status.