Overlay Block Creation
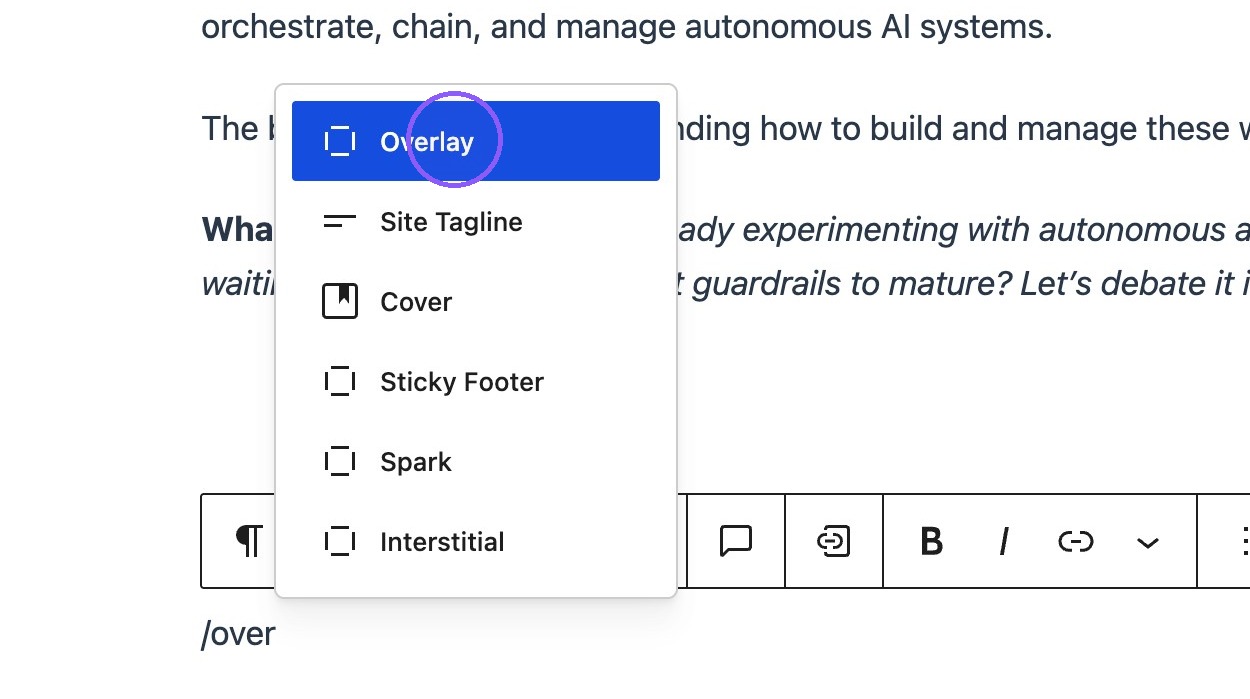
1. An overlay block can be added anywhere within a post.
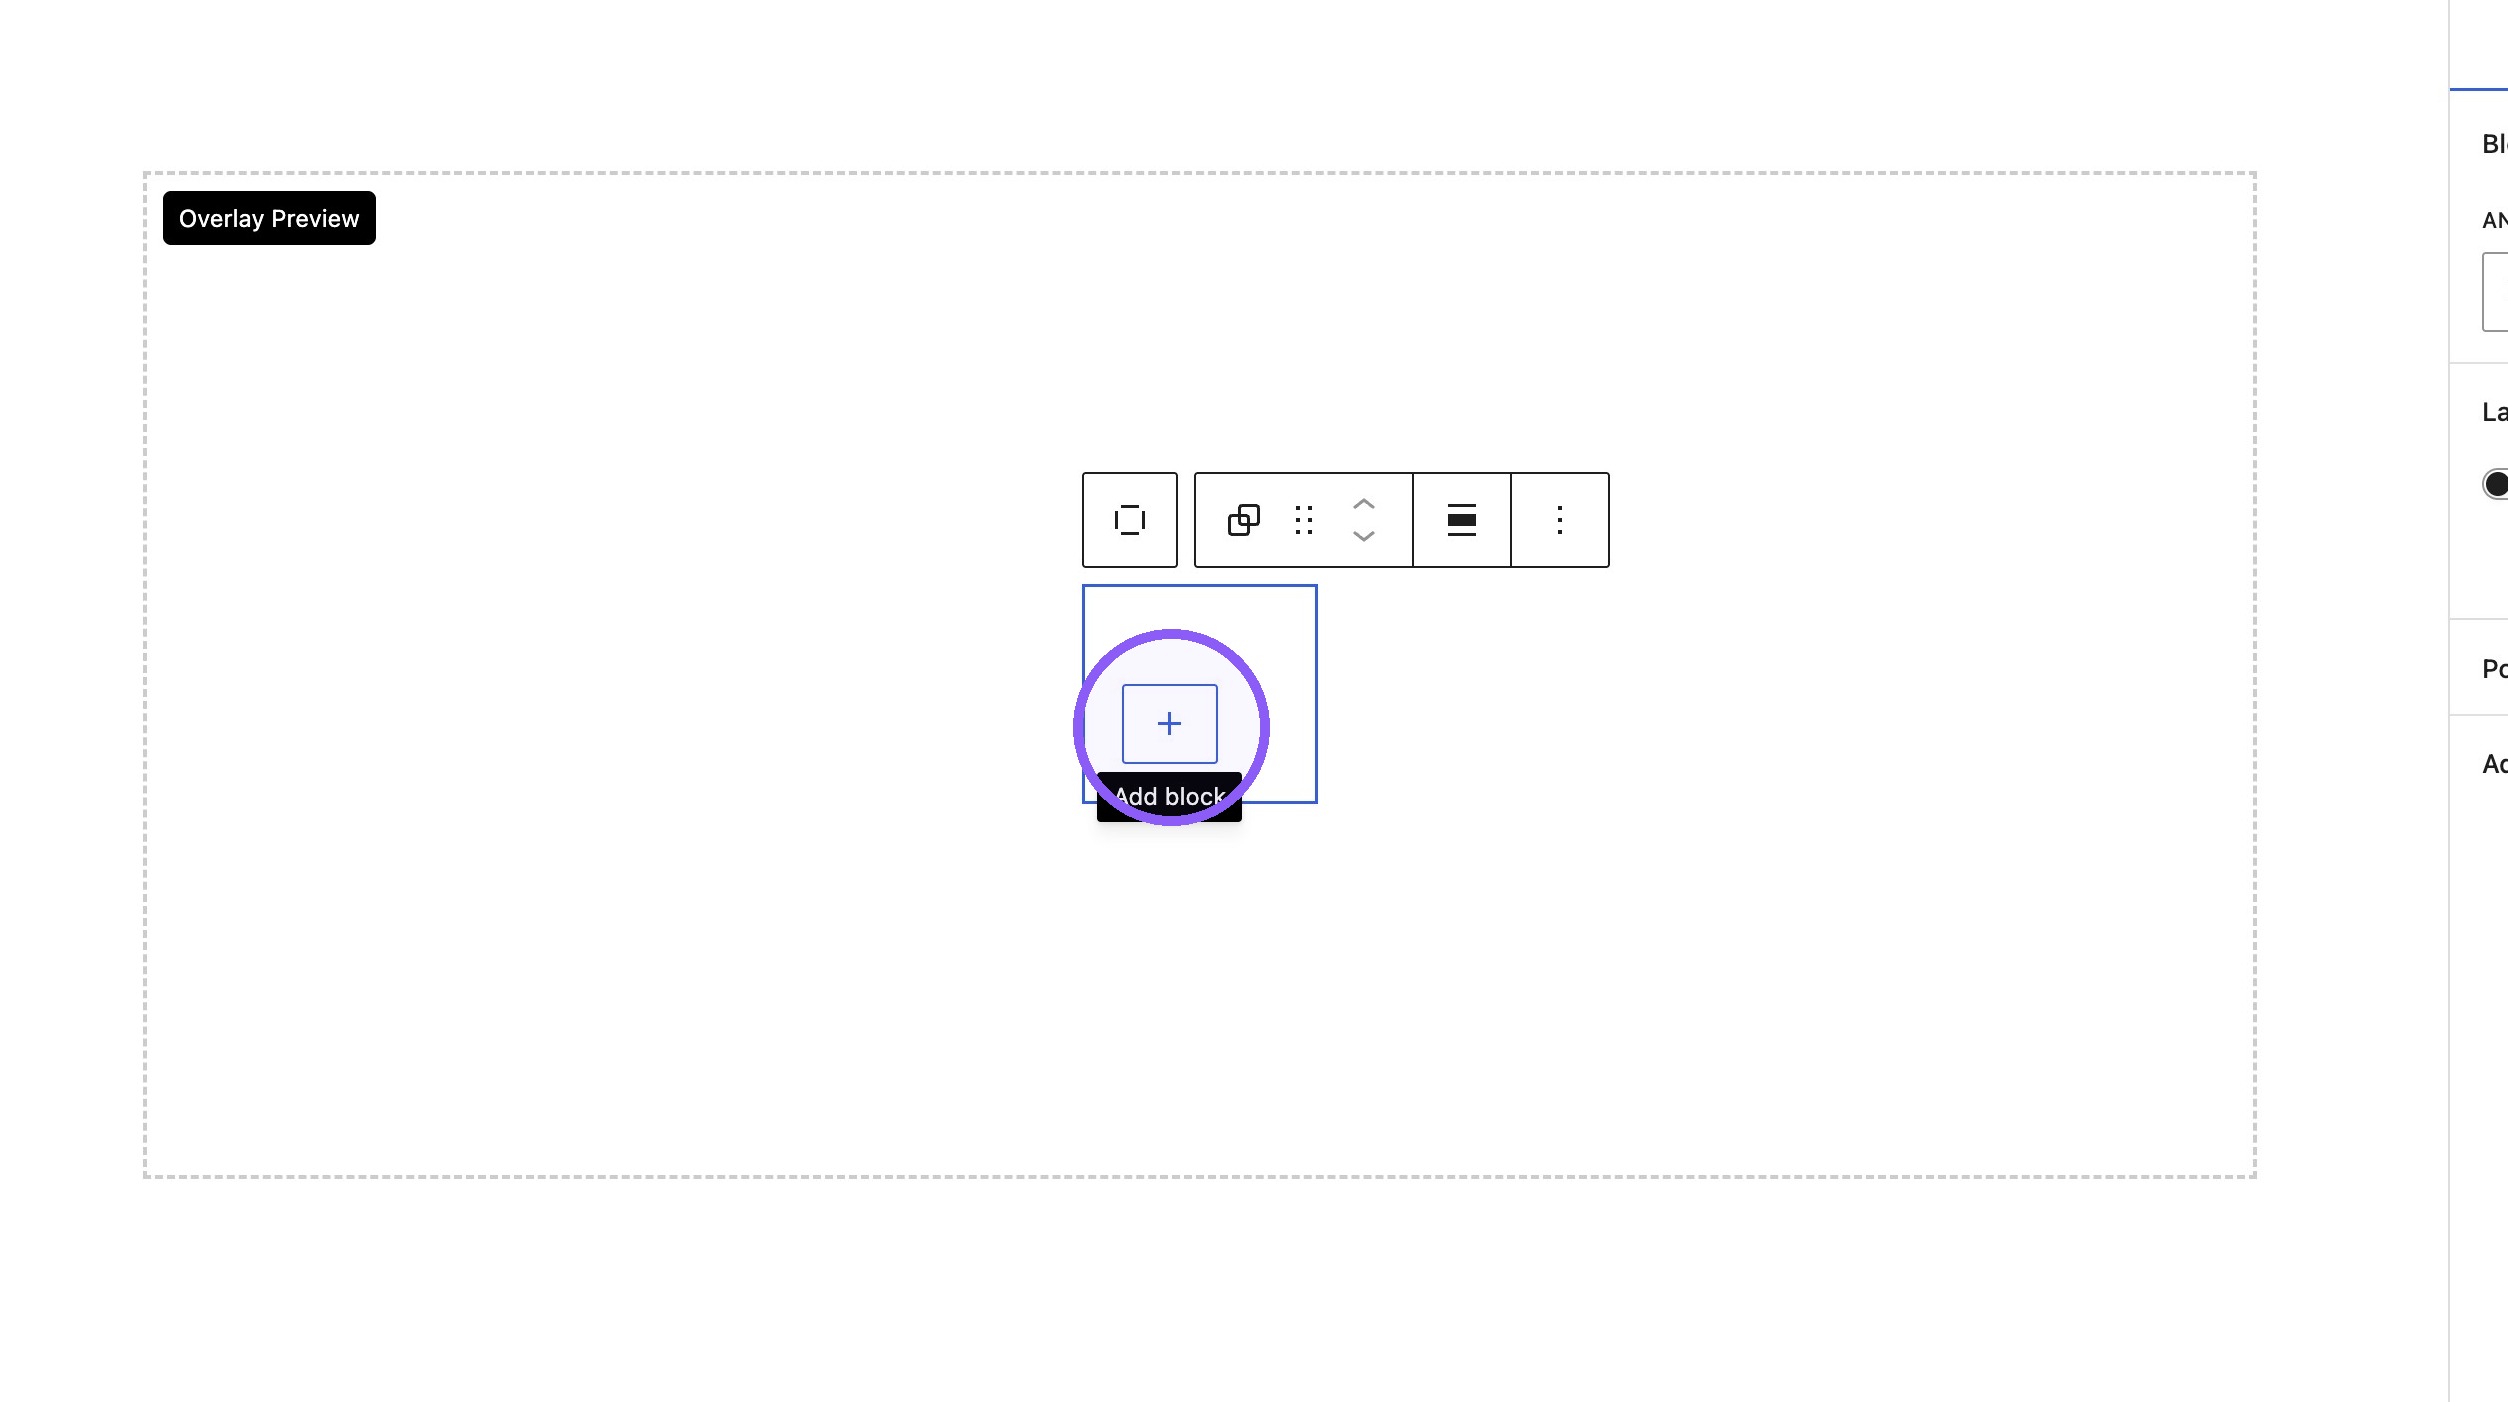
2. A preview of the overlay will appear inside the editor, simply click Add block to get started.

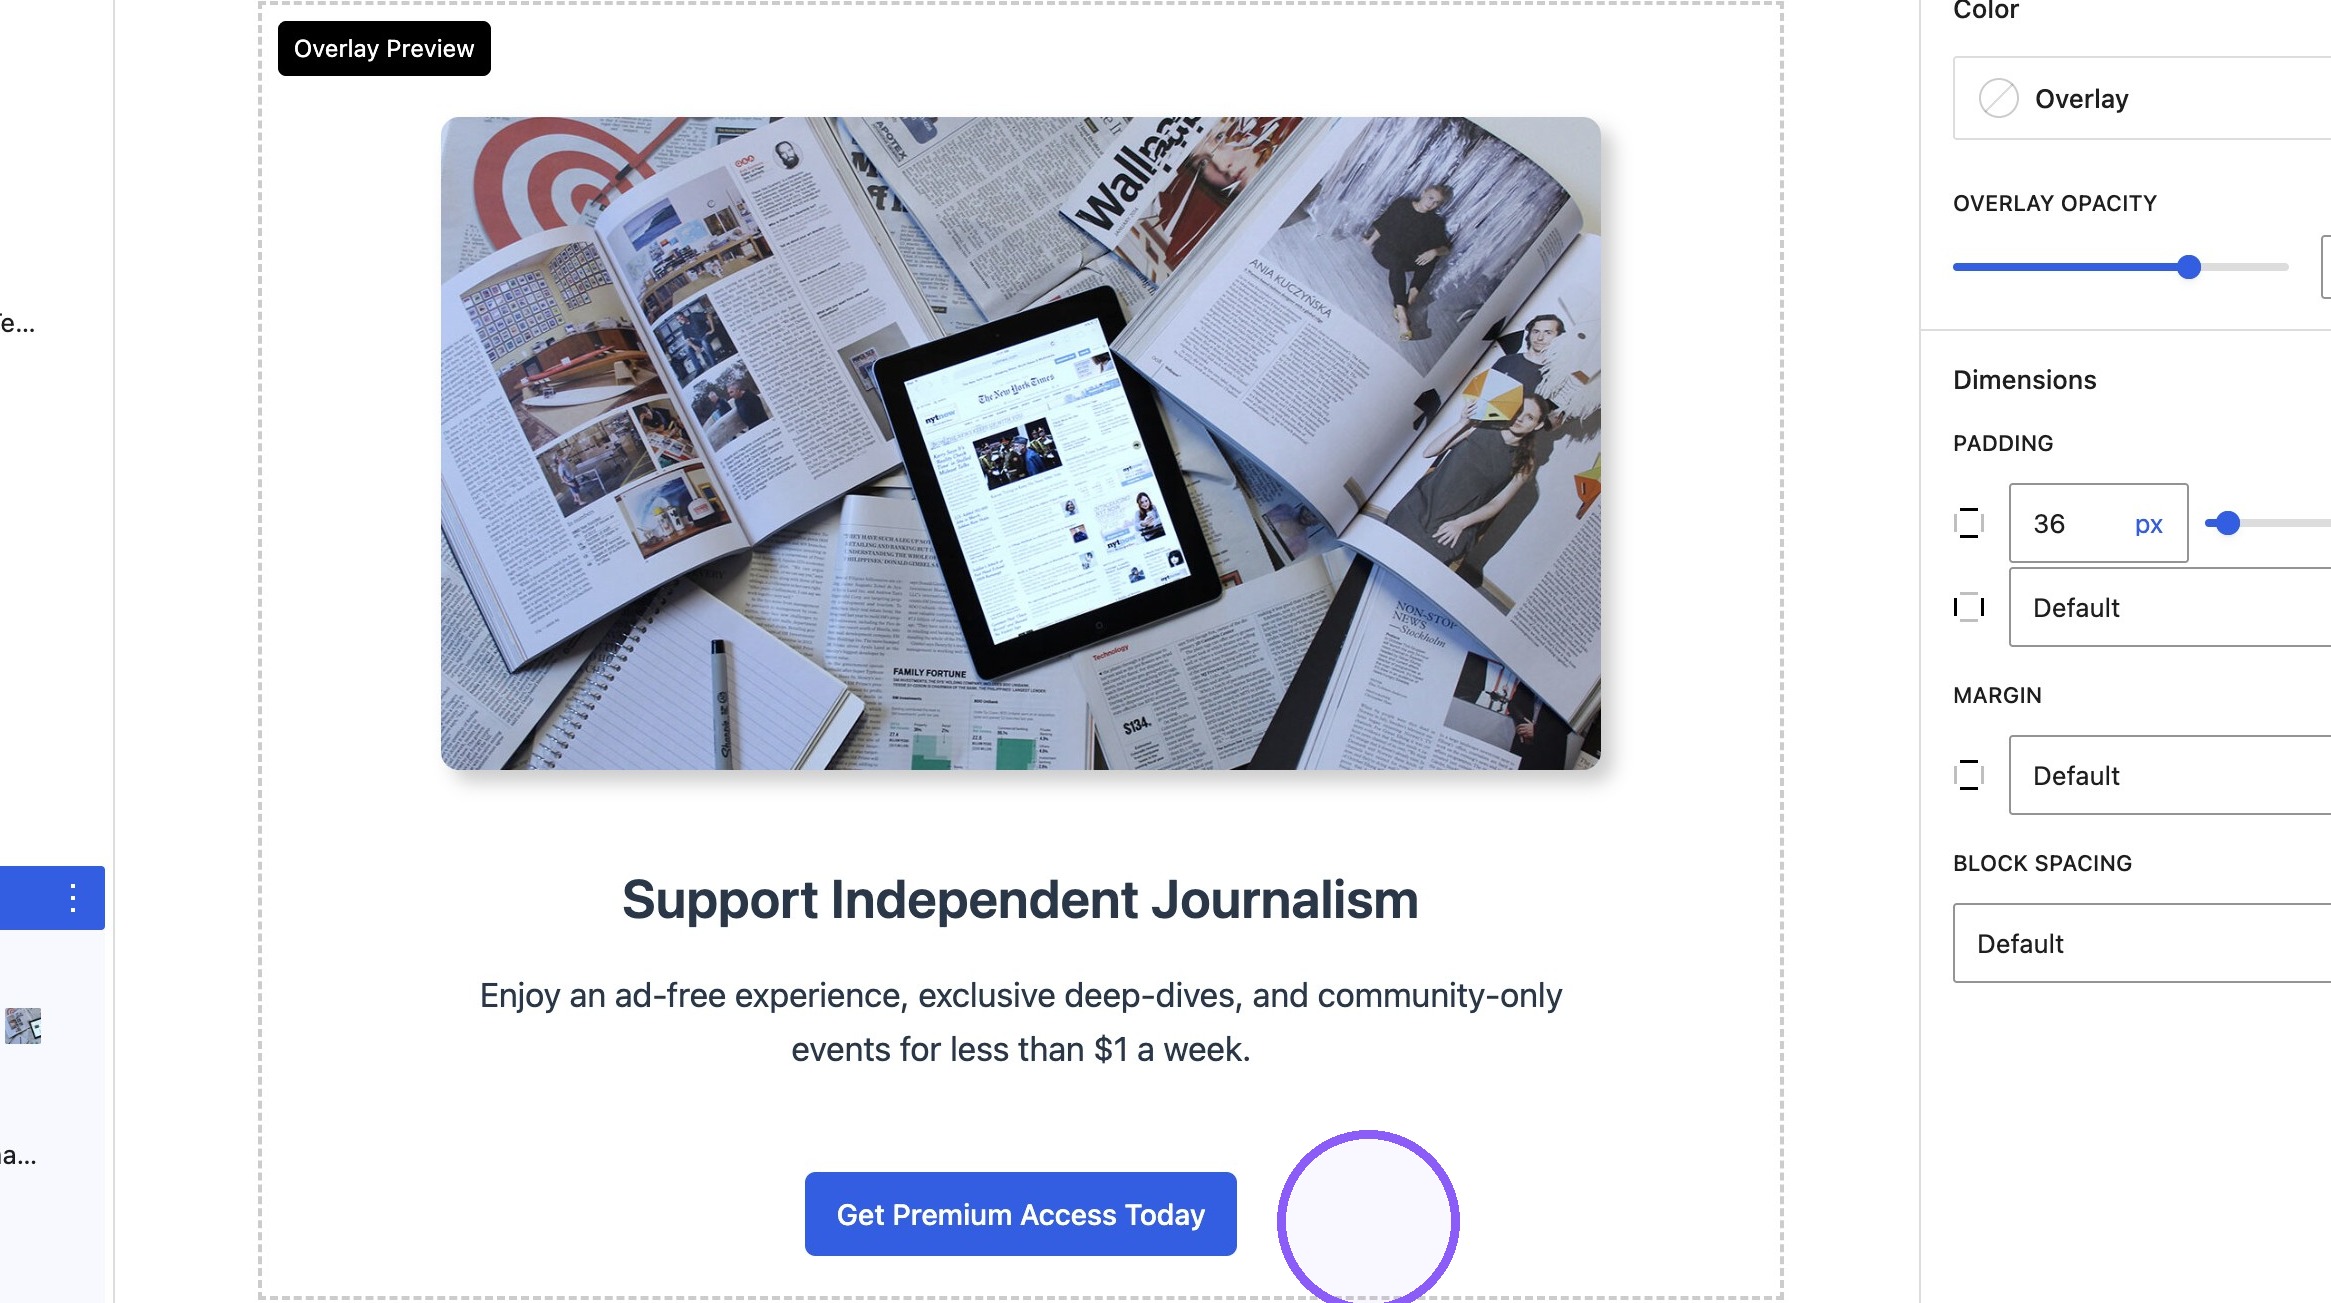
Please Note: The ad overlay feature works perfectly with the ad block, however also allows any standard WordPress block to be placed inside this wrapper, applying custom styling specific to their specific need.
Layout and Style Configuration
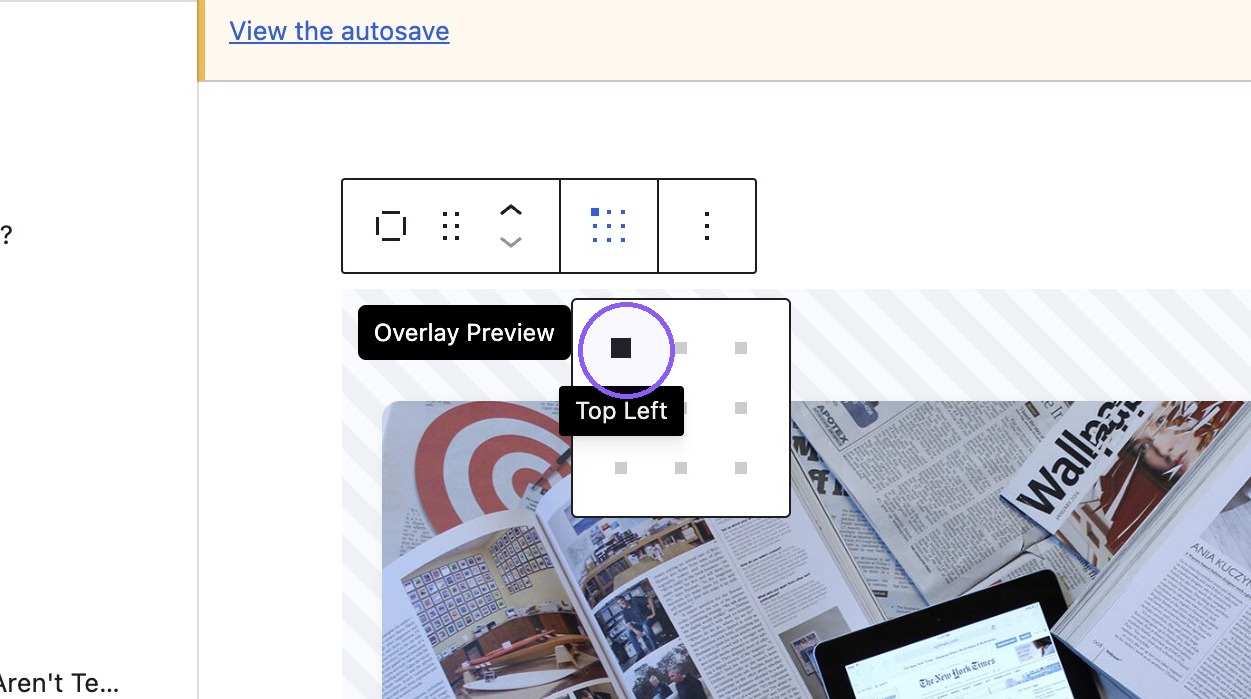
4. The position of the overlay can be altered from within the block toolbar. By default the position will be set to top left.
5. By default, there are no overlay styles set, on the standard overlay wrapper However the block allows full customization dependent on specific use cases.
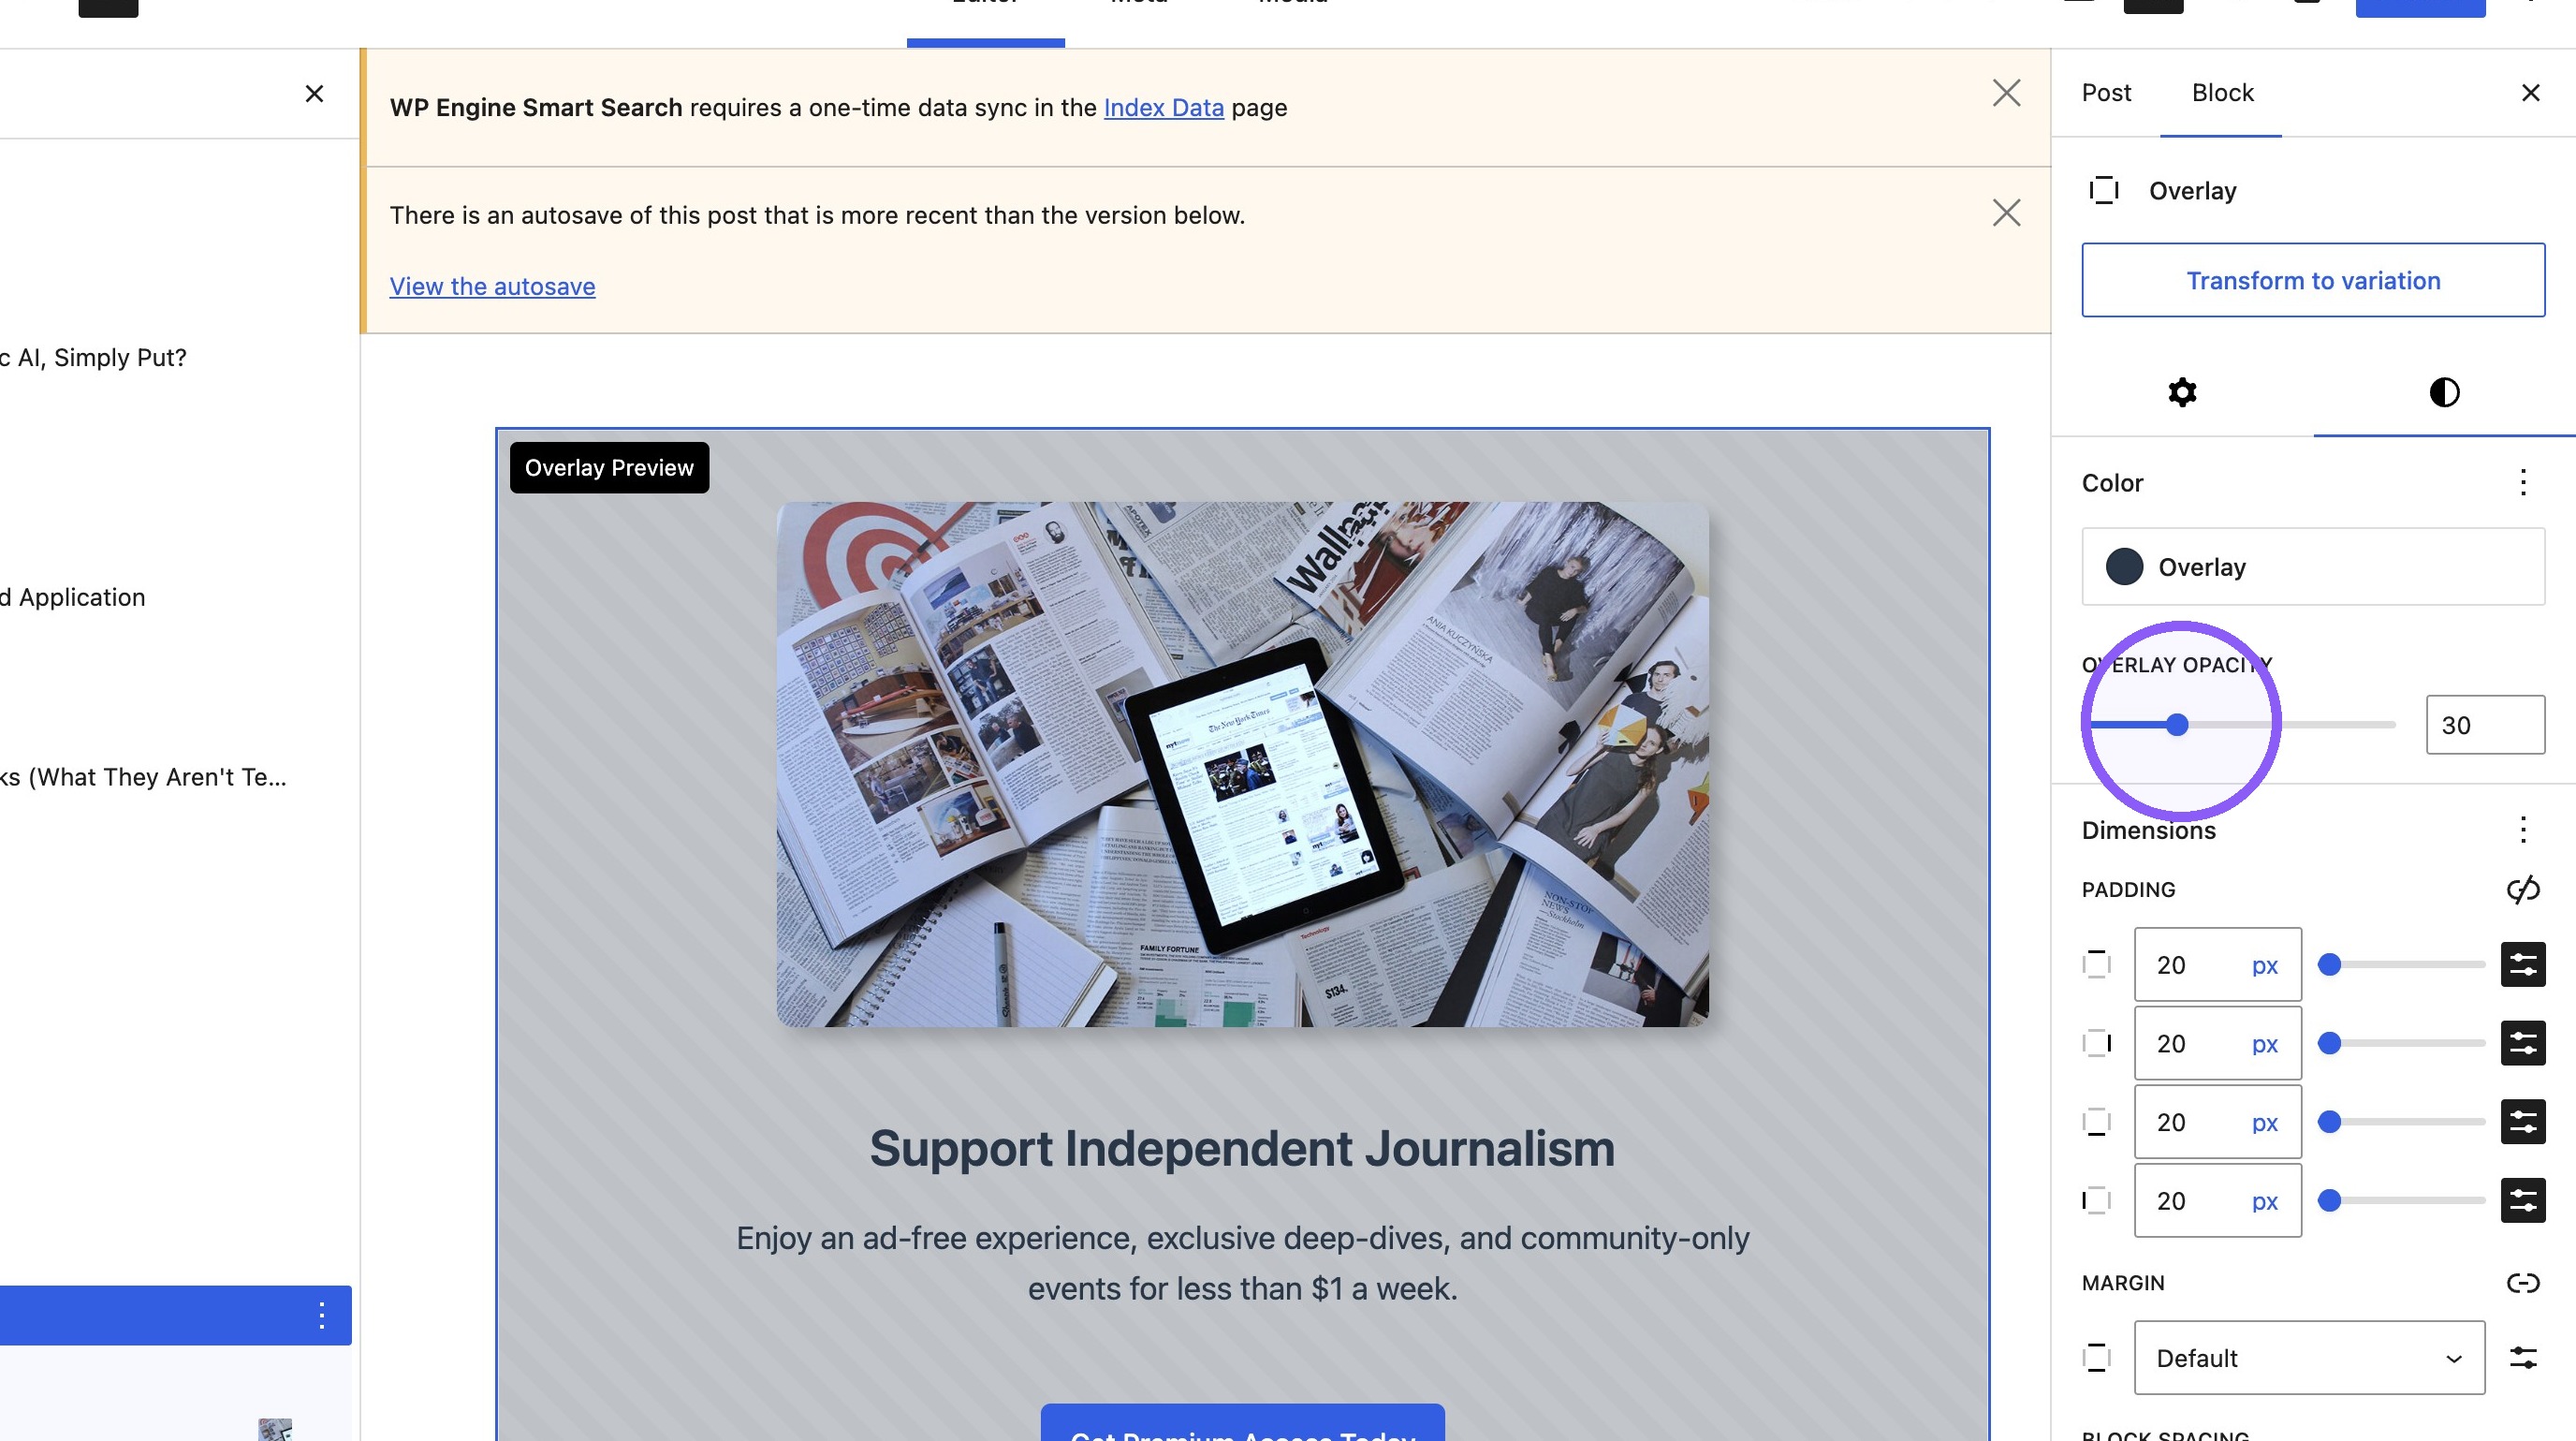
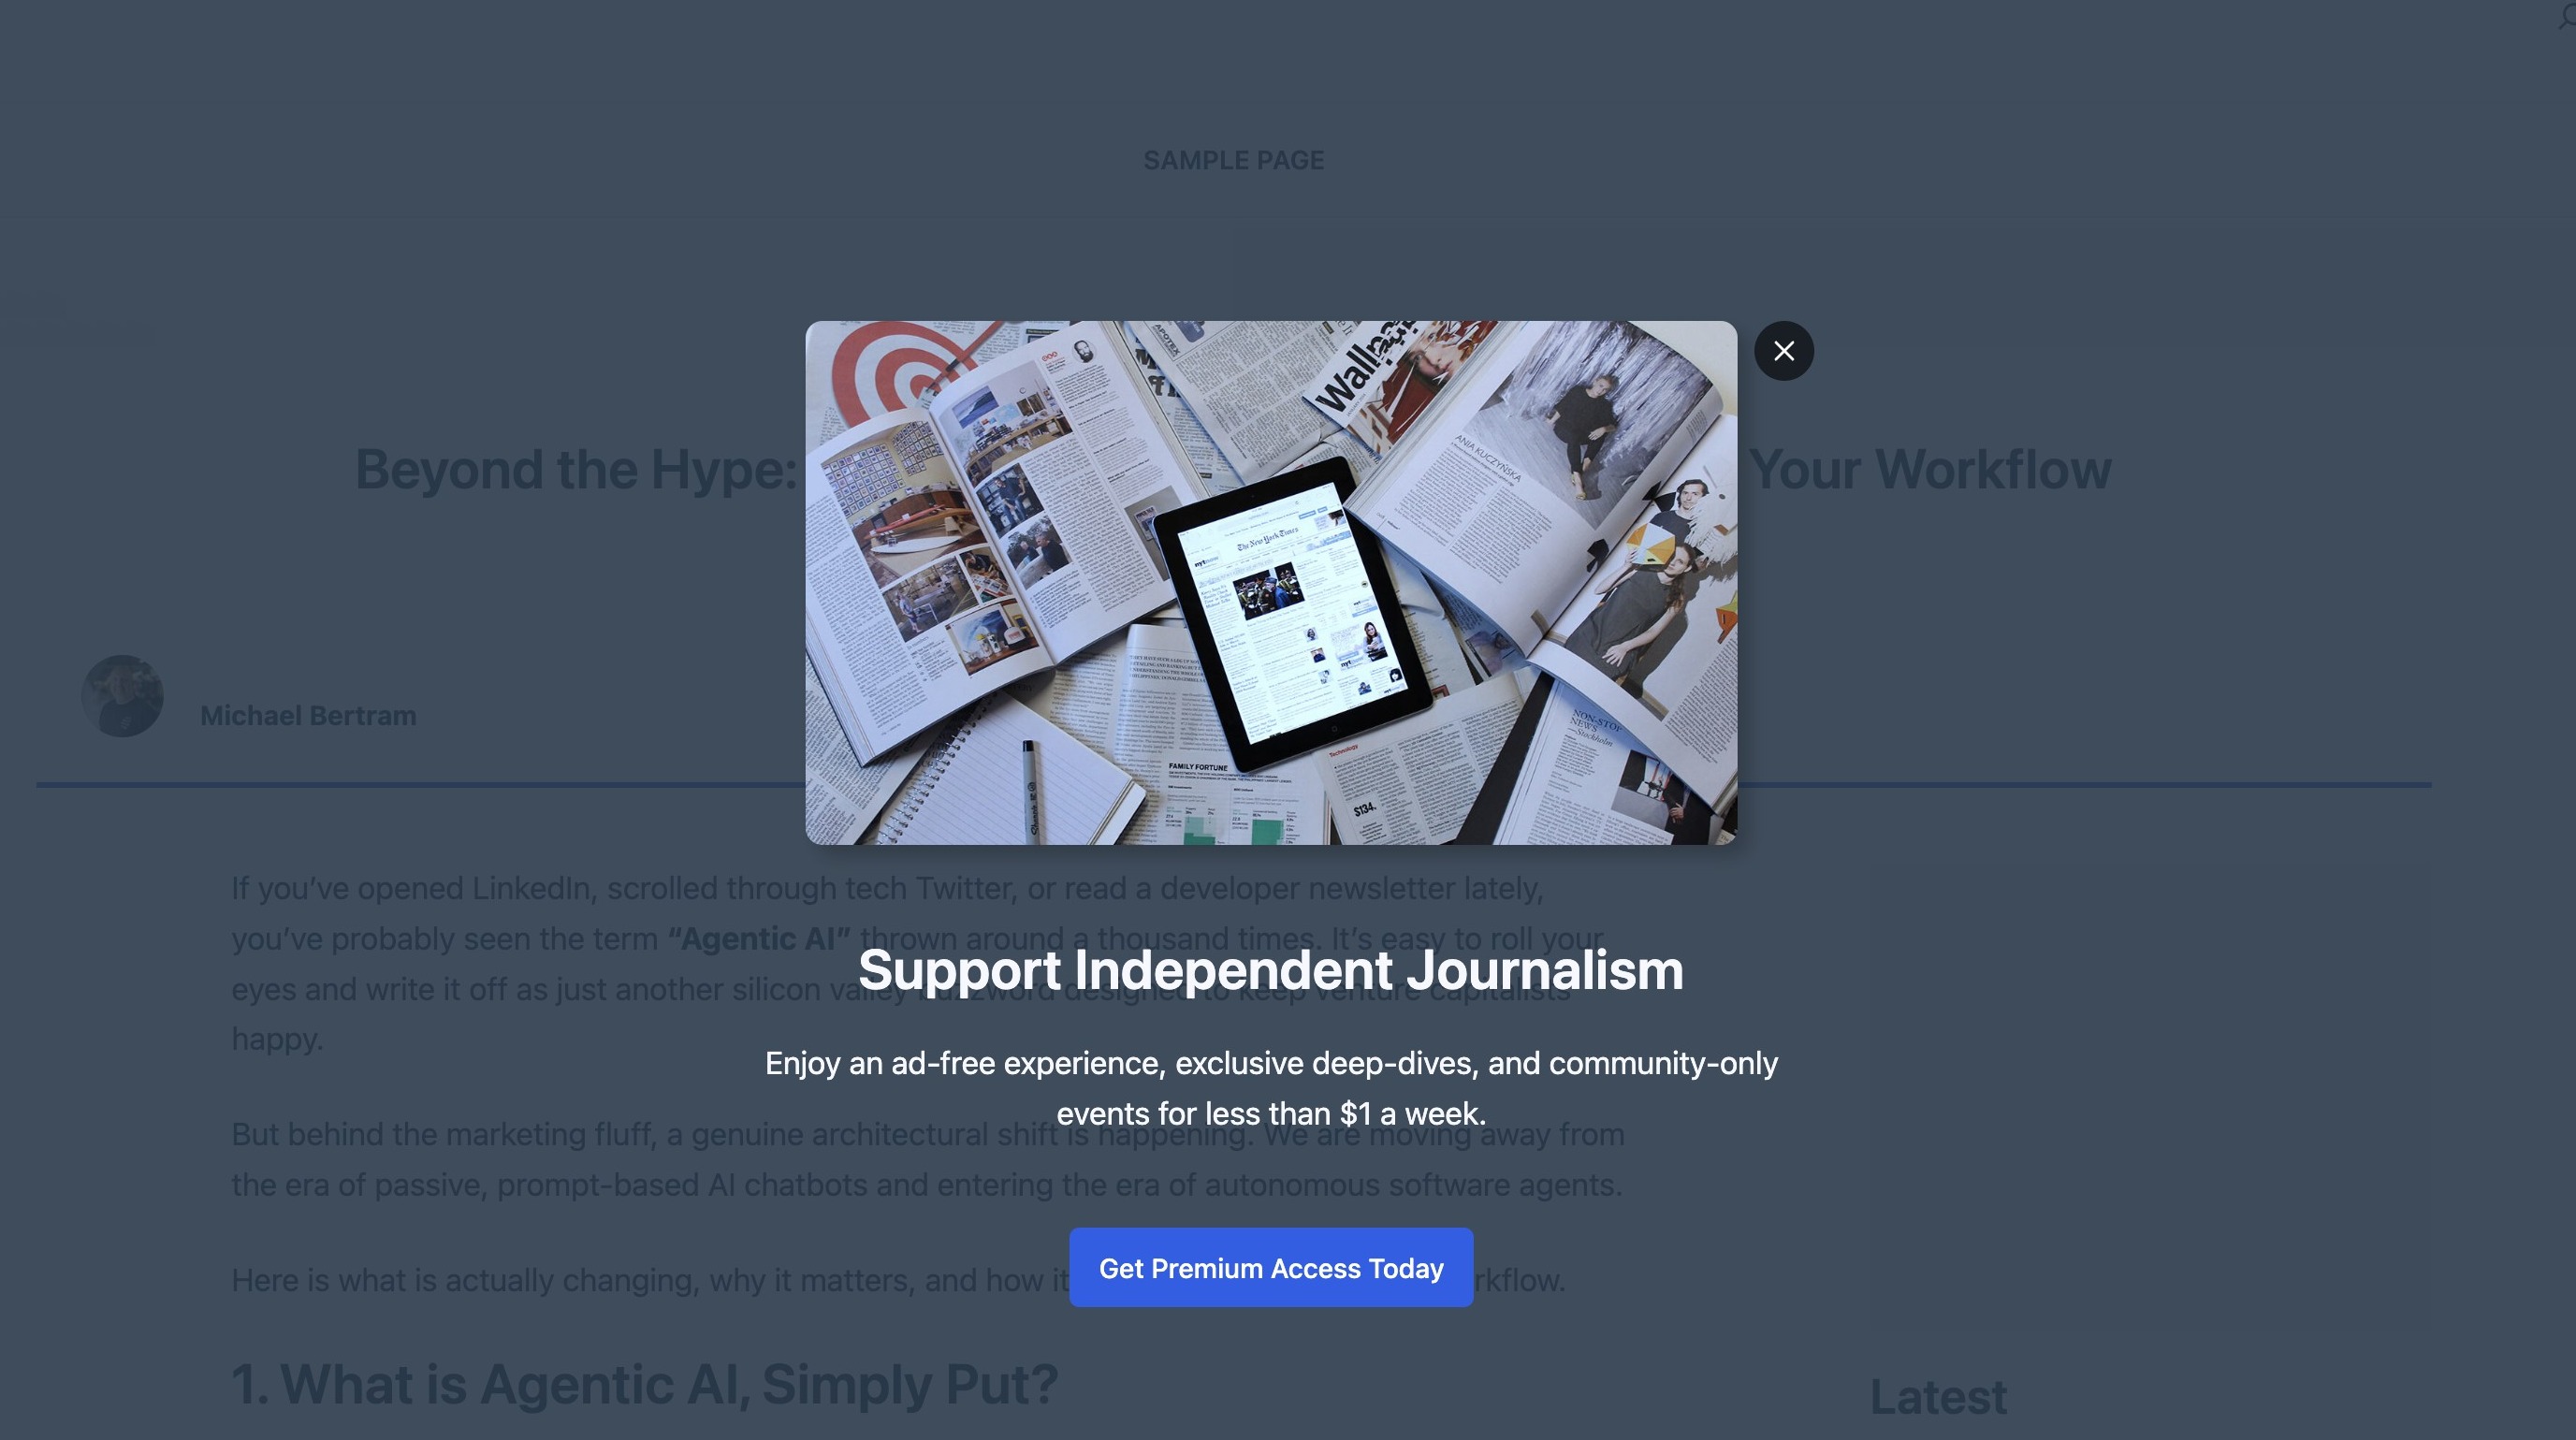
6. When previewed you should now see your ad overlay appear. Clicking the close button will remove this from the viewport.
Behavior and Timing Settings
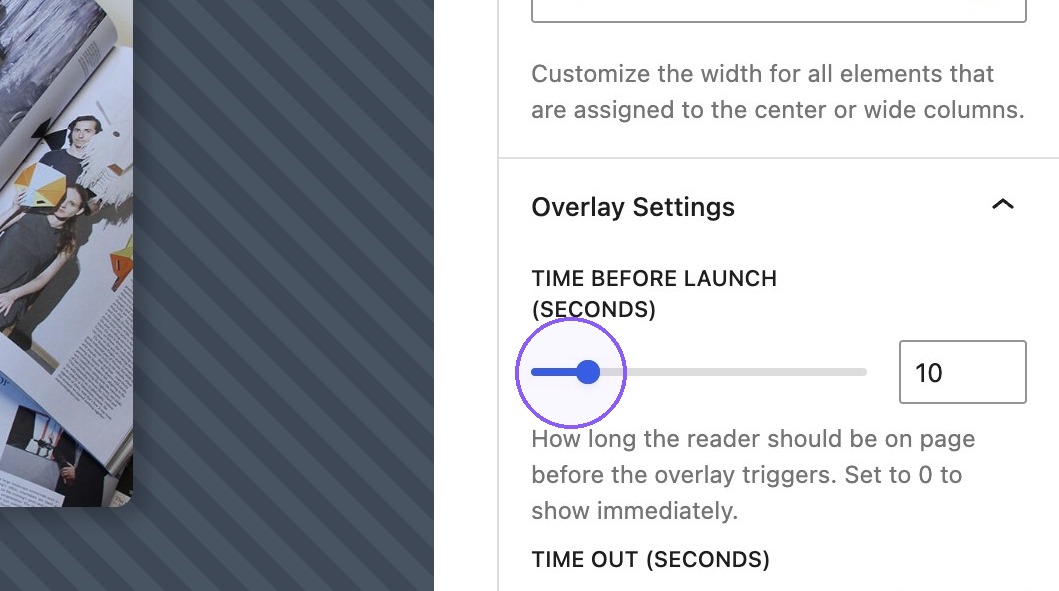
7. Within the sidebar users are provided with a variety of behaviour settings for the overlay.
8. Time Before Launch enables a delay on the overlay trigger until a user has been on the page for a specific duration.
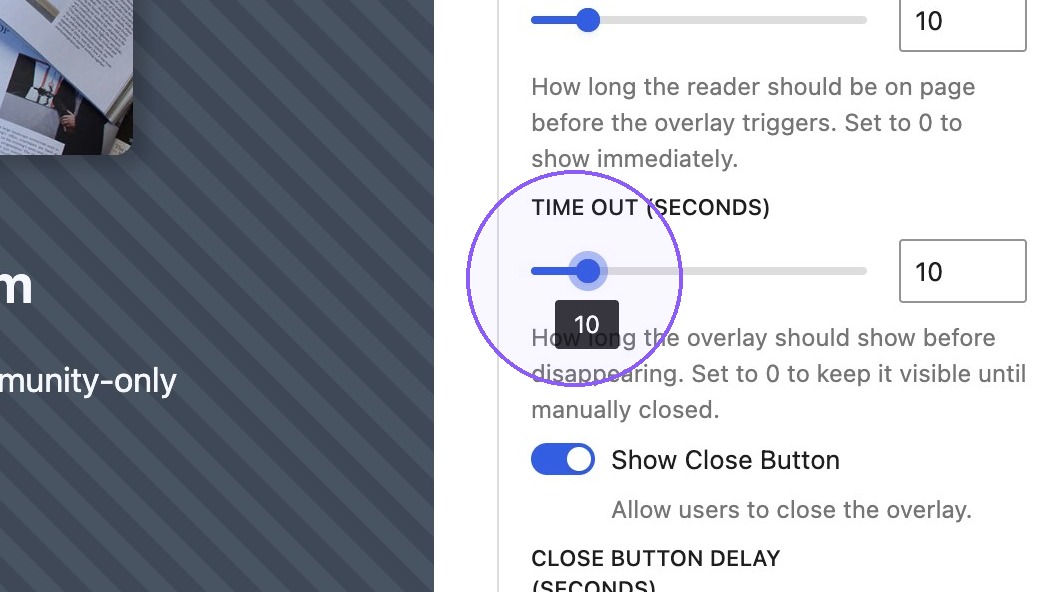
9. Time Out, automatically hides the overlay after a set duration.
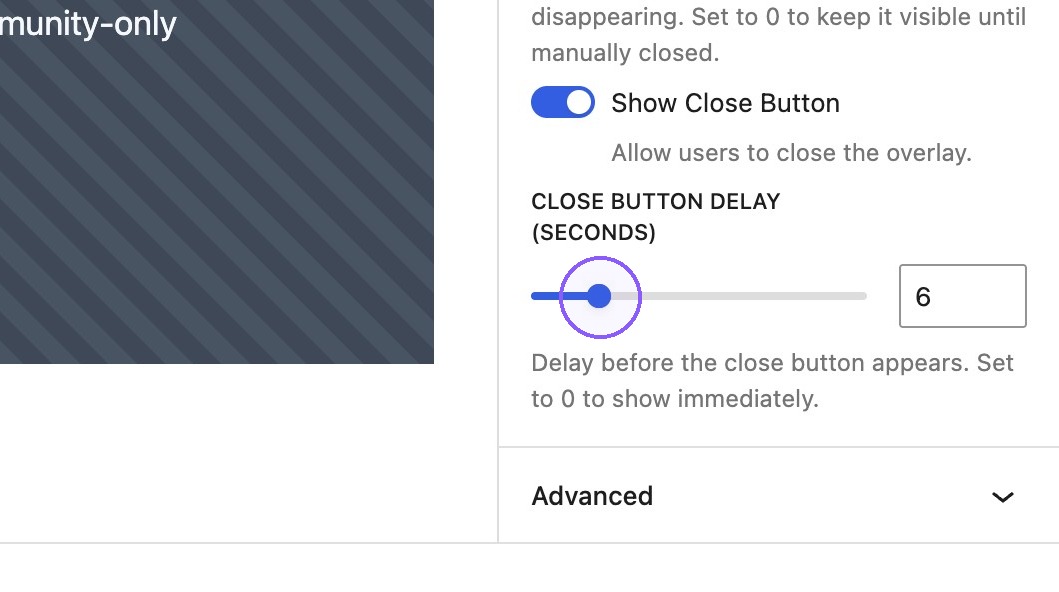
10. The show close button toggle allows the close button to be shown or hidden dependent on preference. If turned on users can optionally delay it’s appearance using the slider, to ensure maximum visual impact.
Overlay Variations
11. The transform to variation option, provides access to a range of pre-defined layouts with styling for three popular ad formats.
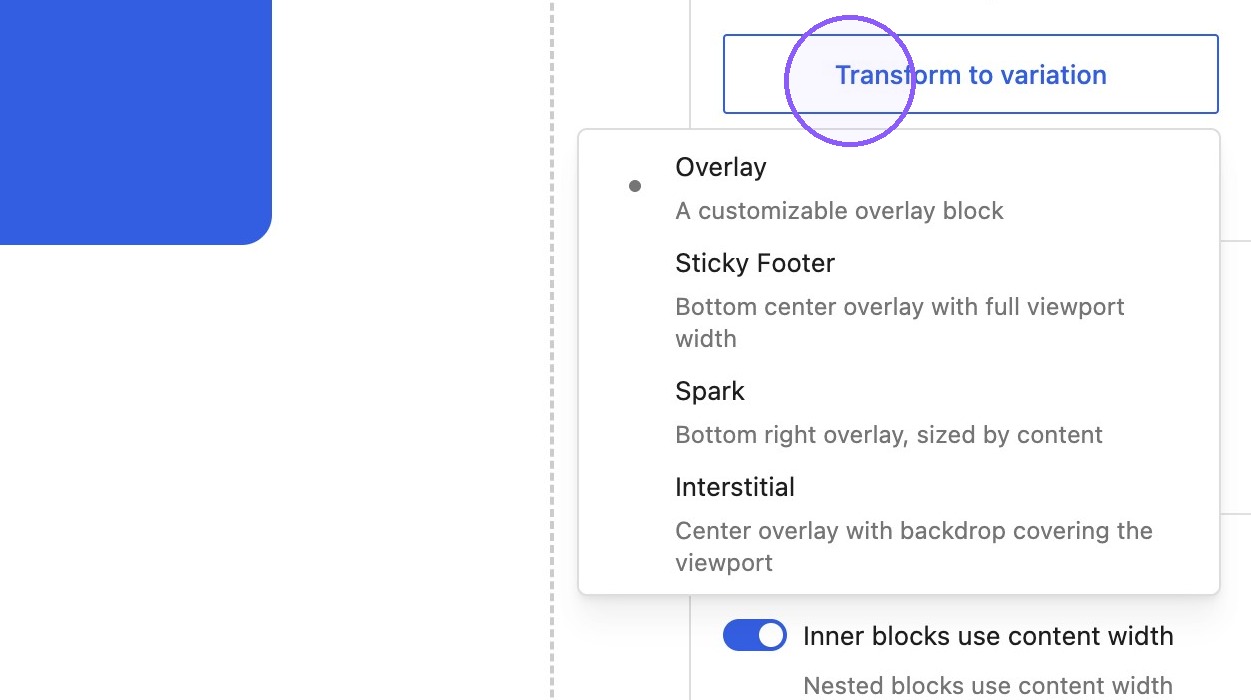
12. Sticky Footer provides a persistent banner at the bottom of the viewport.

13. Spark provides a sleek, corner-anchored video/rich media box.

14. Interstitial provides a high-impact, full-screen takeover. This variation will include a background overlay by default.